
PN - Configure the TPN pallet network
Step-by-step guide to configuring the TPN (The Pallet Network) integration in Qargo, including customer setup, service levels, time windows, transport network, and export tasks.
Table of contents
What does this article cover?
- How to set up and configure TPN (The Pallet Network) as a pallet network integration in Qargo.
Why is configuration needed?
- TPN requires specific service levels, time windows, pickup/delivery extras, and packaging types to be in place before orders can be dispatched to the network.
How does it work?
- Configuration covers creating TPN as a contract carrier, setting up order input options, adding a transport network, and configuring export tasks.
Terminology
| Term | Definition |
|---|---|
| TPN | The Pallet Network: a UK pallet network providing palletized freight pickup and delivery services. |
| ND | Next Day: a TPN service level used when the pickup date is the following day. |
| DDAY | Dedicated Day: a TPN service level used when the pickup date is more than one day in the future. |
| Transport network | A Qargo entity representing the pallet network’s hub-and-spoke structure, used to route orders through the network. |
| Contract carrier | The entity in Qargo representing TPN as the delivering party for shipments sent to the network. |
Add a customer and contract carrier
1. Navigate to Companies > Customers.
2. Click Create customer and create a customer named “TPN” (or “The Pallet Network”).
3. Click Create contract carrier to also make TPN a contract carrier.
Create resources for the TPN contract carrier
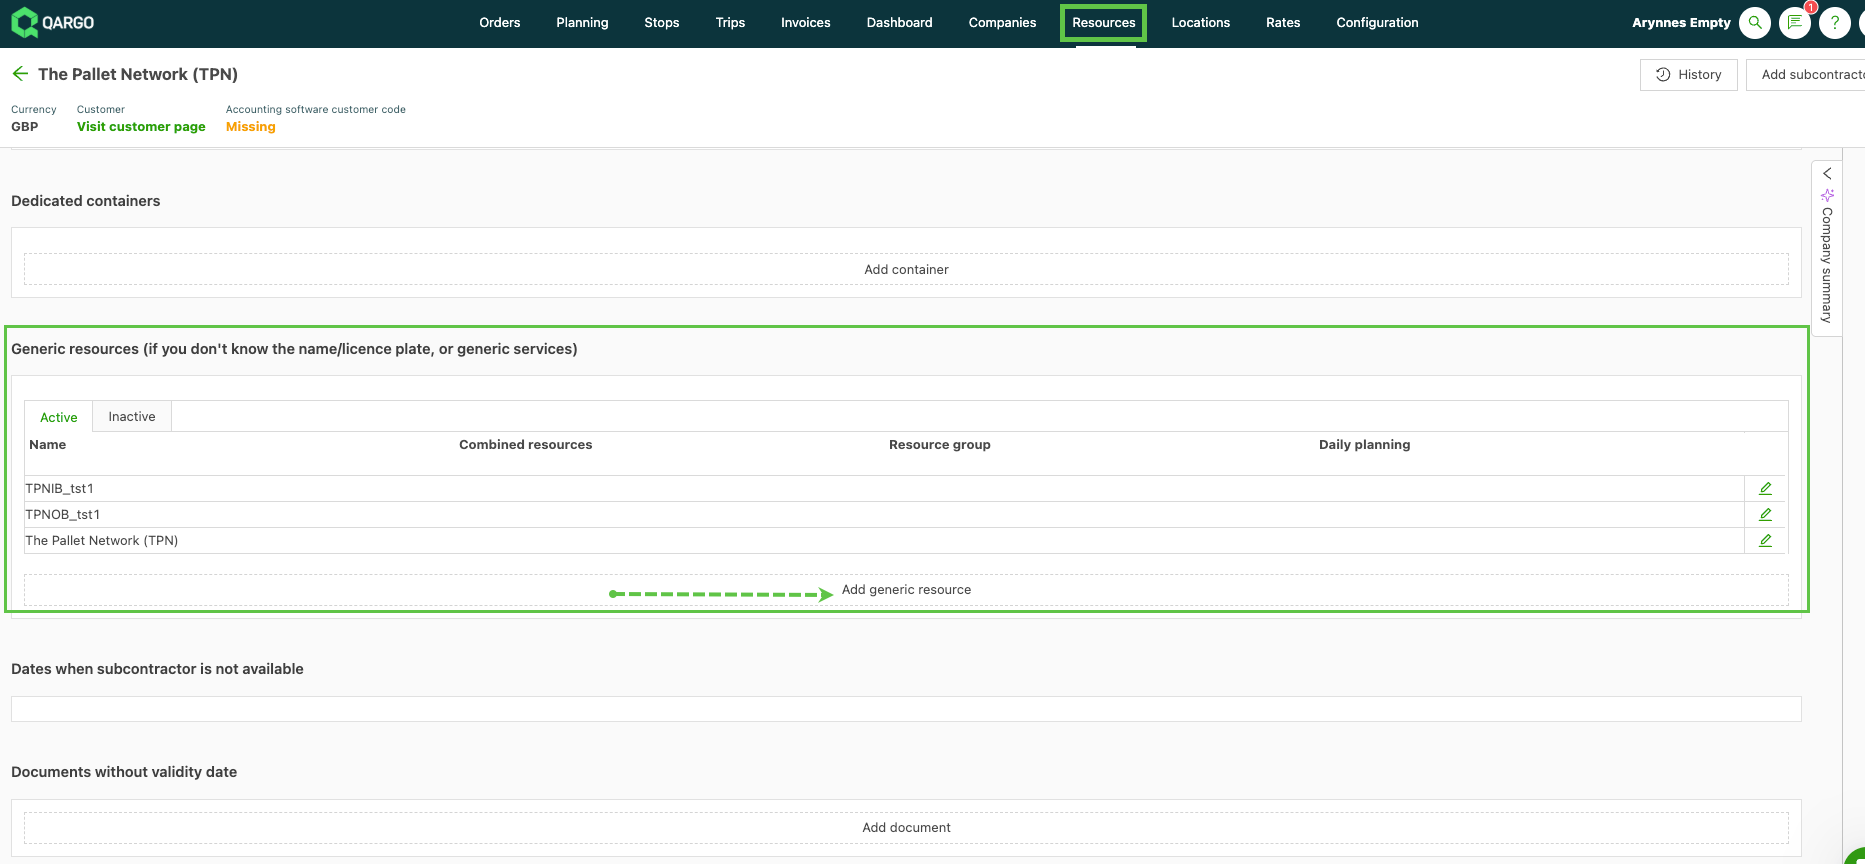
1. From the TPN contract carrier page, click Add generic resource (or edit an existing one).
2. Confirm the Active toggle is on.
3. Turn on the Pallet network setting.
4. Create two resources: one for inbound trunking, one for outbound trunking.
Add the order input configuration
Add a transportation service
1. Navigate to Rates > Order input and select Transportation services.
2. Add a new transportation service named Pallets with the appropriate code.
3. Save the service.
Add service levels
Configure the following service levels for TPN:
| Name | Code |
|---|---|
| Next Day | ND |
| Dedicated Day | DDAY |
Automatic pickup service level assignment
- When creating orders to be picked up via TPN, Qargo automatically assigns the correct service level based on the pickup date:
- Next Day (ND): Applied when the pickup date is the following day.
- Dedicated Day (DDAY): Applied when the pickup date is more than one day away.
Dispatch is not permitted if:
- The pickup date is in the past.
- The pickup is handled by the network and the pickup date is today.
- The pickup date falls on a weekend.
Add time windows and pickup/delivery extras
- Navigate to Rates > Order input and configure time windows and pickup/delivery extras.
The codes below must match exactly.
| Qargo type | Code | Name | Comments |
|---|---|---|---|
| Time window | AM | AM Delivery | Delivery before 12:00 |
| Time window | PM | PM Delivery | Delivery after 12:00 |
| Time window | TPN_BW | Booked Window | Pre-agreed delivery window |
| P/d extra | TL | Tail Lift | Tail lift required at delivery |
Add a packaging type
1. Navigate to Rates > Order input > Packaging types.
2. Create a new packaging type for TPN pallets.
3. Add predefined package sizes:
| Pallet type | Qargo code |
|---|---|
| Full | F |
| Half | H |
| Quarter | Q |
| Oversize | O |
4. Turn on Generate barcodes (Qargo admin only; contact Support if required).
Add additional fields
- Navigate to Configuration > Additional fields and make sure the following are set:
| Category | Field name | Status |
|---|---|---|
| Freight | Pallet spaces | Active |
| Freight | Loading meters | Inactive |
| Shipments | Shipment reference | Active |
Add a transport network
1. Navigate to Locations > Transport networks.
2. Click Add transport network and create a new central network for TPN.
3. Set Automatically assign resources to For specific customers and select TPN from the dropdown.
4. In the Hubs and terminals section, add the TPN hub terminal, mark it as Internal, and
fill in the location details.
5. Click Owned postal codes and add the terminal code and ZIP code ranges that the terminal is responsible for delivering.
Add tasks
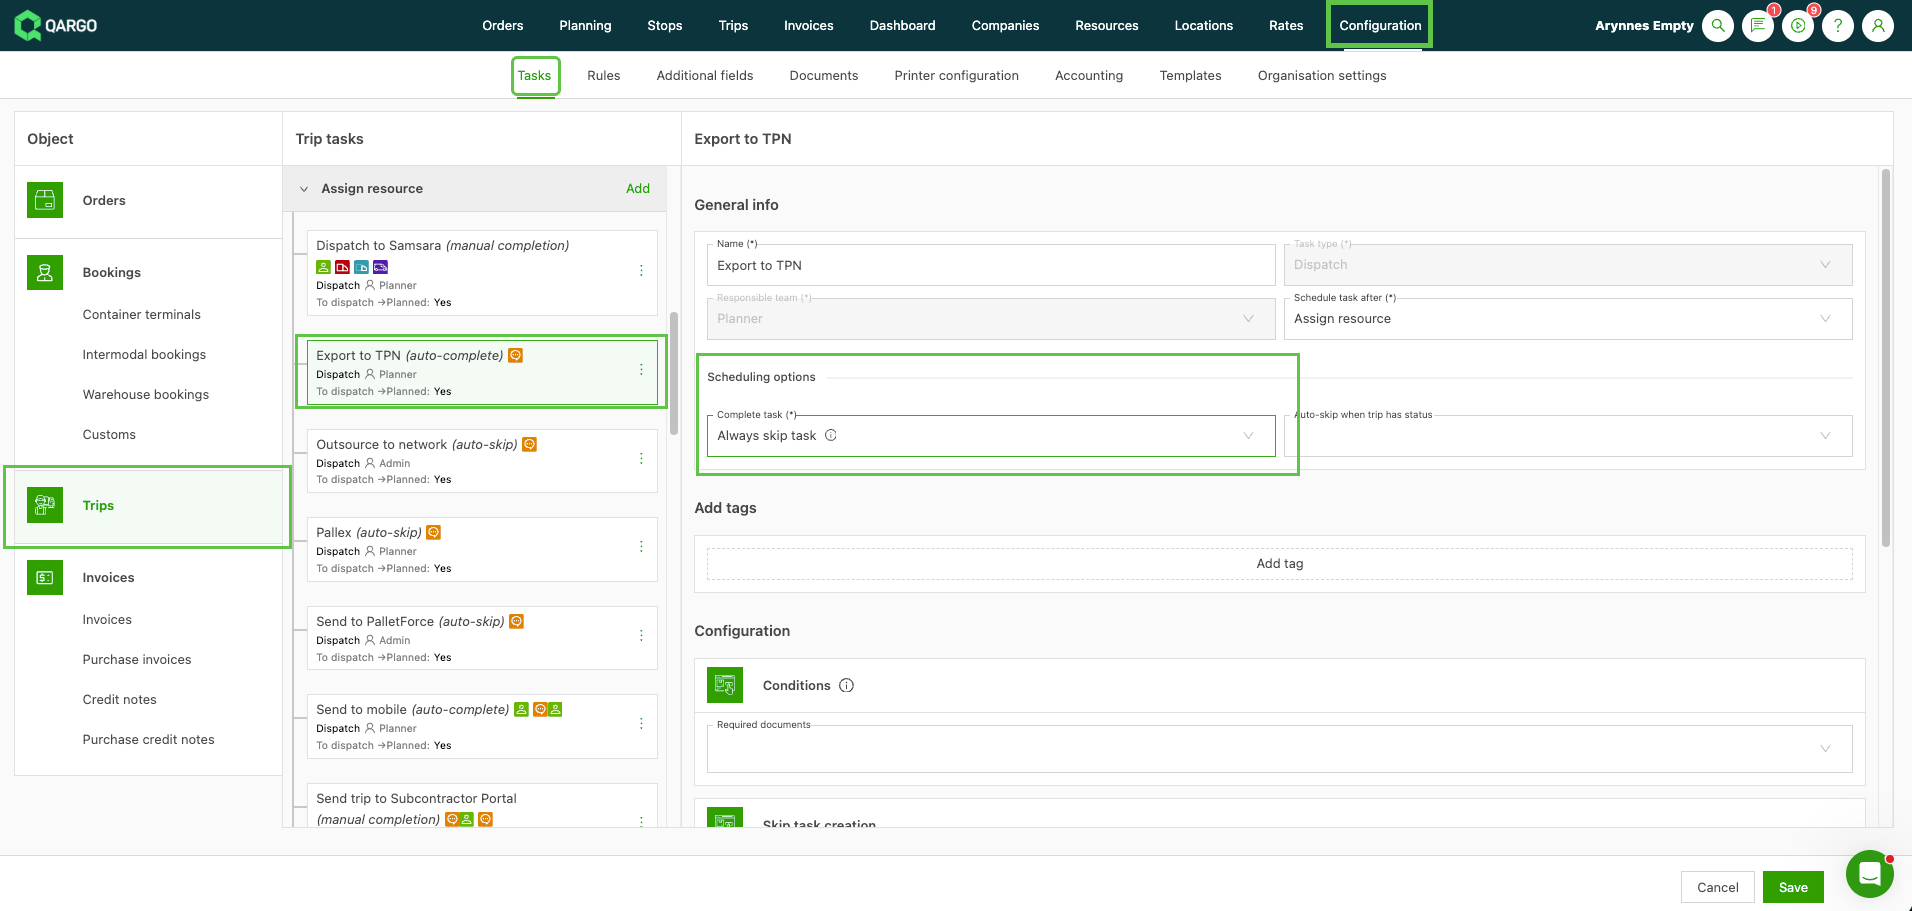
Configure an “Export to TPN” task
1. Navigate to Configuration > Tasks.
2. Add a new task under Loads > Assign resource to trigger the TPN export.
Troubleshooting
| Issue | Solution |
|---|---|
| Cannot dispatch – pickup date in the past | Shipments cannot be sent to TPN if the pickup date has already passed. Update the pickup date. |
| Cannot dispatch – pickup date is a weekend | TPN does not accept dispatches for weekend pickup dates. |
| Service level not assigning correctly | Check that the ND and DDAY service level codes are configured exactly as shown. The system auto-assigns based on how close the pickup date is. |
| Barcodes not generating on pallet labels | Barcode generation must be enabled by a Qargo admin. Contact Support. |
| ETA not syncing from TPN to Qargo | Verify that the ETA is available in the TPN portal; Qargo pulls it automatically. No extra configuration is required. |