
Planning – Planning list view functions
Explanation of features and how to customize the Planning list page, including additional filtering tips.
Table of contents
To start planning orders, switch to the planning column as shown below (also see 👉**Plan load**):
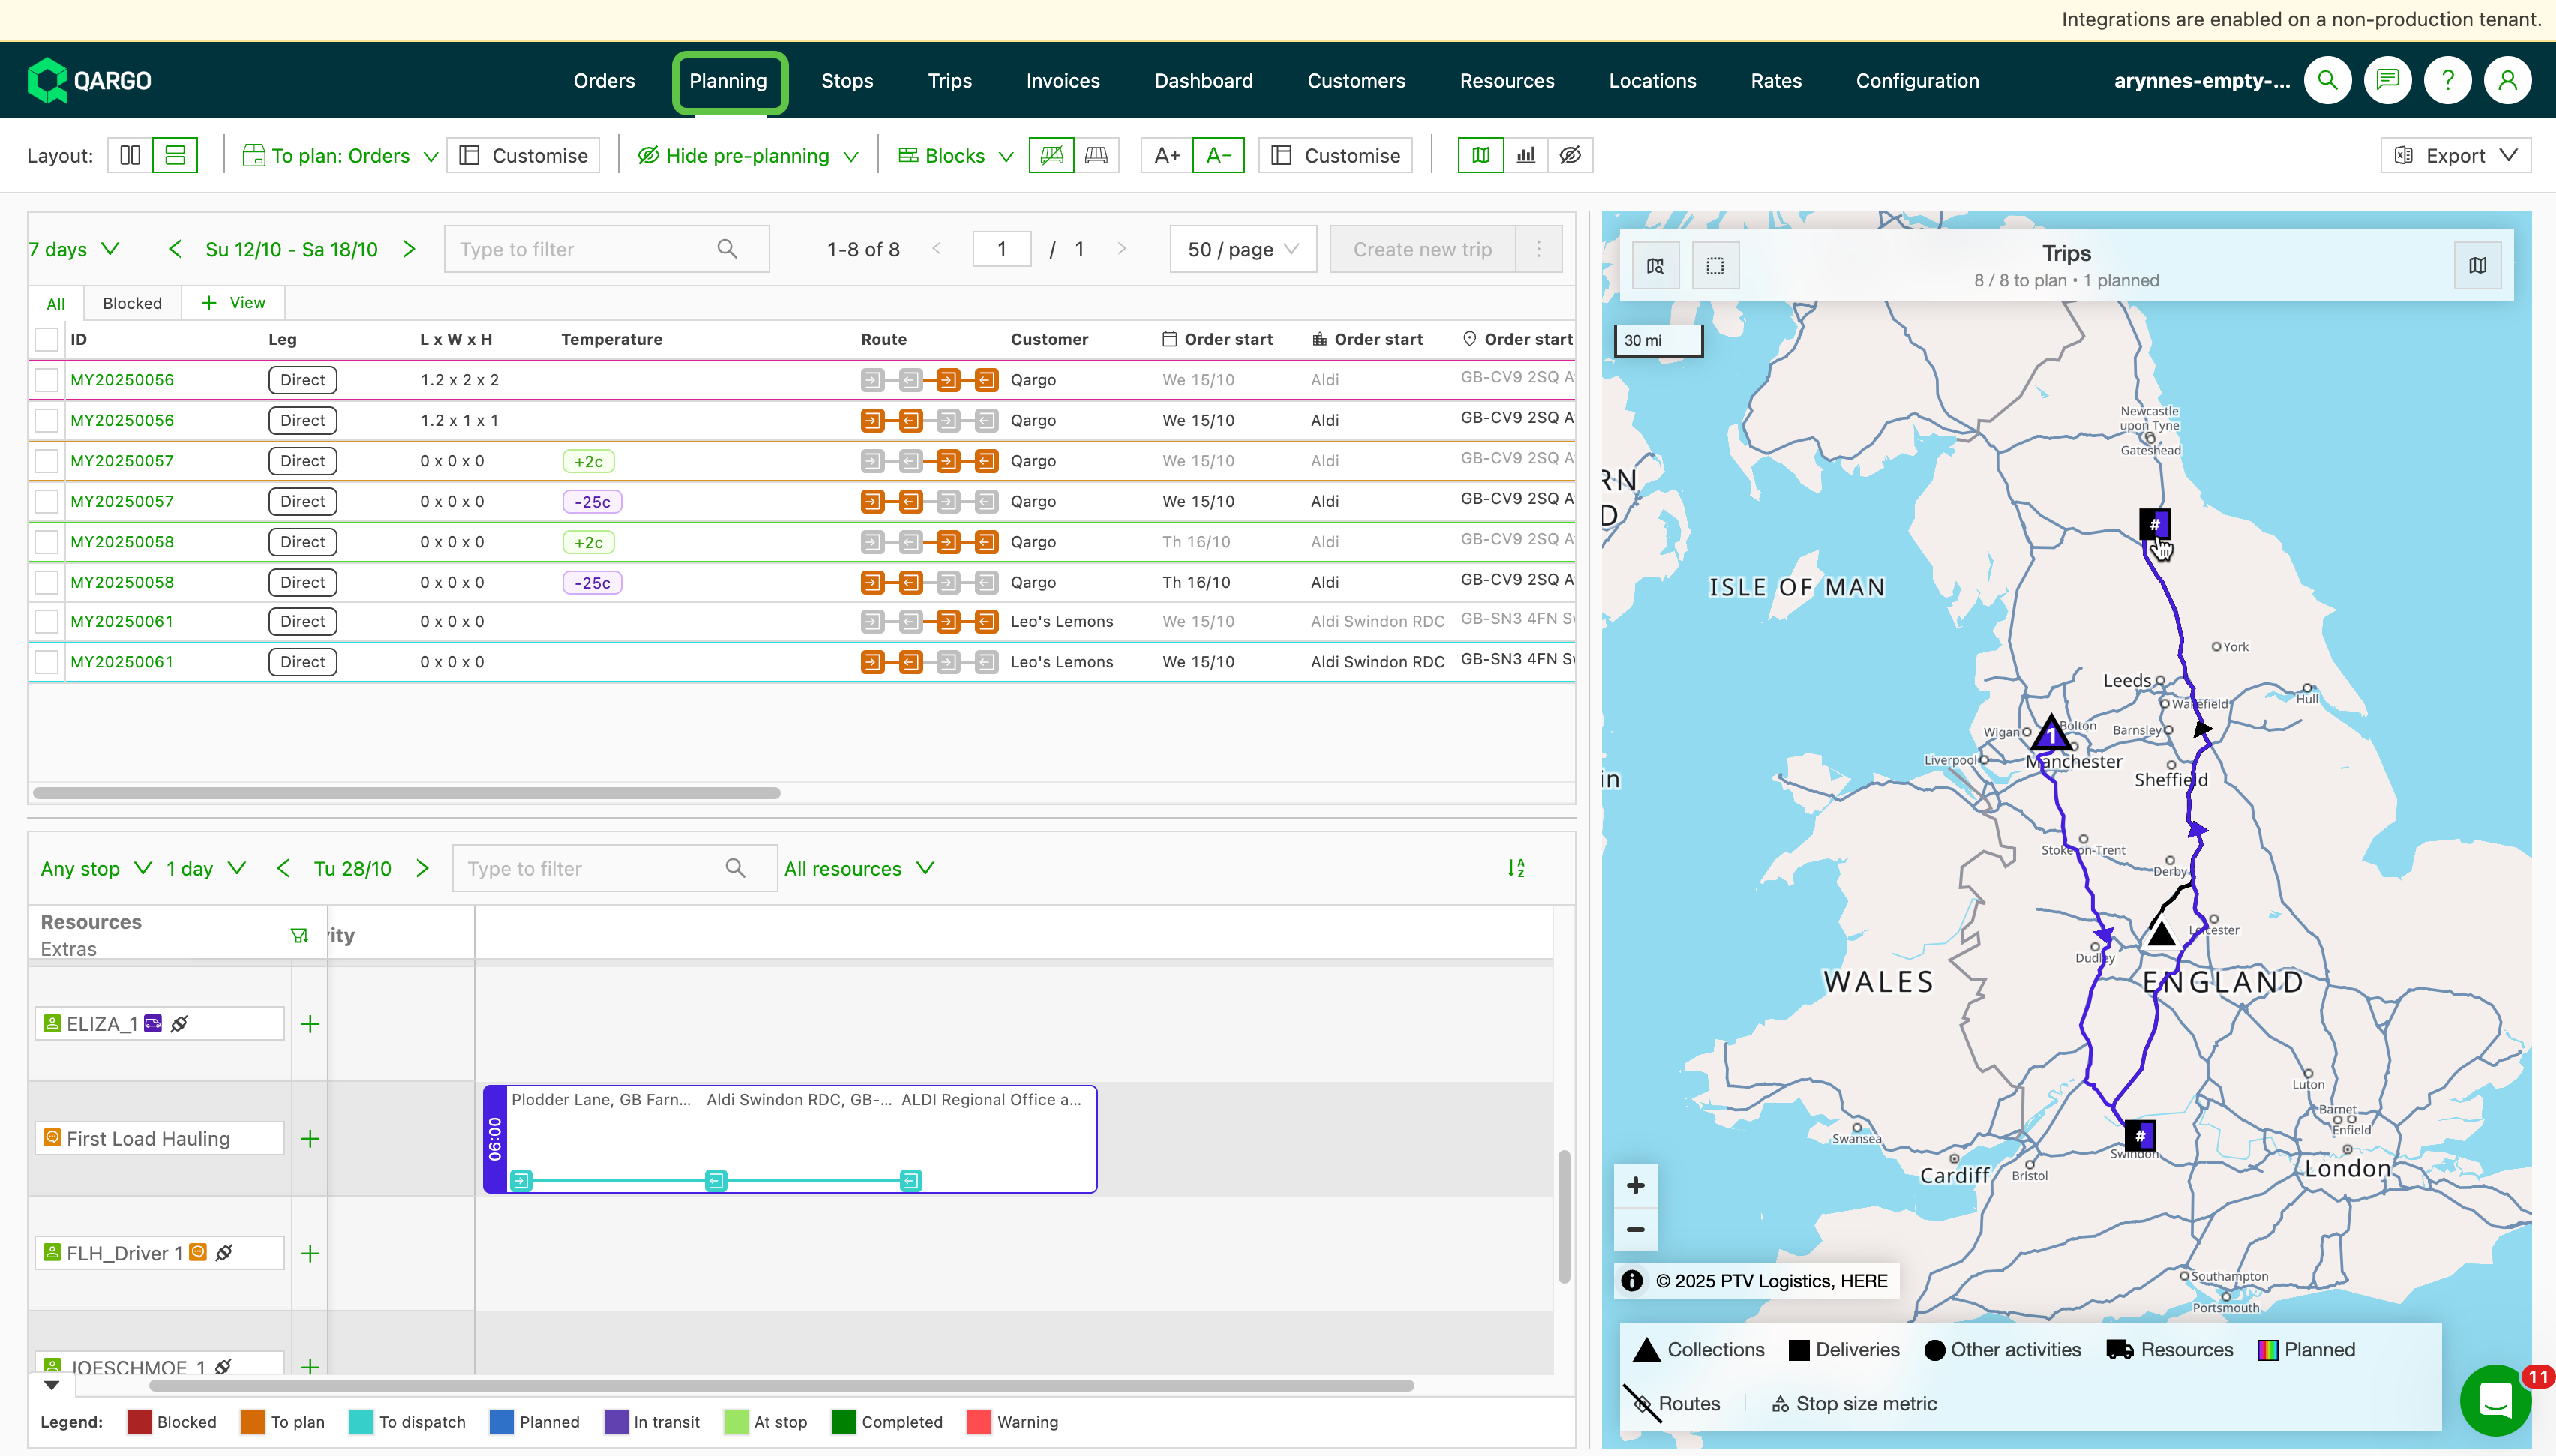
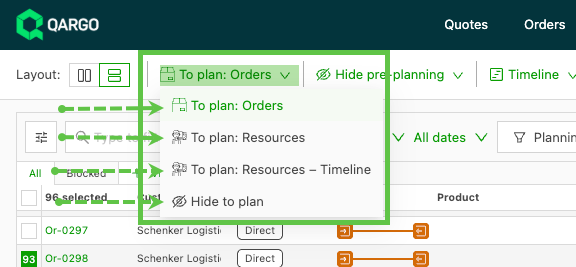
Options for the list of orders to plan
- To see the list of orders to be planned, select ‘To plan: Orders’ from the dropdown:
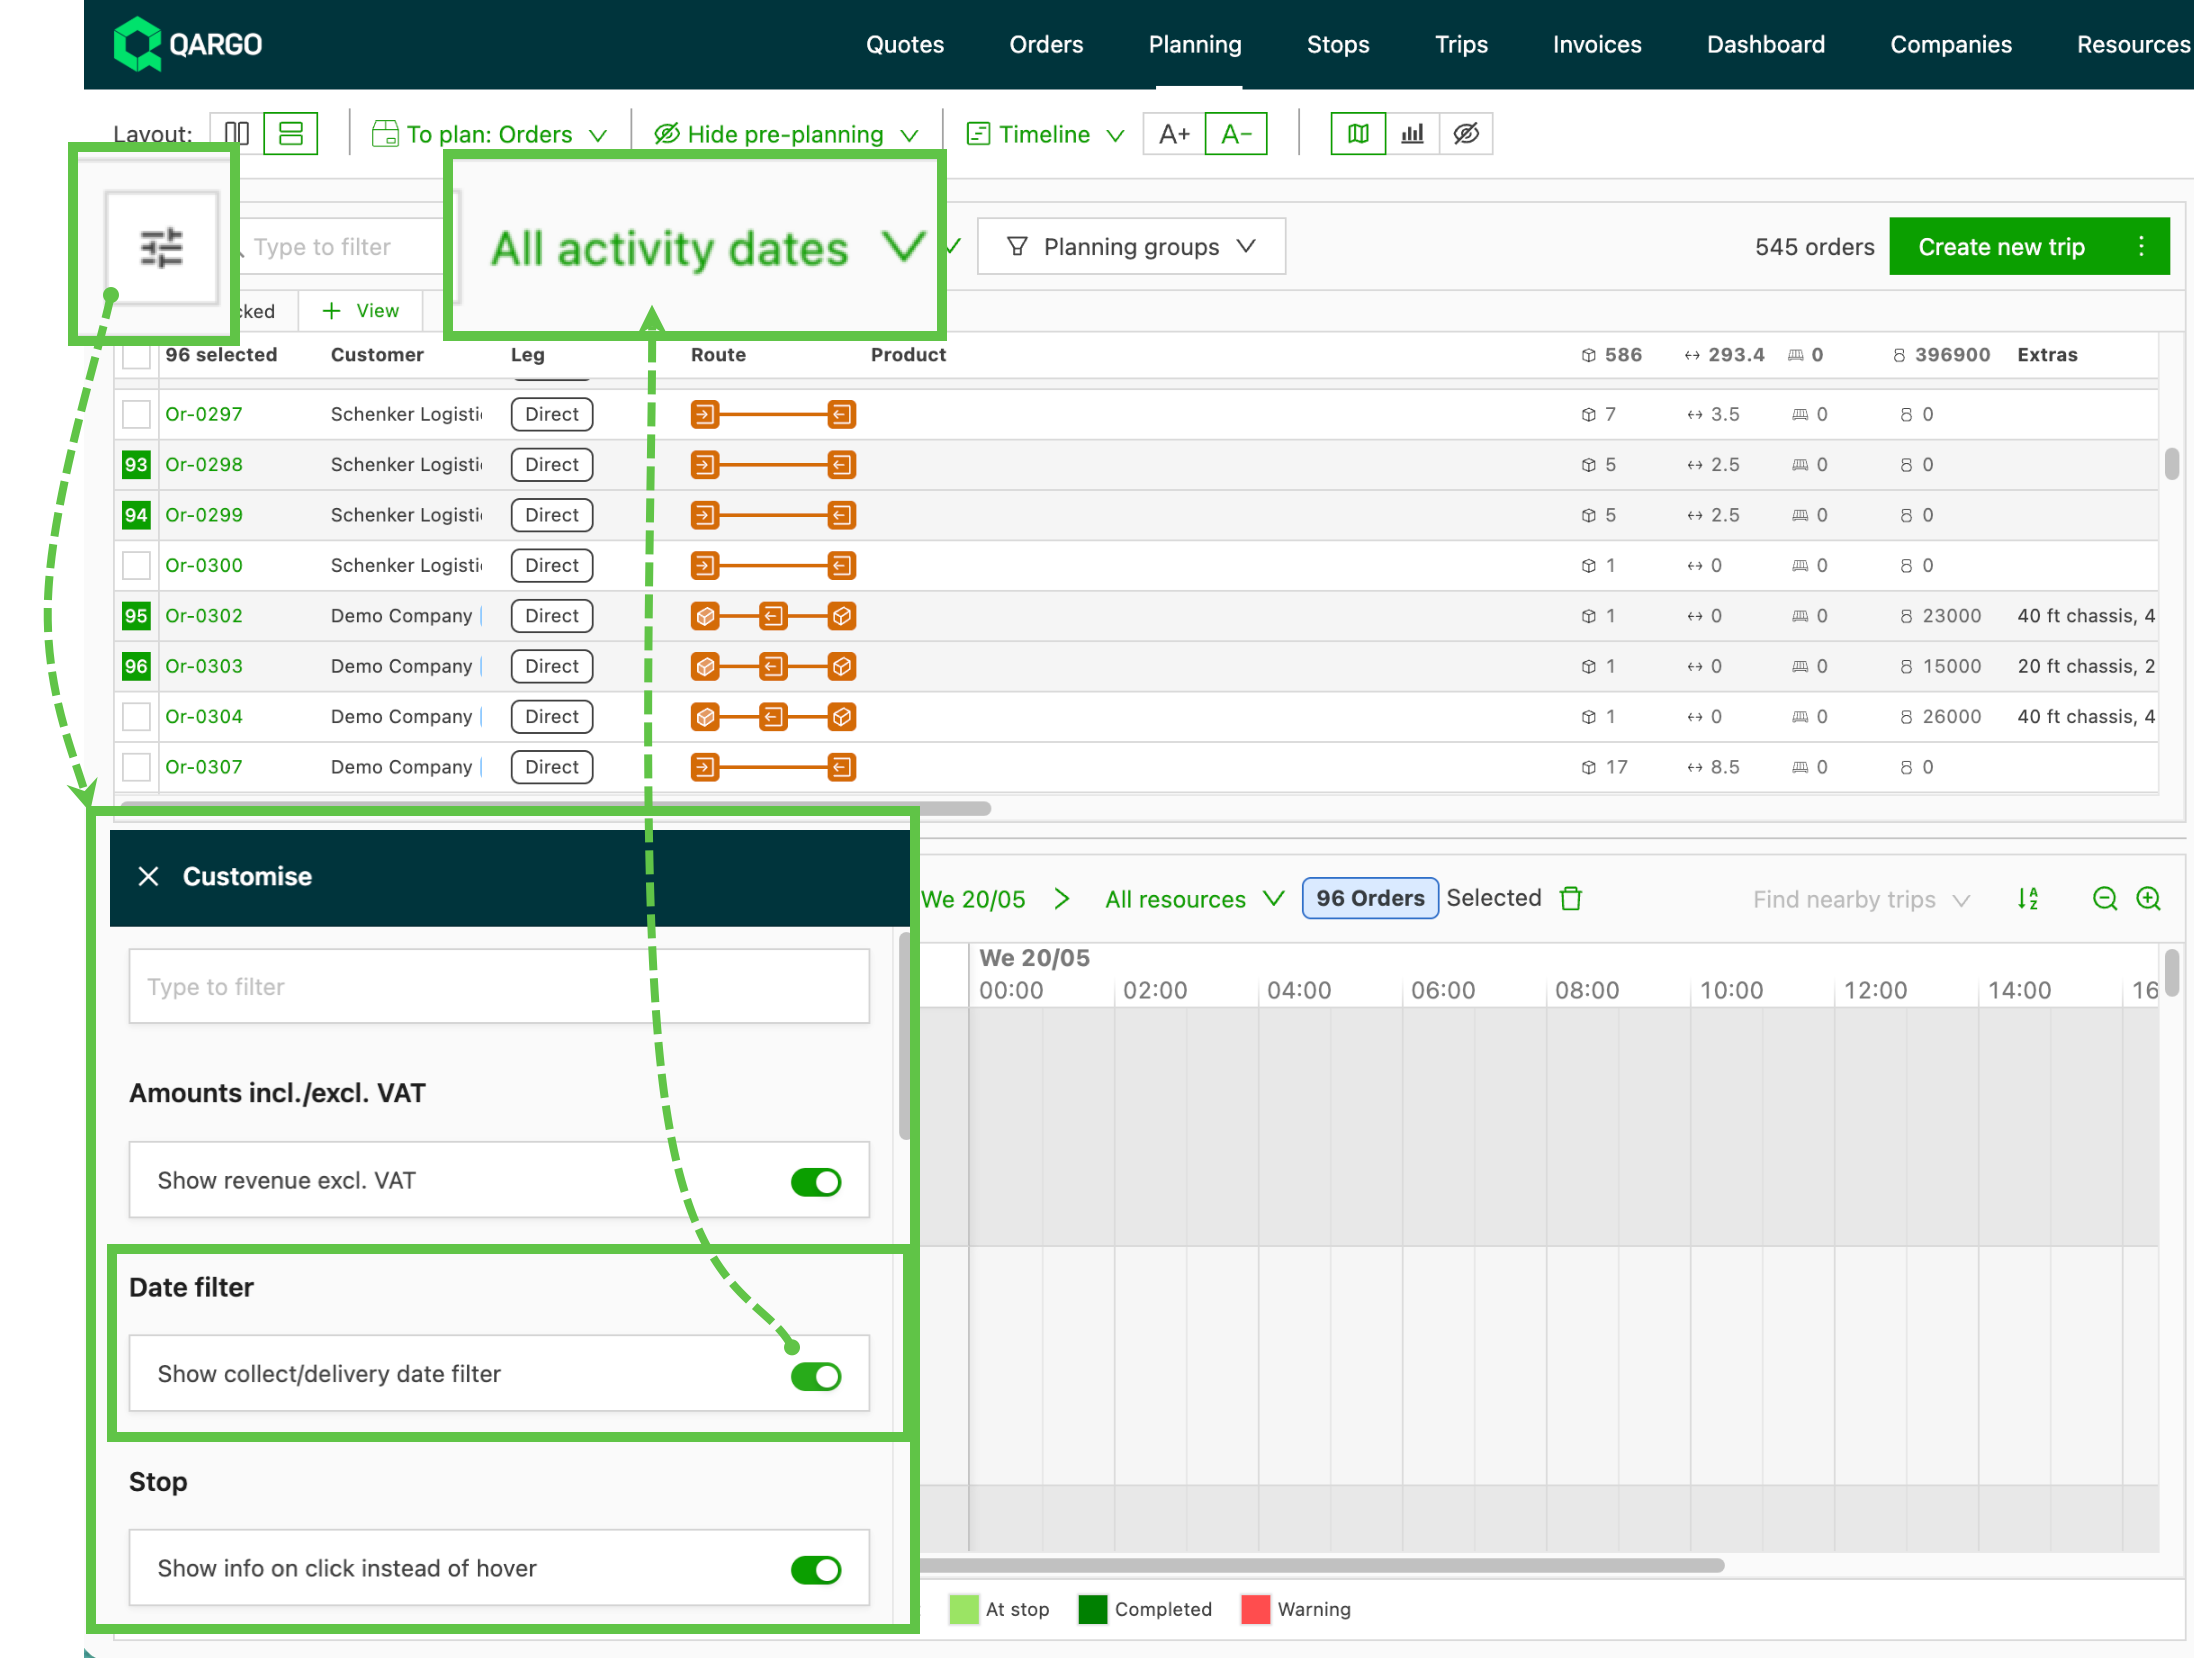
- This view shows fields where the customize button enables other data columns and features in the view, including activity dates as filters:
- Use the search bar, planning groups and date filters to view specific orders
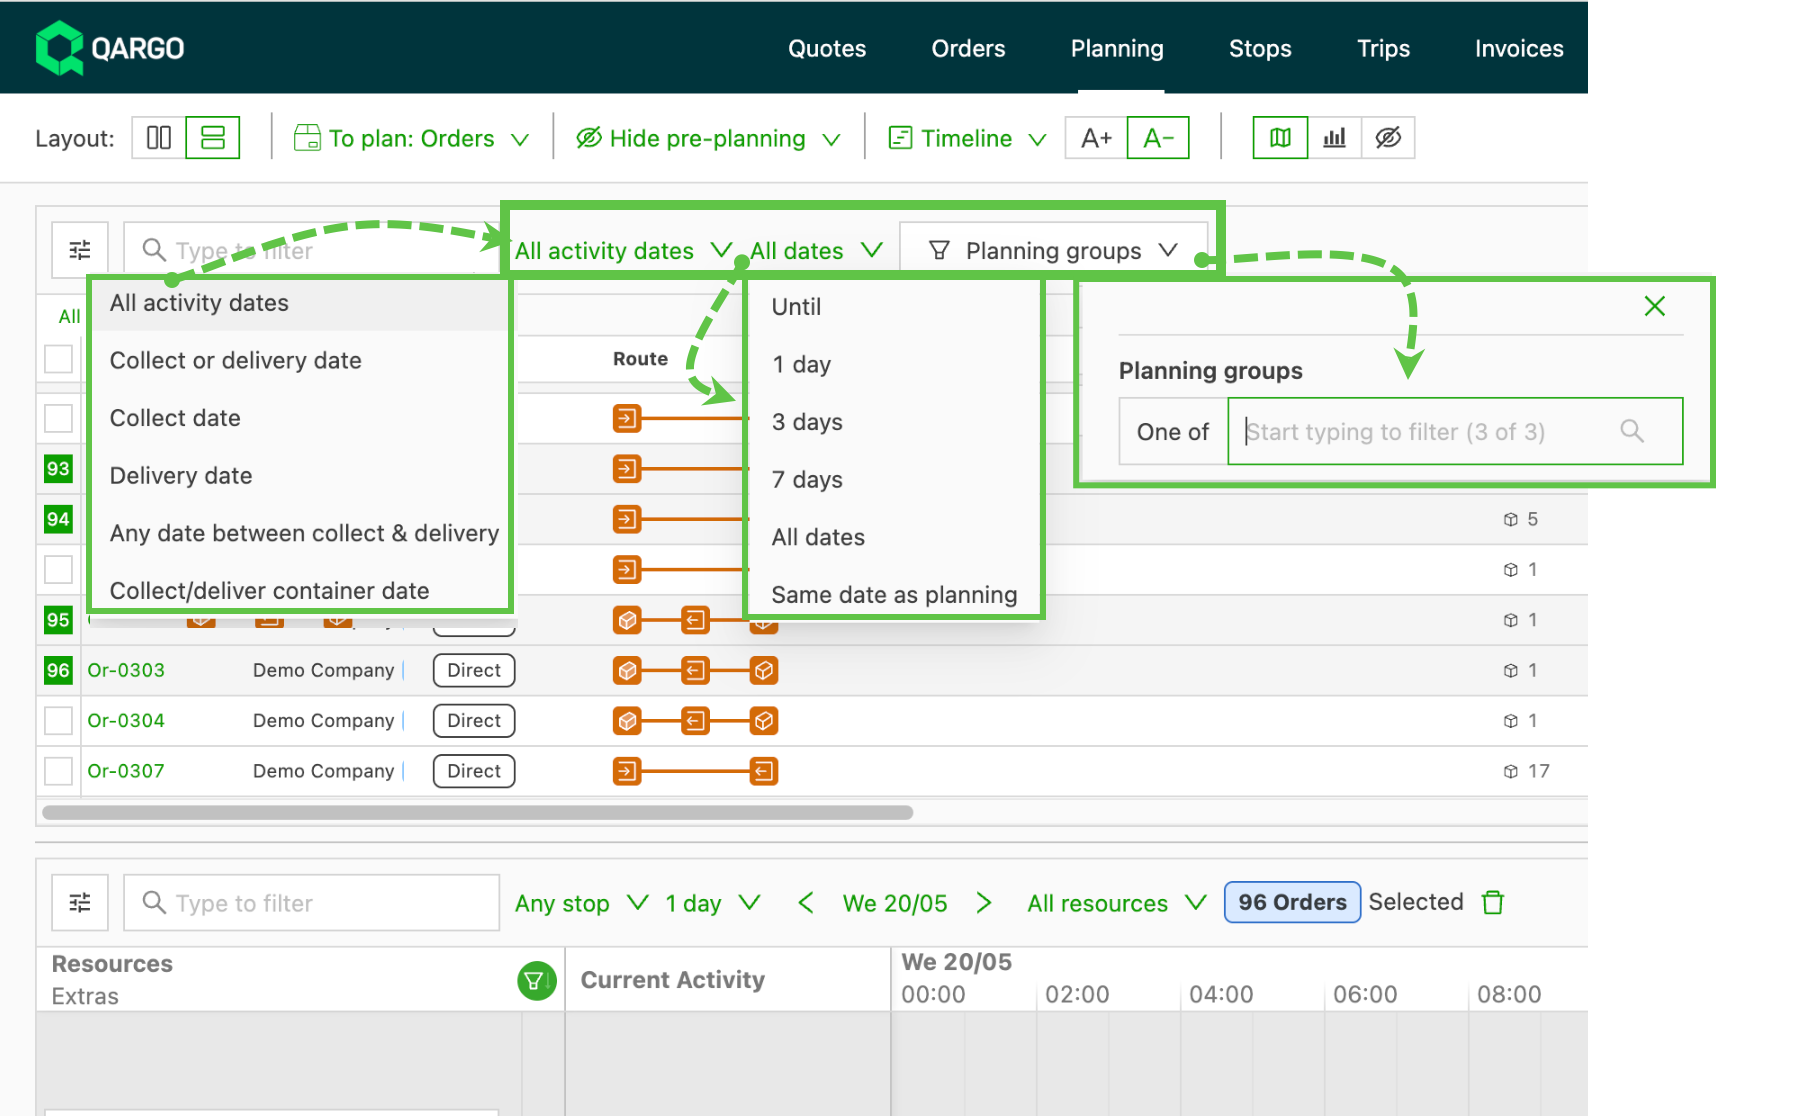
Filtering
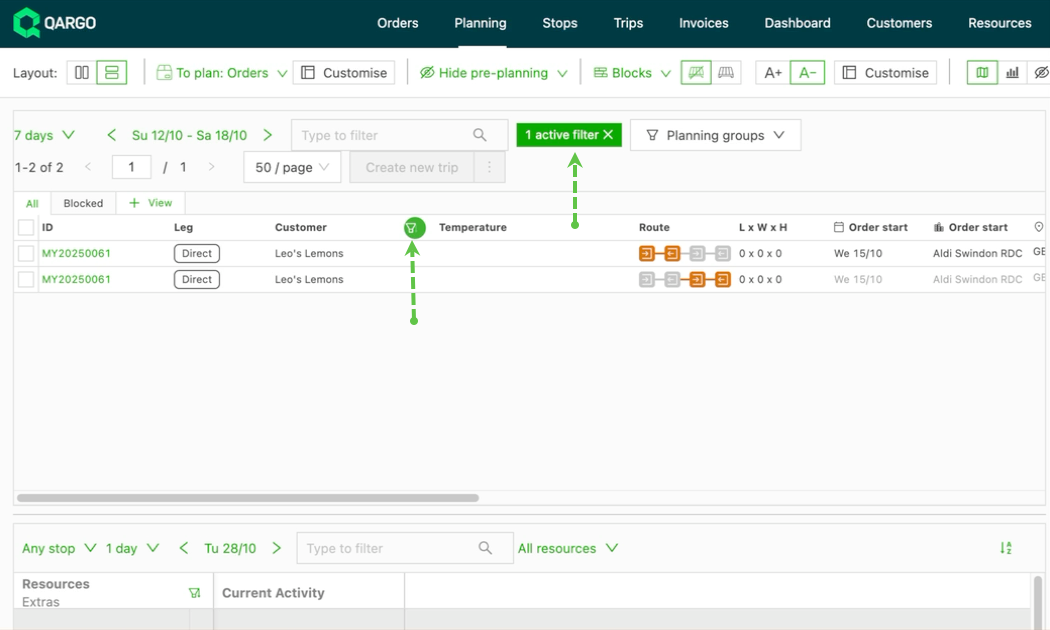
- Use the filter icon in the column headers of the list view.
- Click to display filter options per column
- Applied filters are highlighted
- Columns can be dragged into the preferred order, and their width can be adjusted:
- The customization option lists the options to include in or exclude from the view.
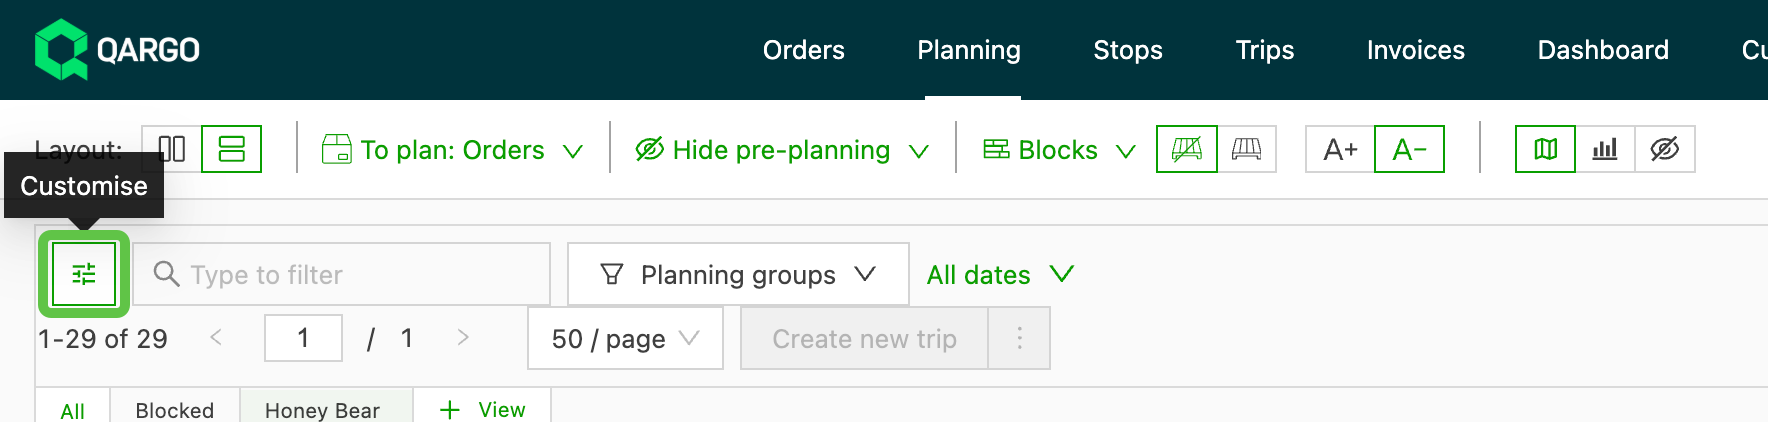
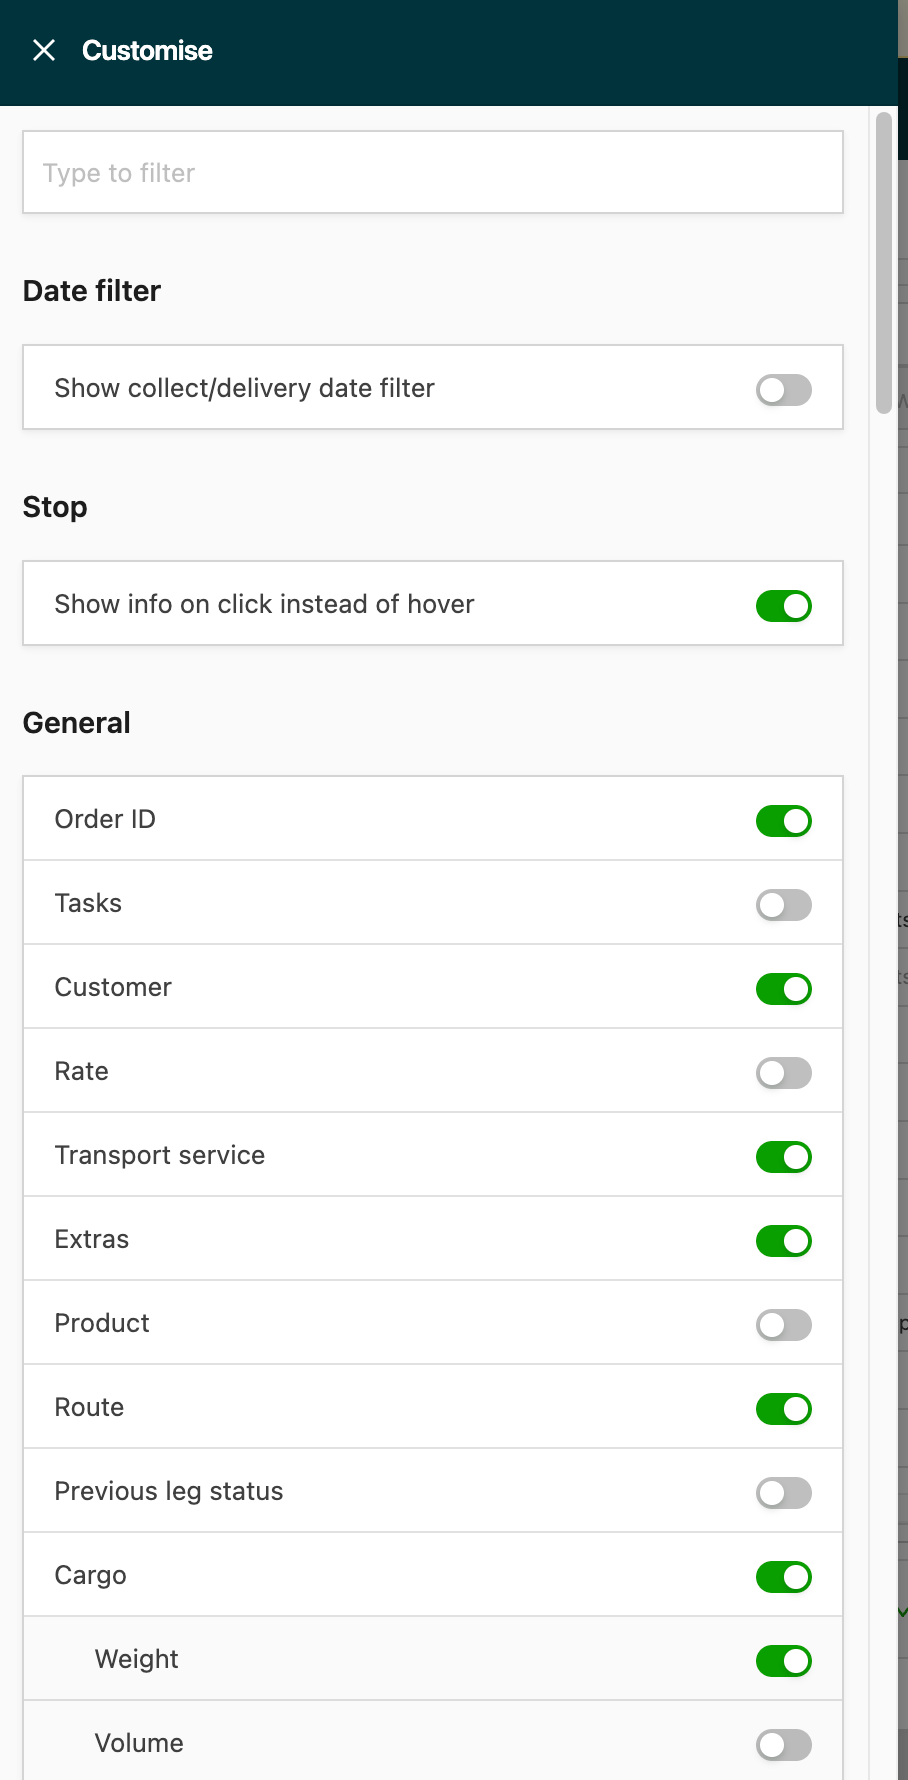
- Set the toggle On to show the specific information in the list view.
- Set the toggle Off to exclude the specific information from the list view.
To plan: Orders
The To plan: Orders list now uses infinite scroll. This removes the 100-order pagination cap, so planners can access all available orders without stepping through pages.
- Scroll down in the To plan: Orders panel; the next batch of orders loads automatically when the bottom of the list is reached.
Use cases
- Planners handling high volumes of single-pallet jobs, parcel network shipments or groupage orders who need visibility of all available orders across a shift, without breaking their flow to navigate through paginated list pages.
- Planning teams assigning a large batch of orders to a single resource in one session, who previously could not see all relevant orders at once due to the 100-order cap.
- Operations where a planner needs to scan and prioritize orders across a full day’s workload before starting assignment.
How to use infinite scroll on the To plan: Orders list
Viewing all orders to plan
- Navigate to Planning in the main navigation menu.
- The To plan: Orders panel on the left displays the first batch of available orders.
- Scroll to the bottom of the list. A Loading more rows… indicator appears while the next batch loads automatically.
- Continue scrolling until all available orders are visible. The X / Y counter in the top right updates with each batch loaded.
Applying filters, sort or search
- Use the filter, sort or search controls in the To plan: Orders panel.
- The list resets to the top and starts loading from the first batch whenever filters, sort order or search terms change.
Dragging and dropping orders onto the planning timeline
- Drag any order from the To plan: Orders list onto a resource row in the planning timeline.
- The order disappears from the To plan: Orders list once it is assigned to a load.
- Drag an order back from the timeline to return it to the To plan: Orders list.
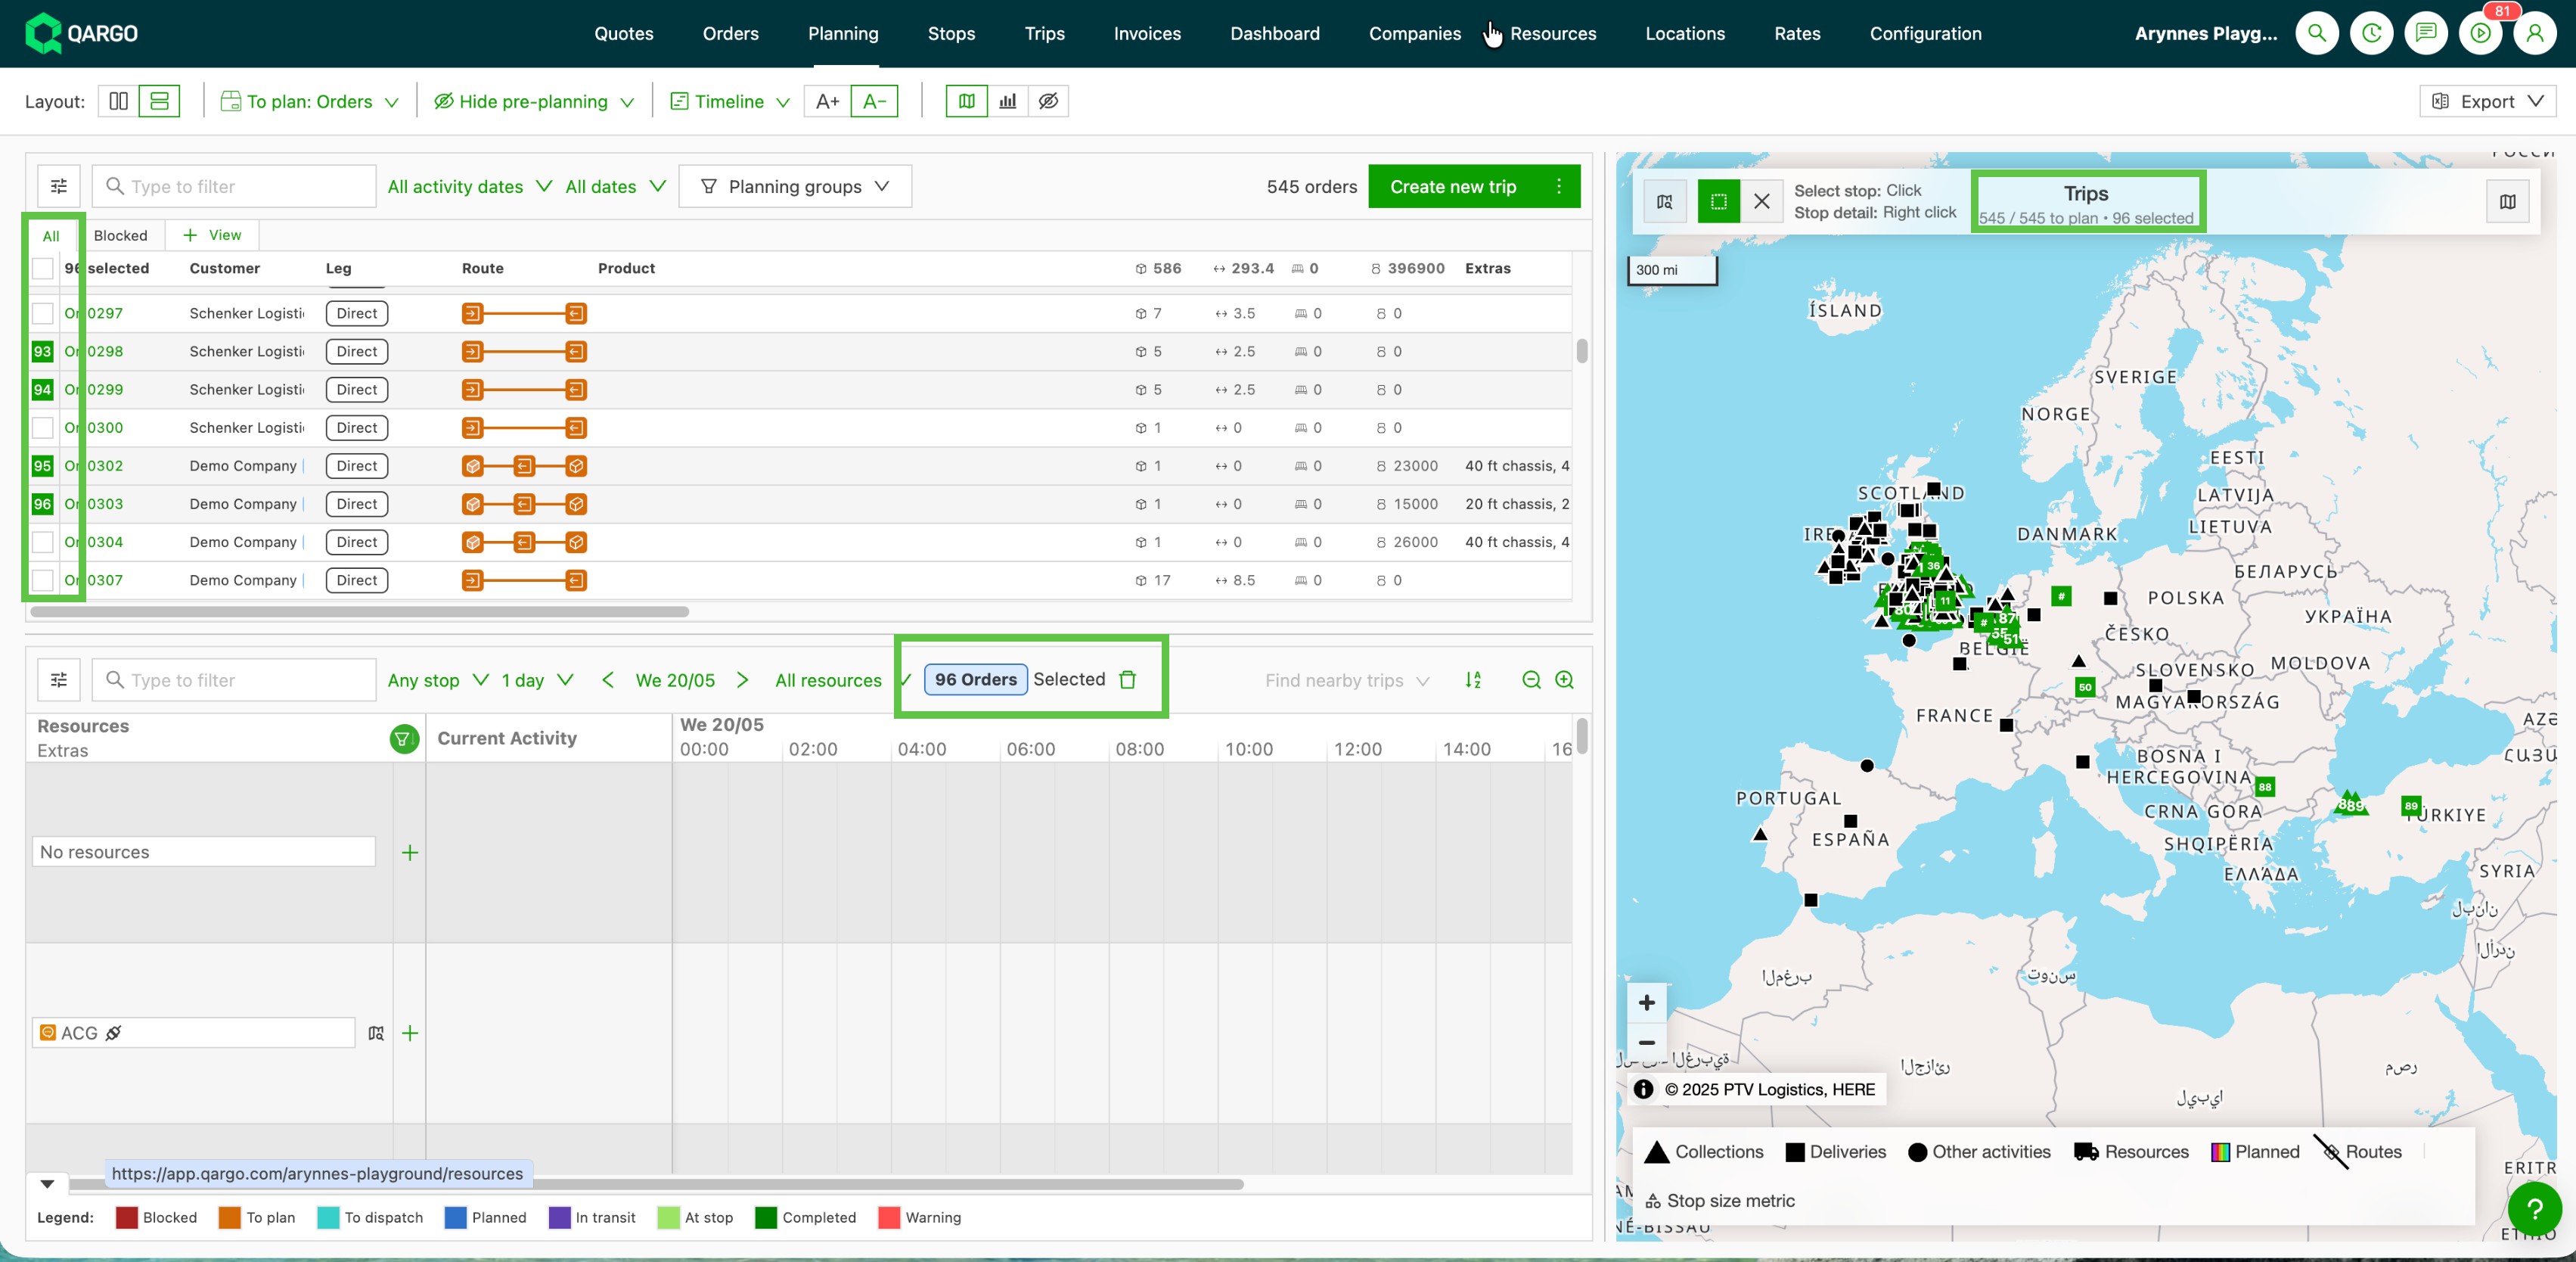
Selecting and bulk-planning orders
- Use the checkbox column to select individual orders, or Select all to select the first 100 loaded rows.
- Apply a bulk action (for example, auto-assign or plan to load) to the selected set.
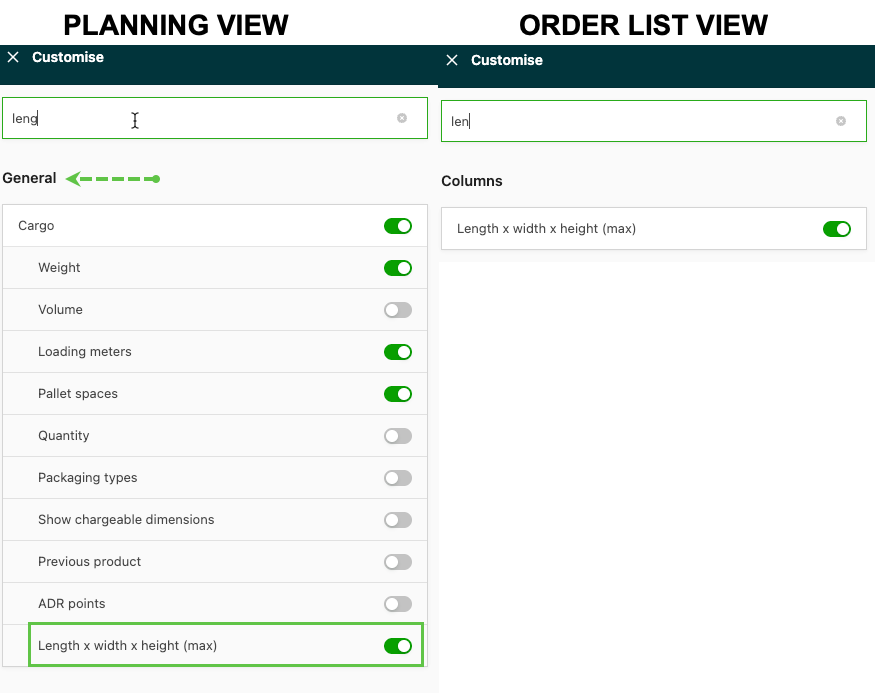
Show max dimensions
- Toggle on max dimensions to help with planning vehicle capacity
- Better oversight of piece sizes helps to assess vehicle capacity more efficiently
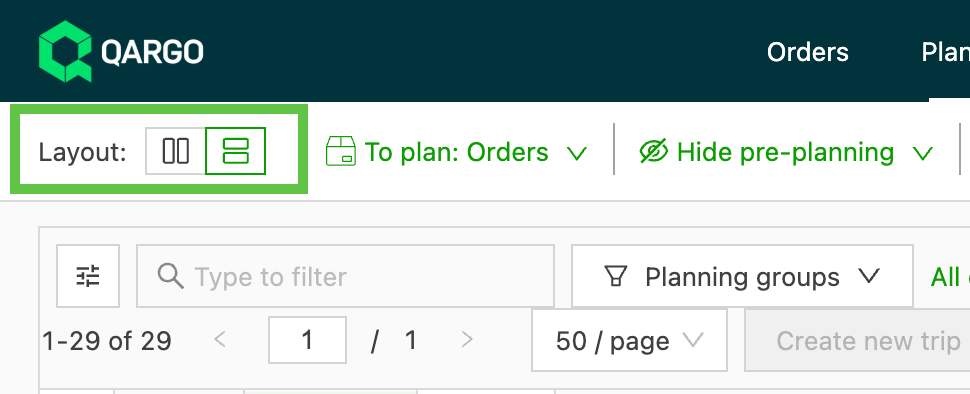
View layout
-
2 different layouts, based on preference
- vertical
- horizontal
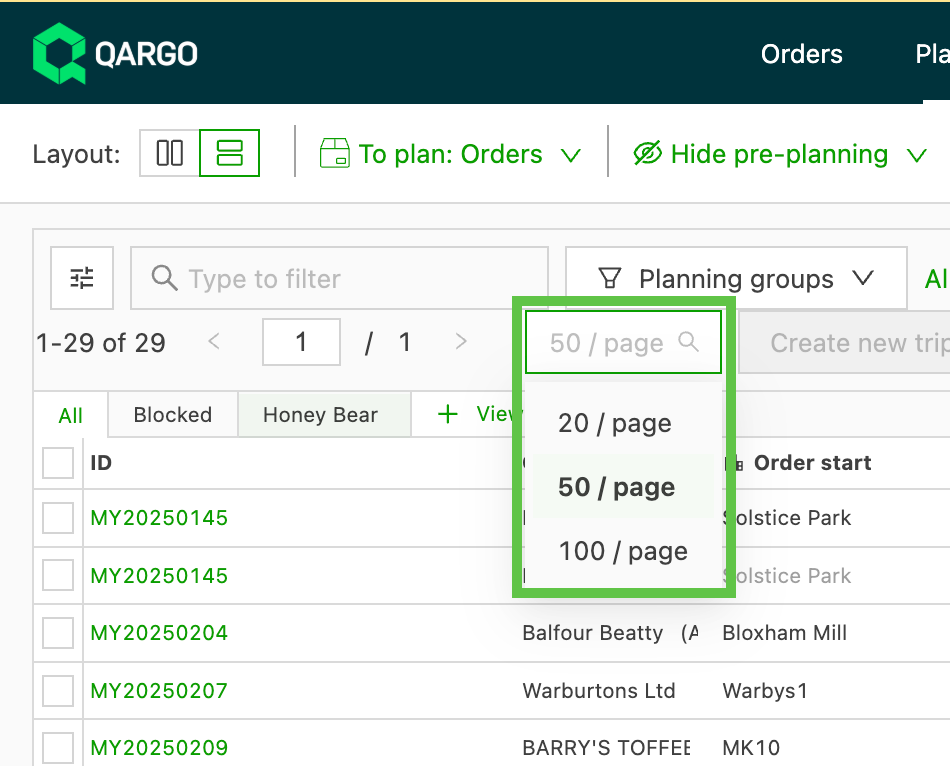
For a more comprehensive view of the list of orders, choose how many orders to plan are shown by selecting the amount per page option:
Options for the list of loads on the planning board
- As with the ‘To plan: Orders’ list, there is also a customization option for planned loads.
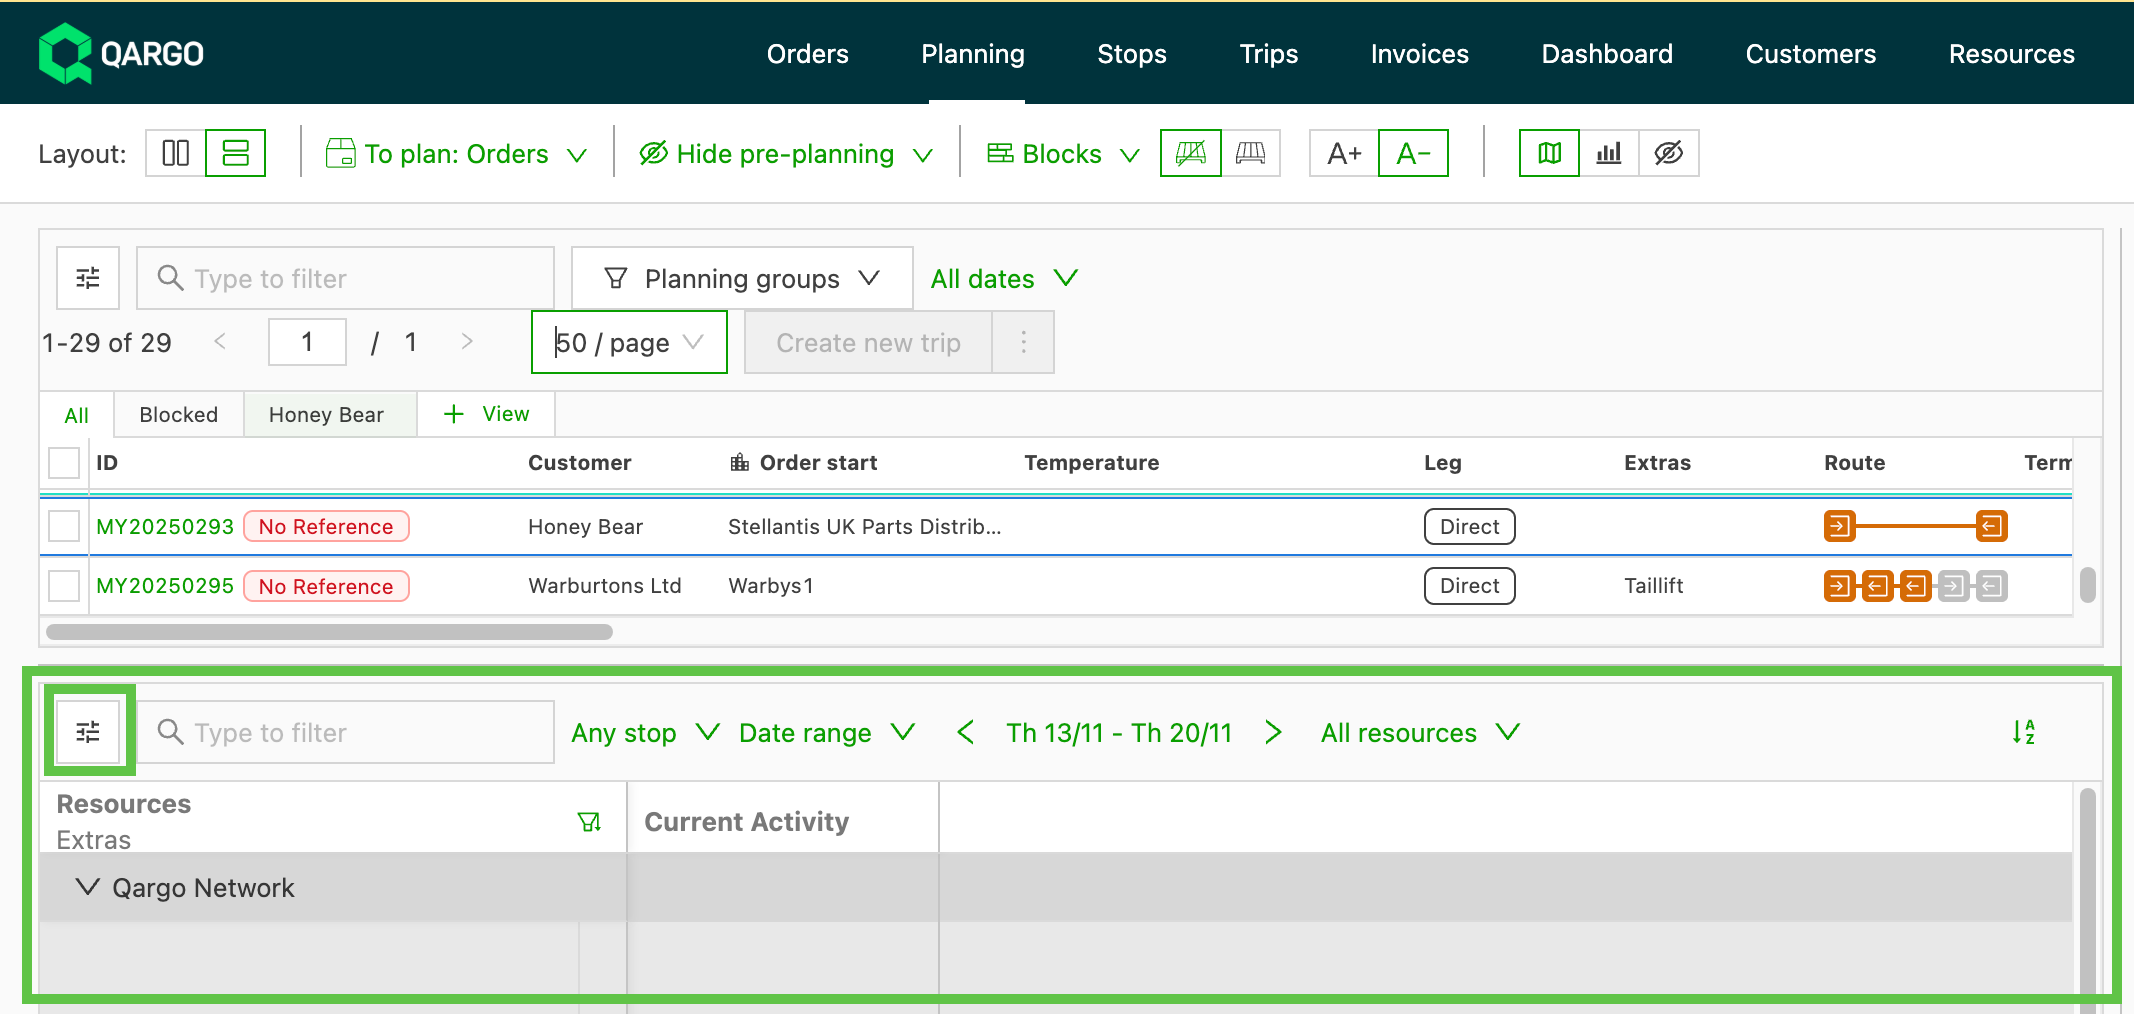
- List of options to toggle on/off to view on the planning board
- Use the search bar at the top to search for specific data to show
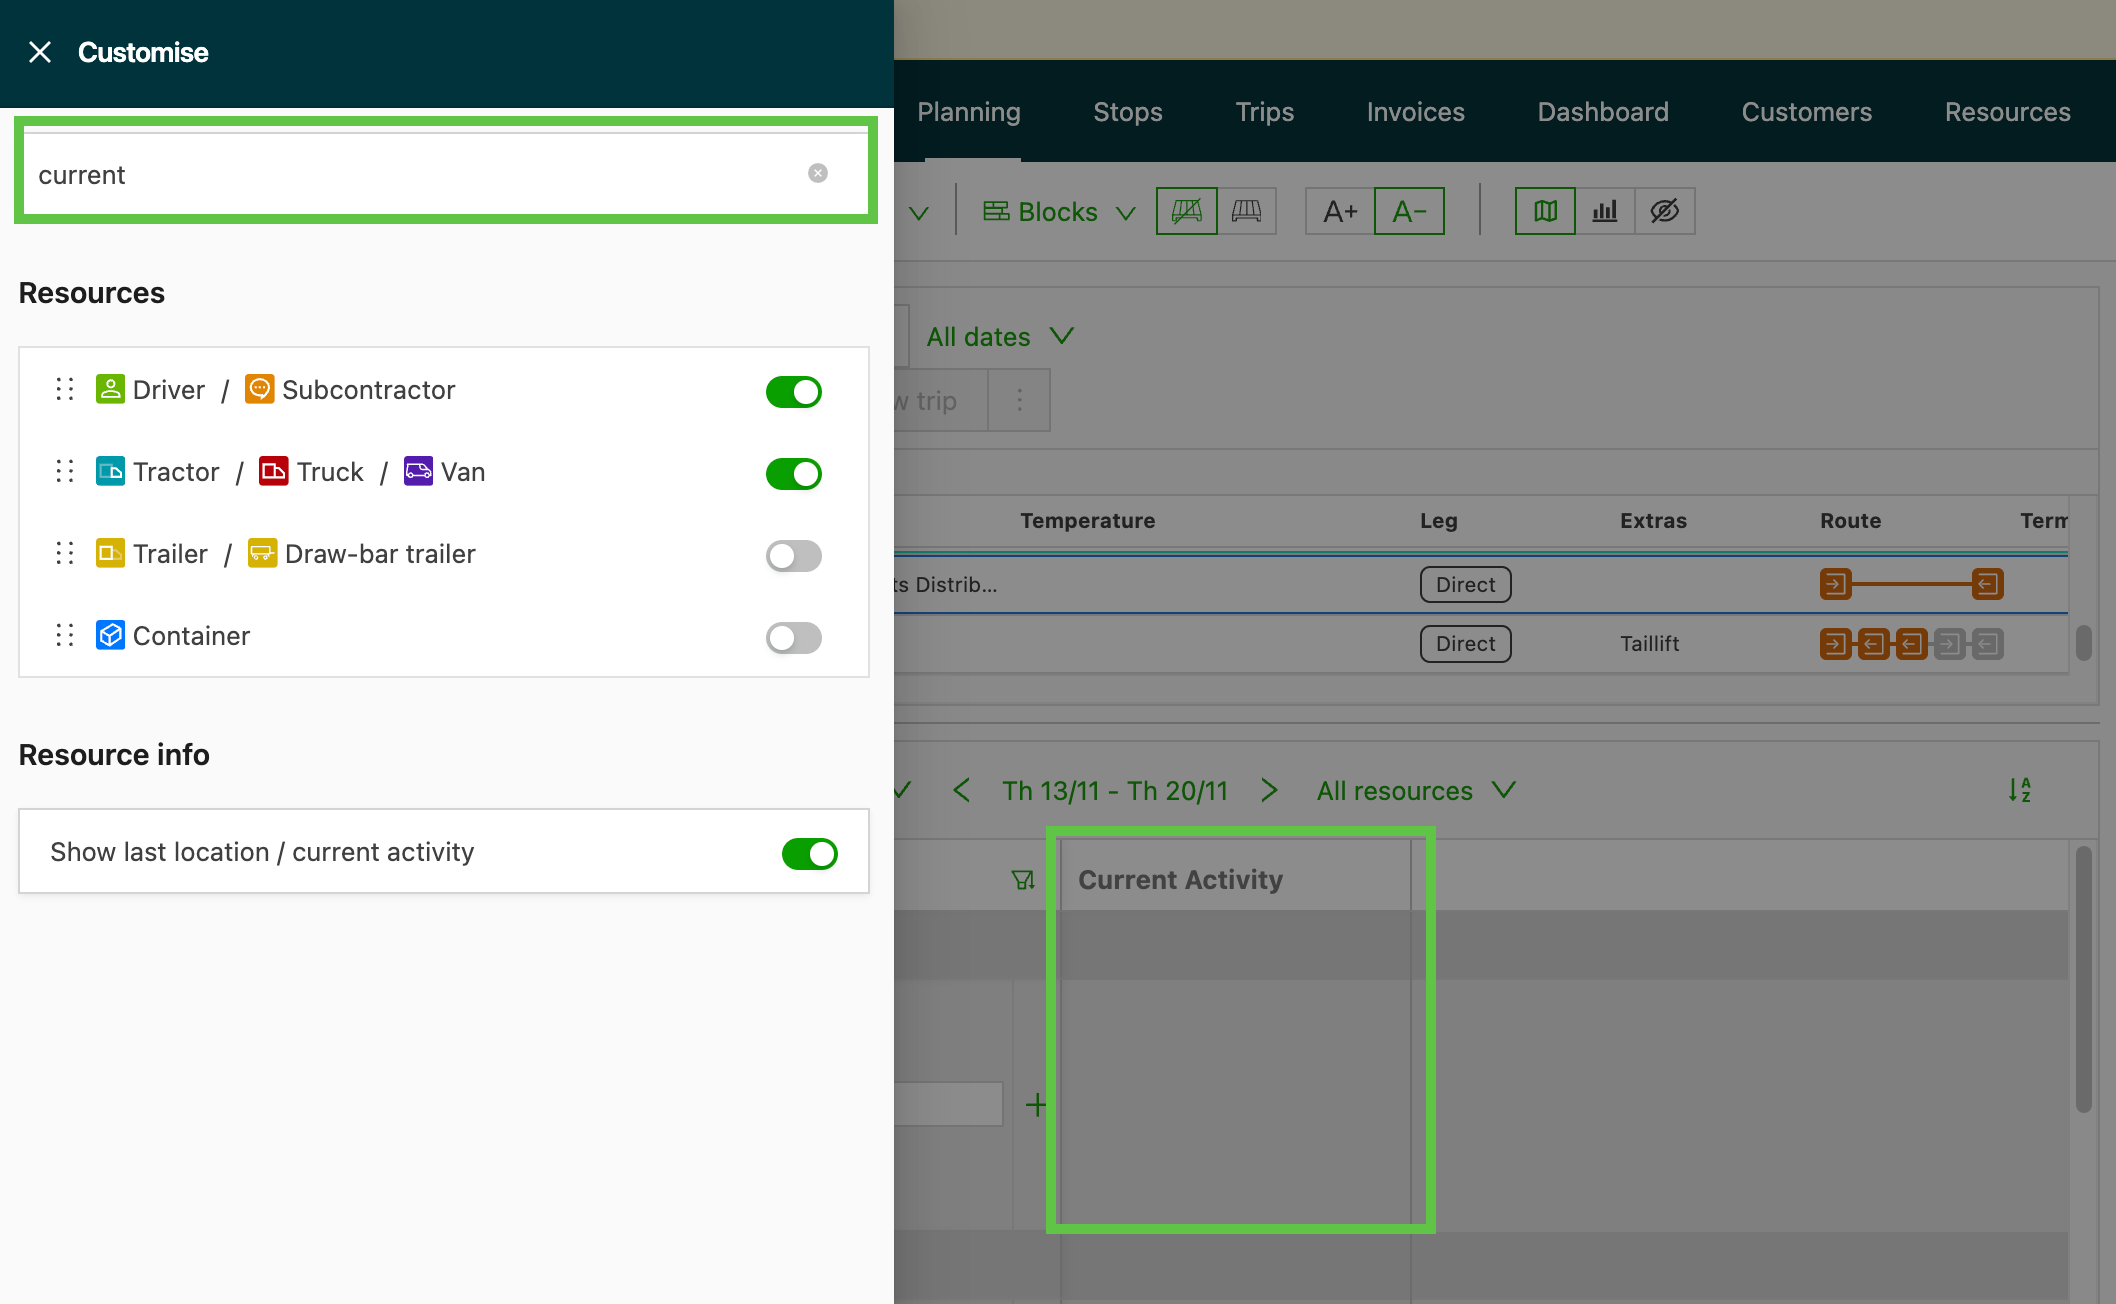
- For example, when “Last location/current activity” is activated, an additional column is added to the planning board to display this information.
-
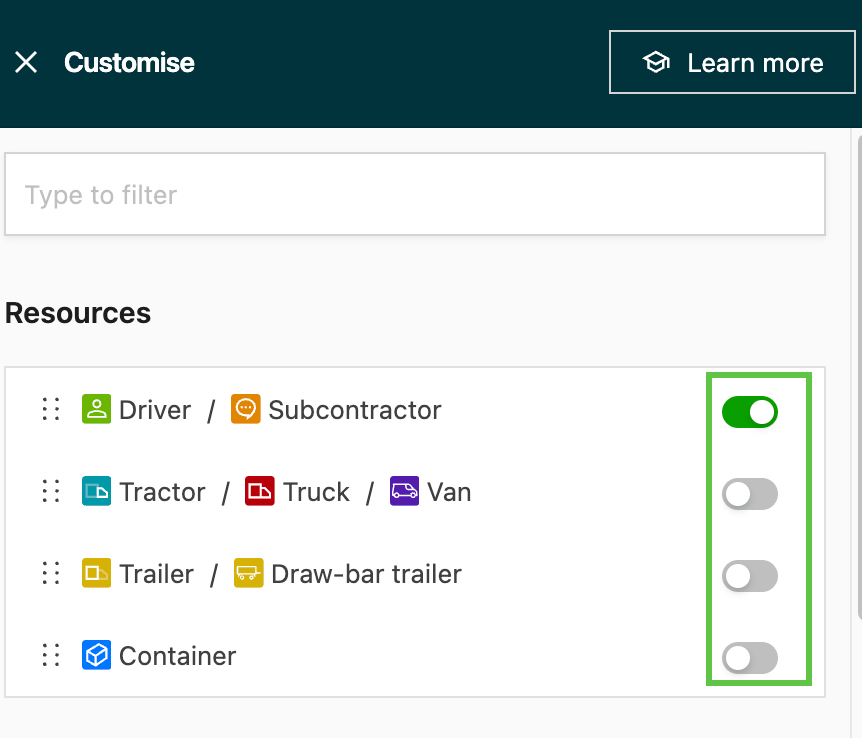
The resource names are displayed according to the toggles that are set on
-
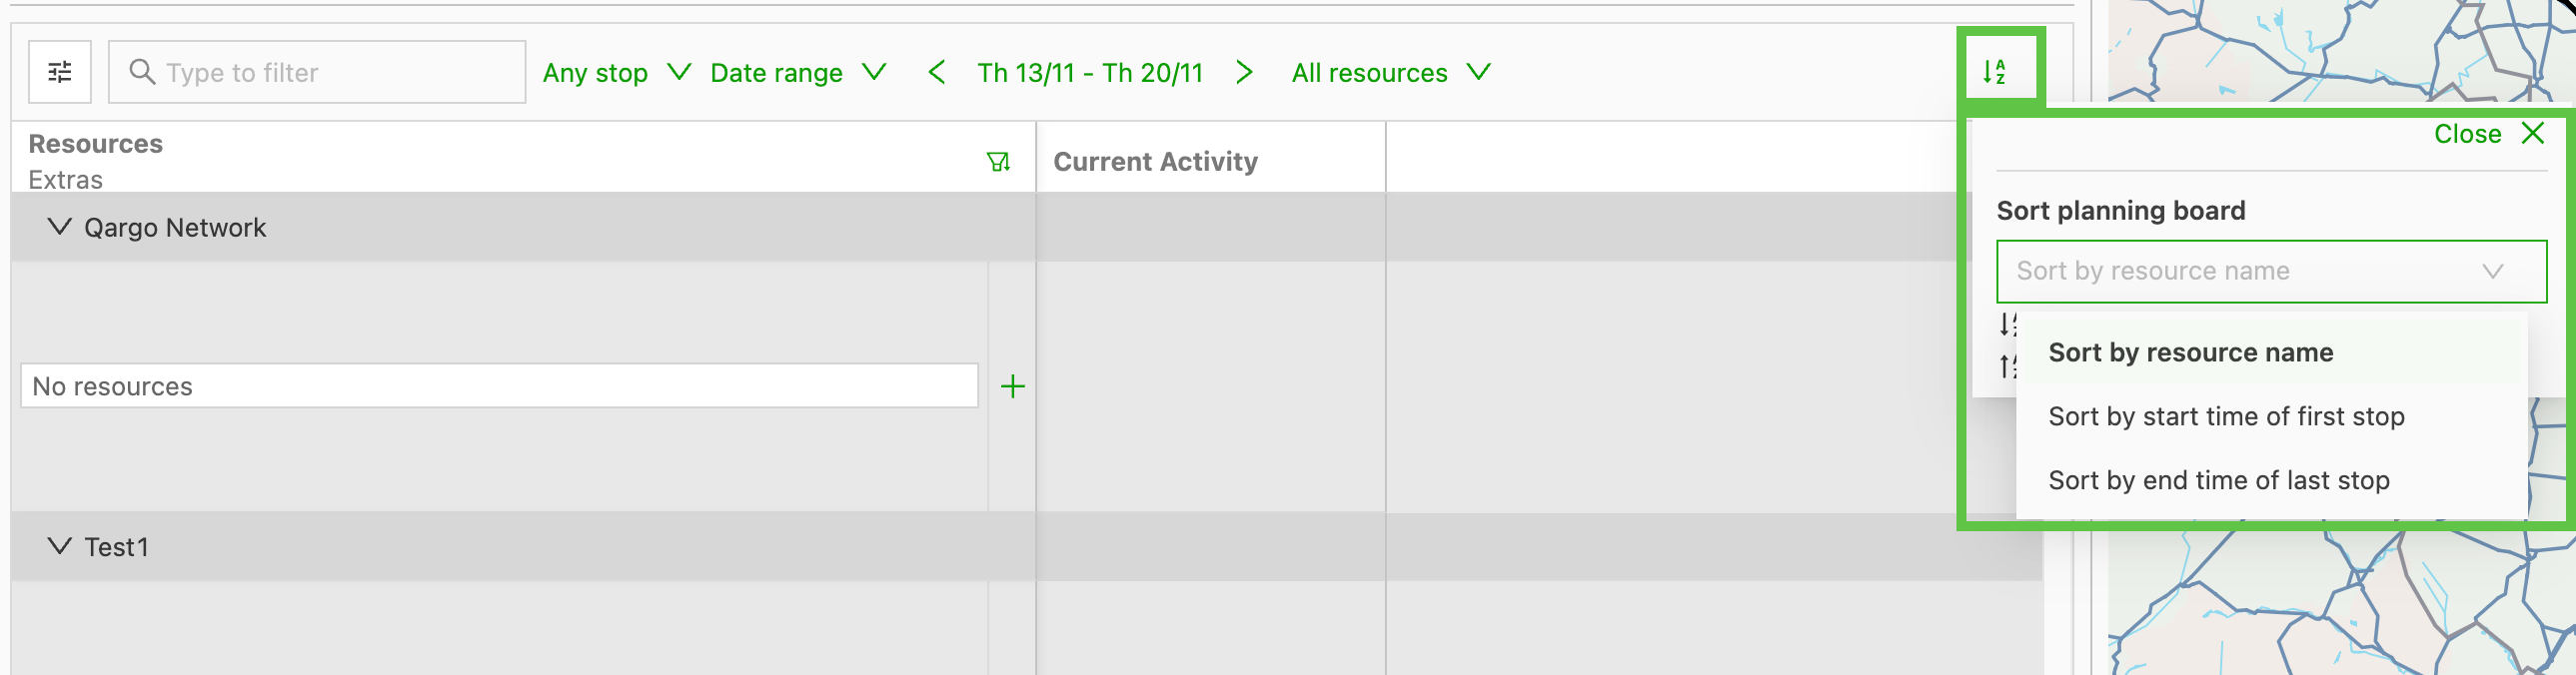
Sort options are available:
- Resource name
- Start time of 1st stop
- End time of last stop
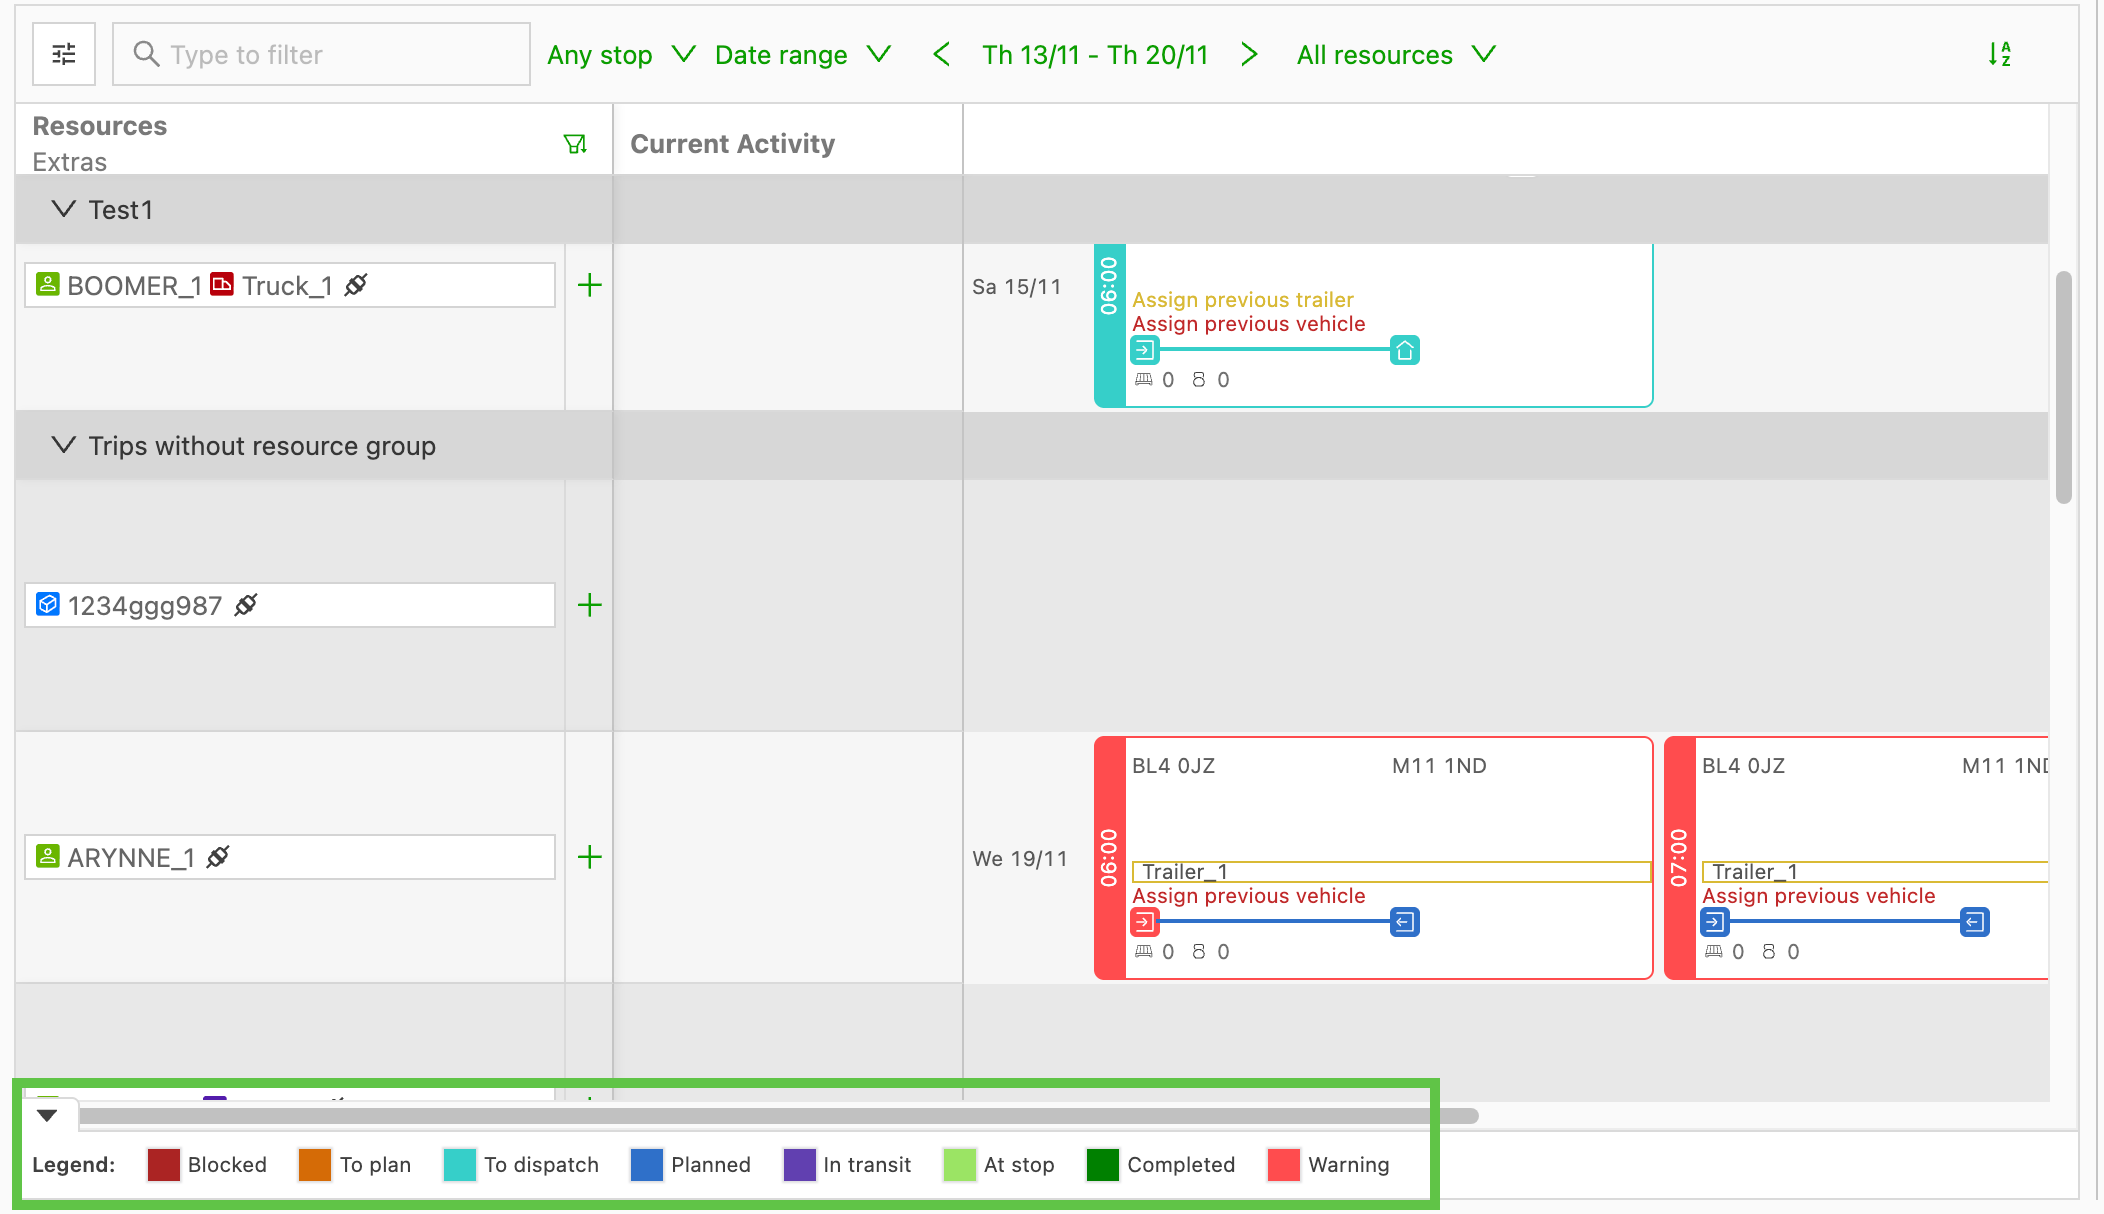
- Color indicators also show the status of the stops/load
Options for the list of resources to plan
-
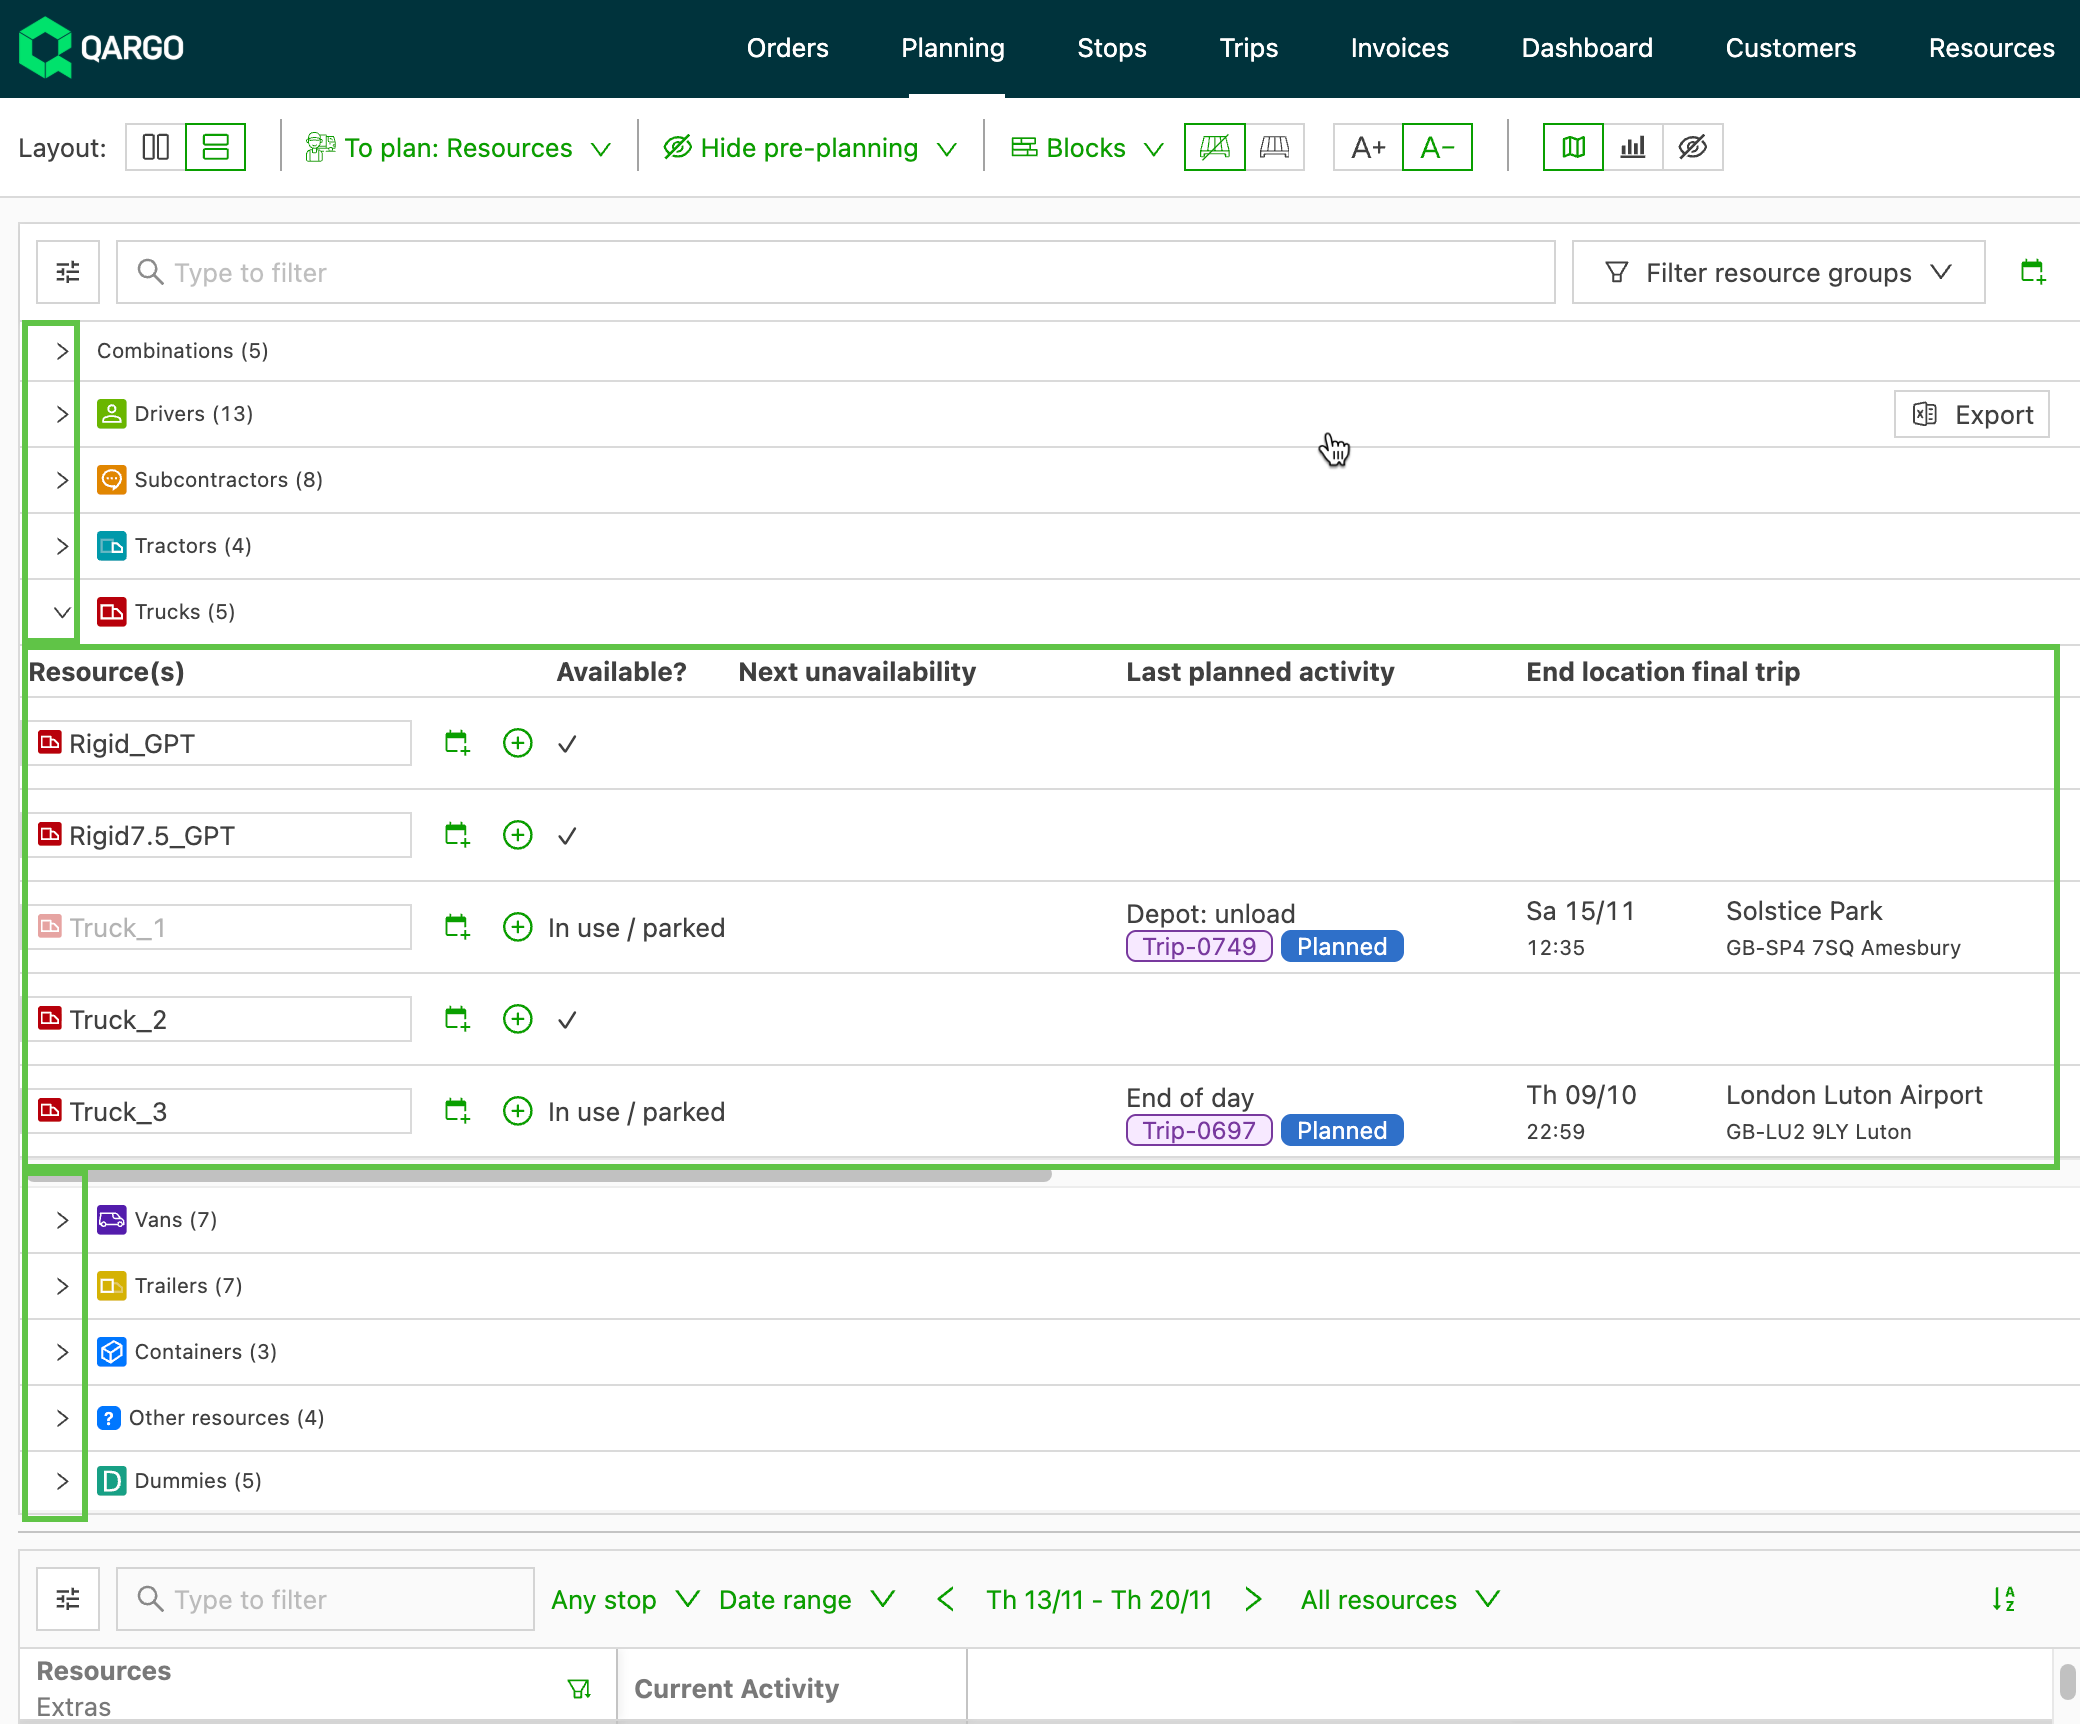
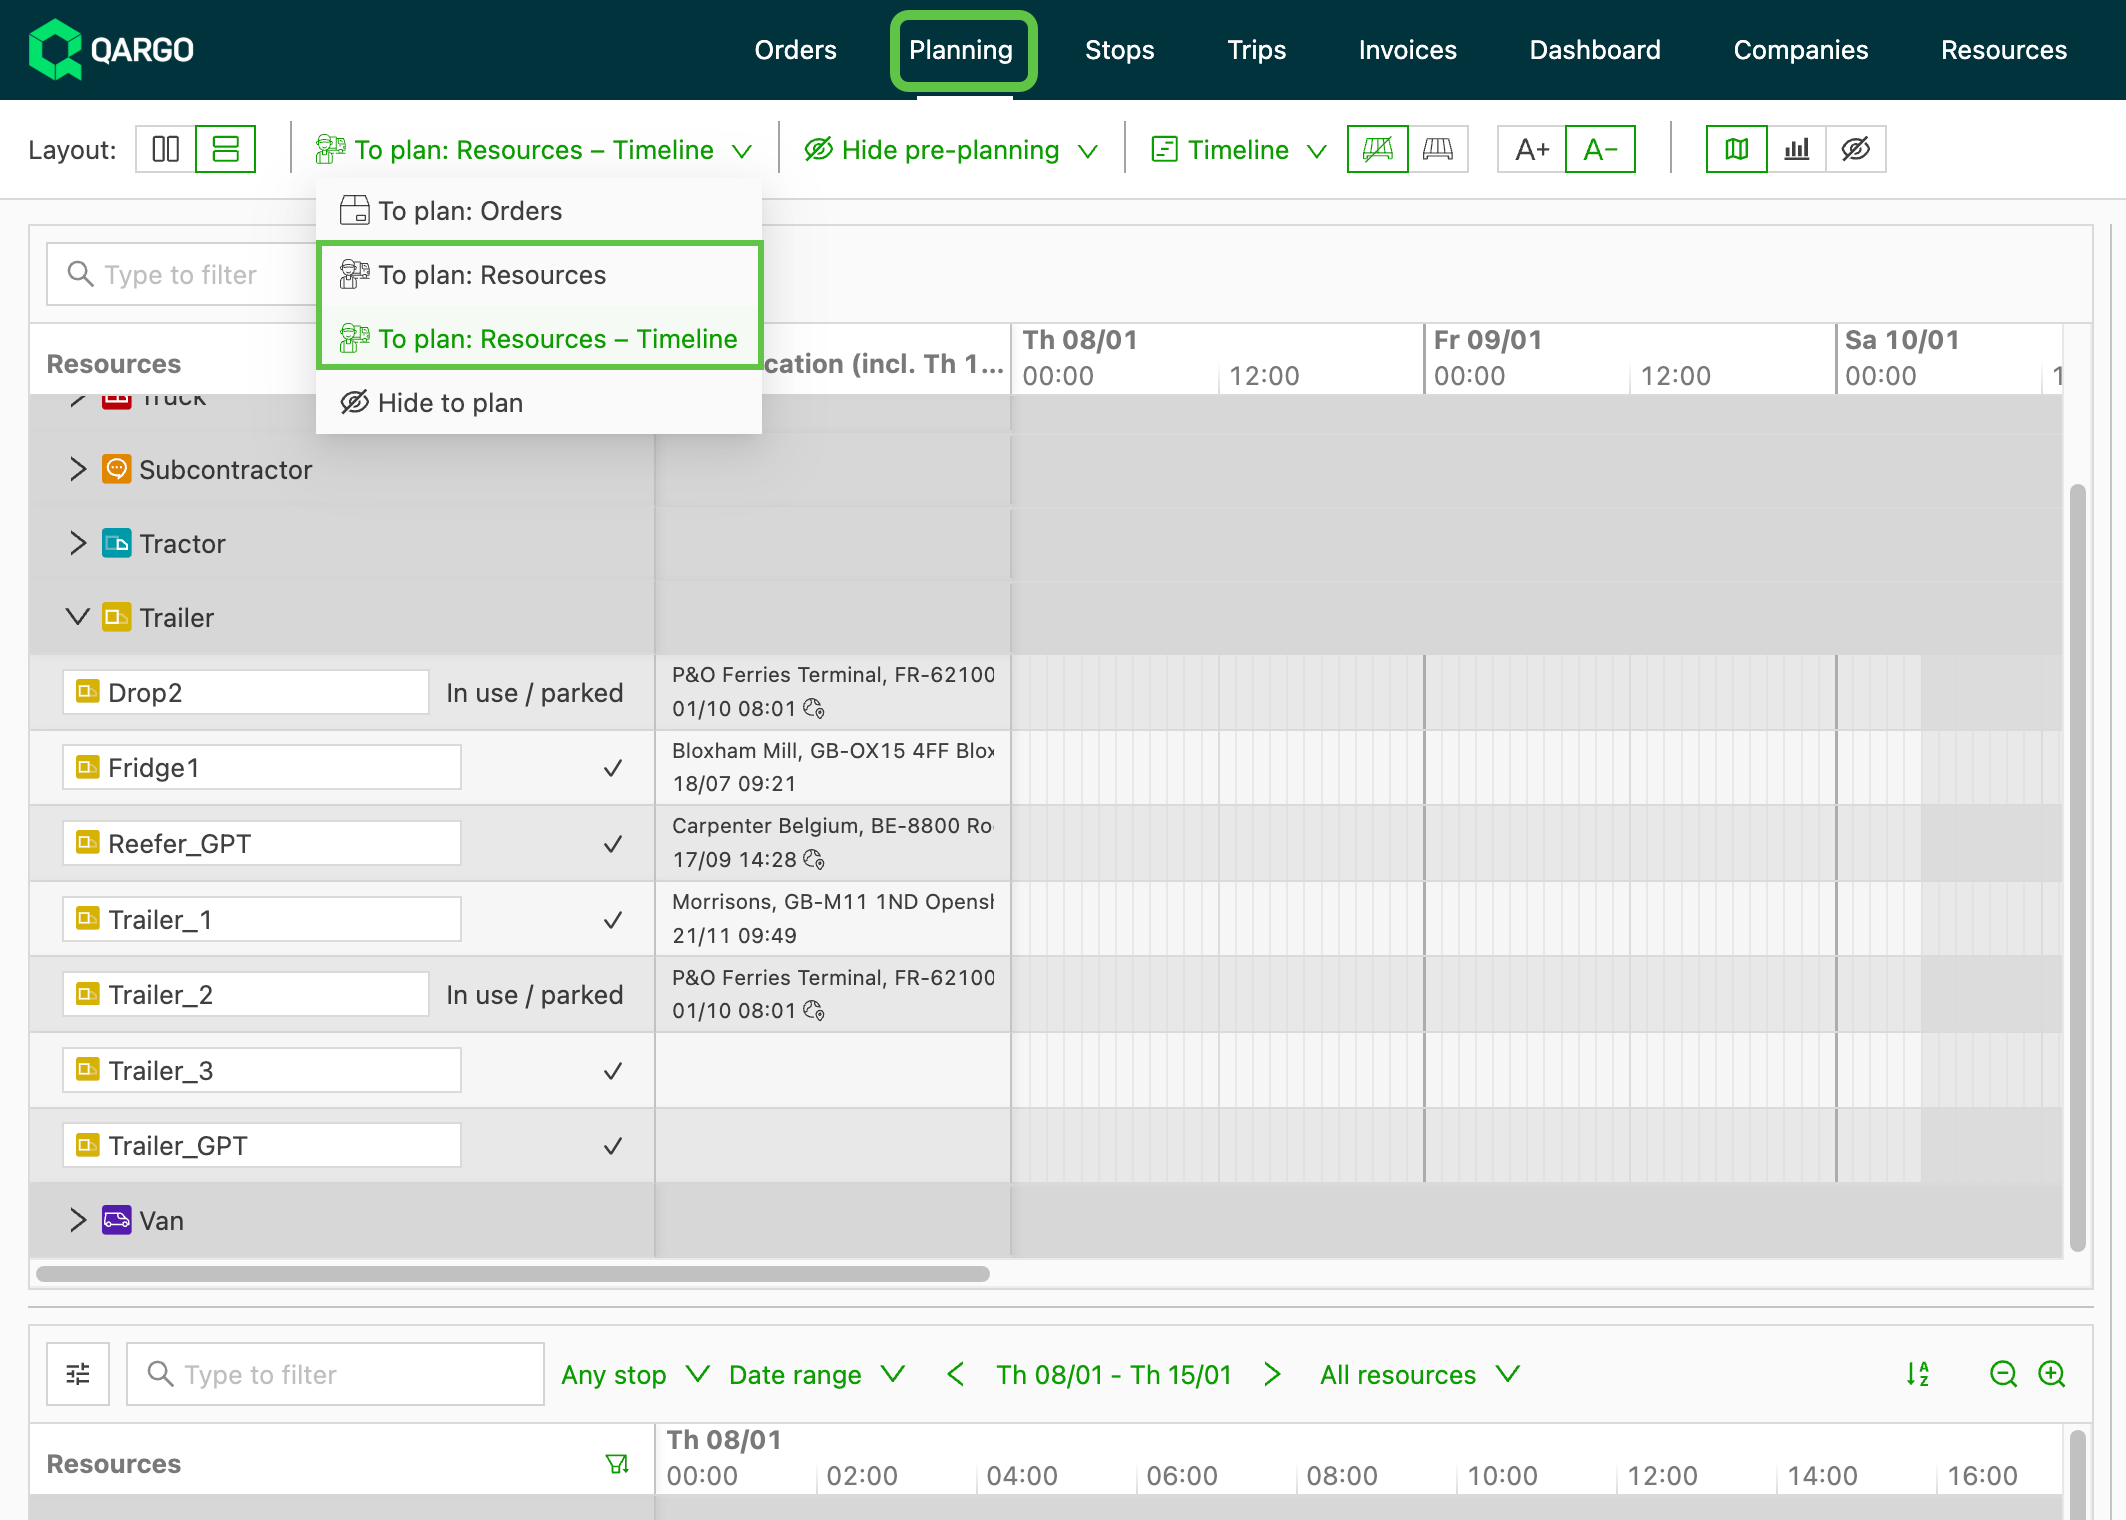
Displays the list of resources; click > to expand the dropdown list. There are 2 options to select from for resources:
-
To plan: Resource
-
To plan: Resources - Timeline
-
-
Can be used to track the last activity/next unavailability of resources, or to add resources or combinations that do not have the 👉Always on planboard toggle to the planning
-
Display shows:
- Location of the last load
- Activity and the load number and, if applicable,
- Date of the next unavailability of that resource (click 👉**here** to learn about setting availability)
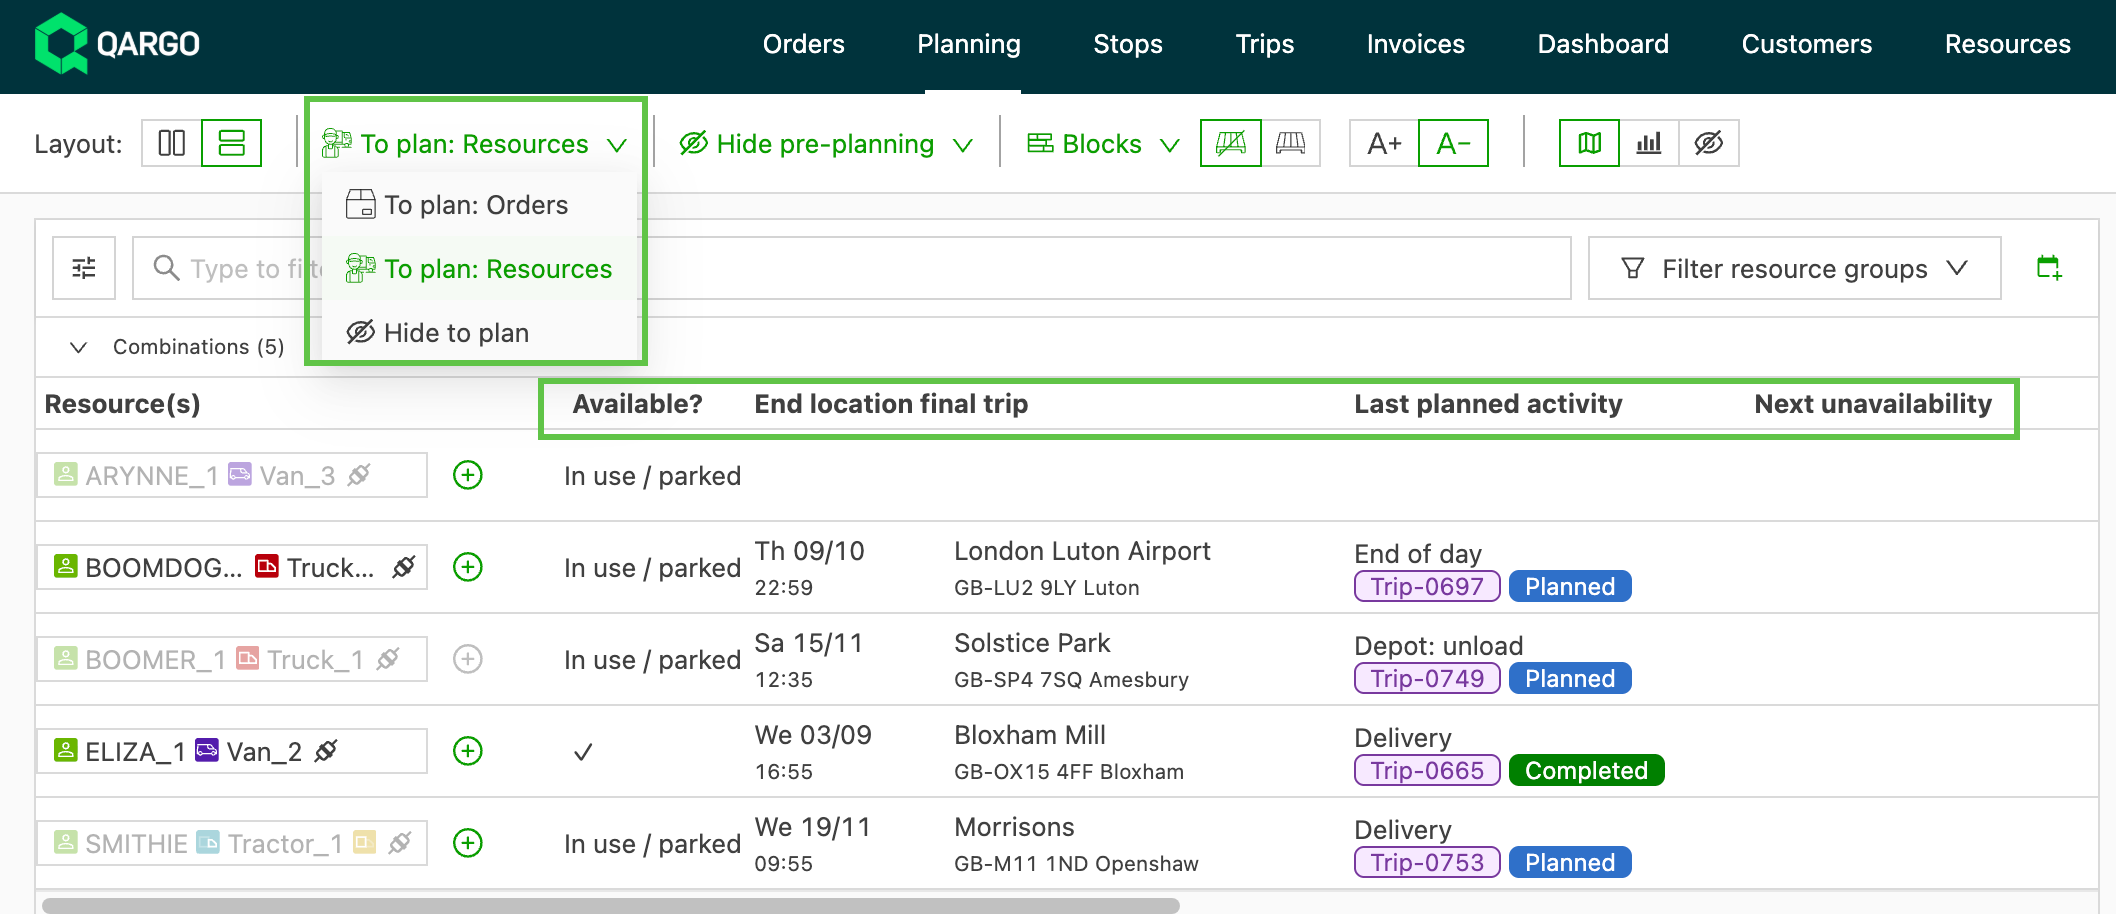
- To allocate resources that do not have the 👉Always on planboard toggle or that are not yet in the planning, click the Plus (+) icon next to the name of that resource
\
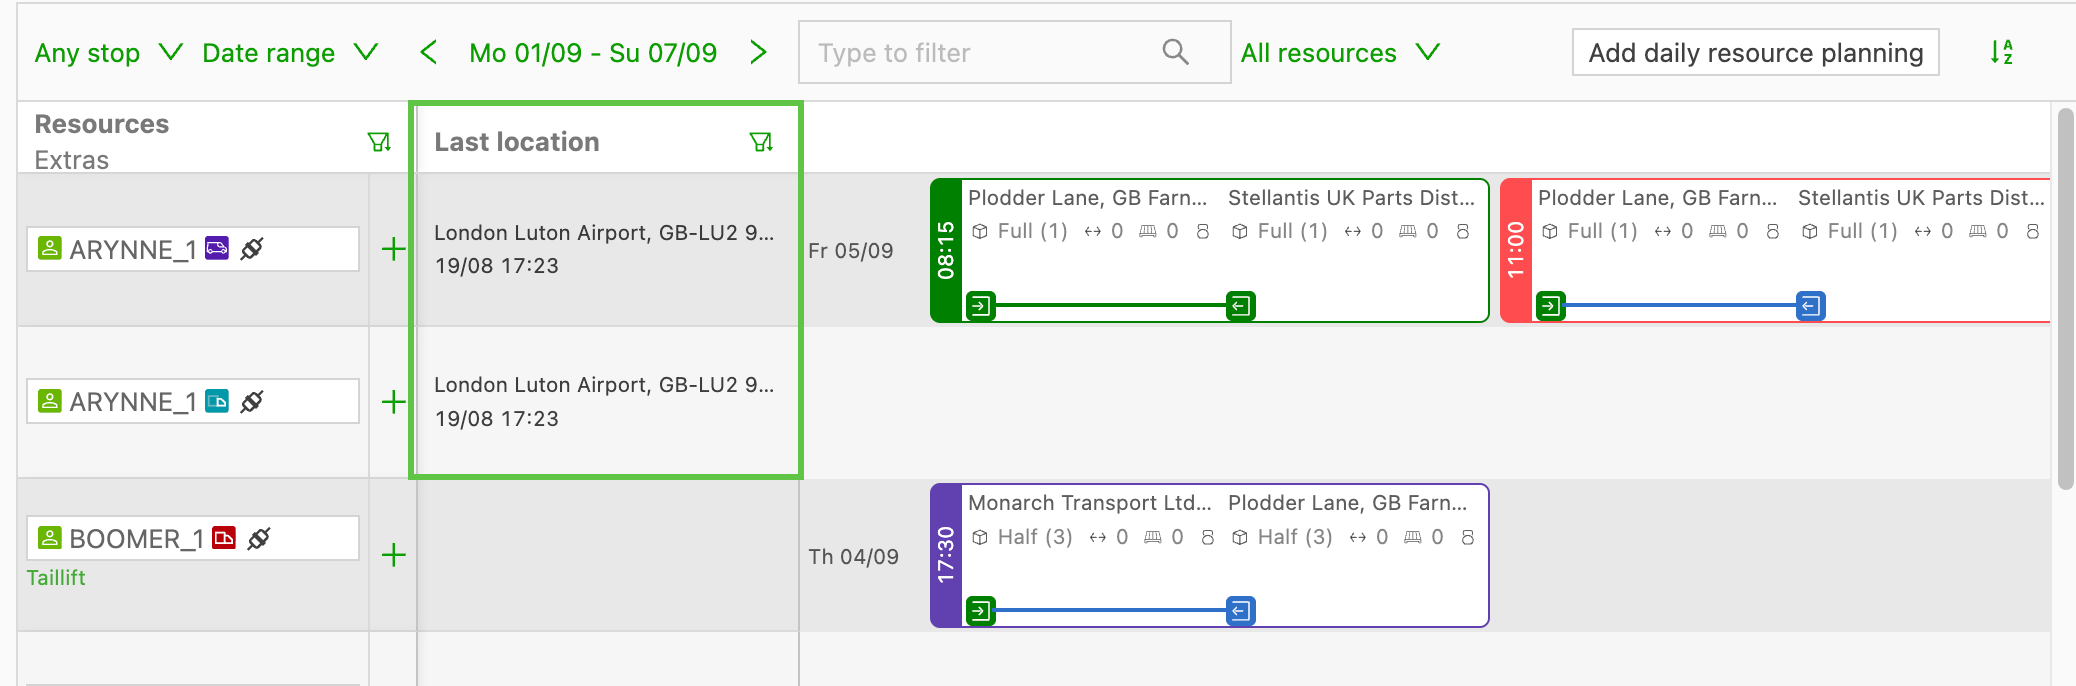
Show last location toggle {#h_094d8b8683}
- Shows the last location where the resource/combination executed an activity.
- Set on to see the last location of that specific resource in the planning.
- Information includes the name, address, date and hour of the last location
- Click the last location details to open the previous load details
Summary
What does this do?
- Detail views throughout Qargo (orders, loads, load groups, order groups, invoices, carrier invoices, credit memos and carrier credit memos) can be opened in a preview slider instead of a full-screen overlay, keeping the rest of the screen visible
Why does this exist?
- Opening a full detail modal forced planners and operations staff to lose context every time they needed to inspect a record. For operations managing dozens of loads or orders at once, this constant context switching created significant friction. It was one of the most-requested improvements across customers
How does it work?
- Clicking a record opens the preview slider alongside the current screen. It is available for orders, loads, load groups, order groups, invoices, carrier invoices, credit memos and carrier credit memos
- The preview slider can be positioned left, center, right or at the bottom of the screen
- Clicking Open as page in the preview slider header opens the full record on its own page
Opening the preview slider
The preview slider is available for the following record types: orders, loads, load groups, order groups, invoices, carrier invoices, credit memos and carrier credit memos. The preview slider shows the record’s content alongside the current screen, so nothing underneath is replaced.
- Click the status of a record to open it in the preview slider. The content shown depends on the record type: load details show stops and route information, while order and invoice details show their respective layouts.
- Close the preview slider by clicking the × button in the header, or by clicking the same record again.
Choosing the position
Click the Position button in the preview slider header to open the arrangement options. Select one of the four positions:
- Left: the preview slider docks to the left side of the screen
- Center: the preview slider appears in the center (default)
- Right: the preview slider docks to the right side of the screen
- Bottom: the preview slider docks to the bottom of the screen
Map view
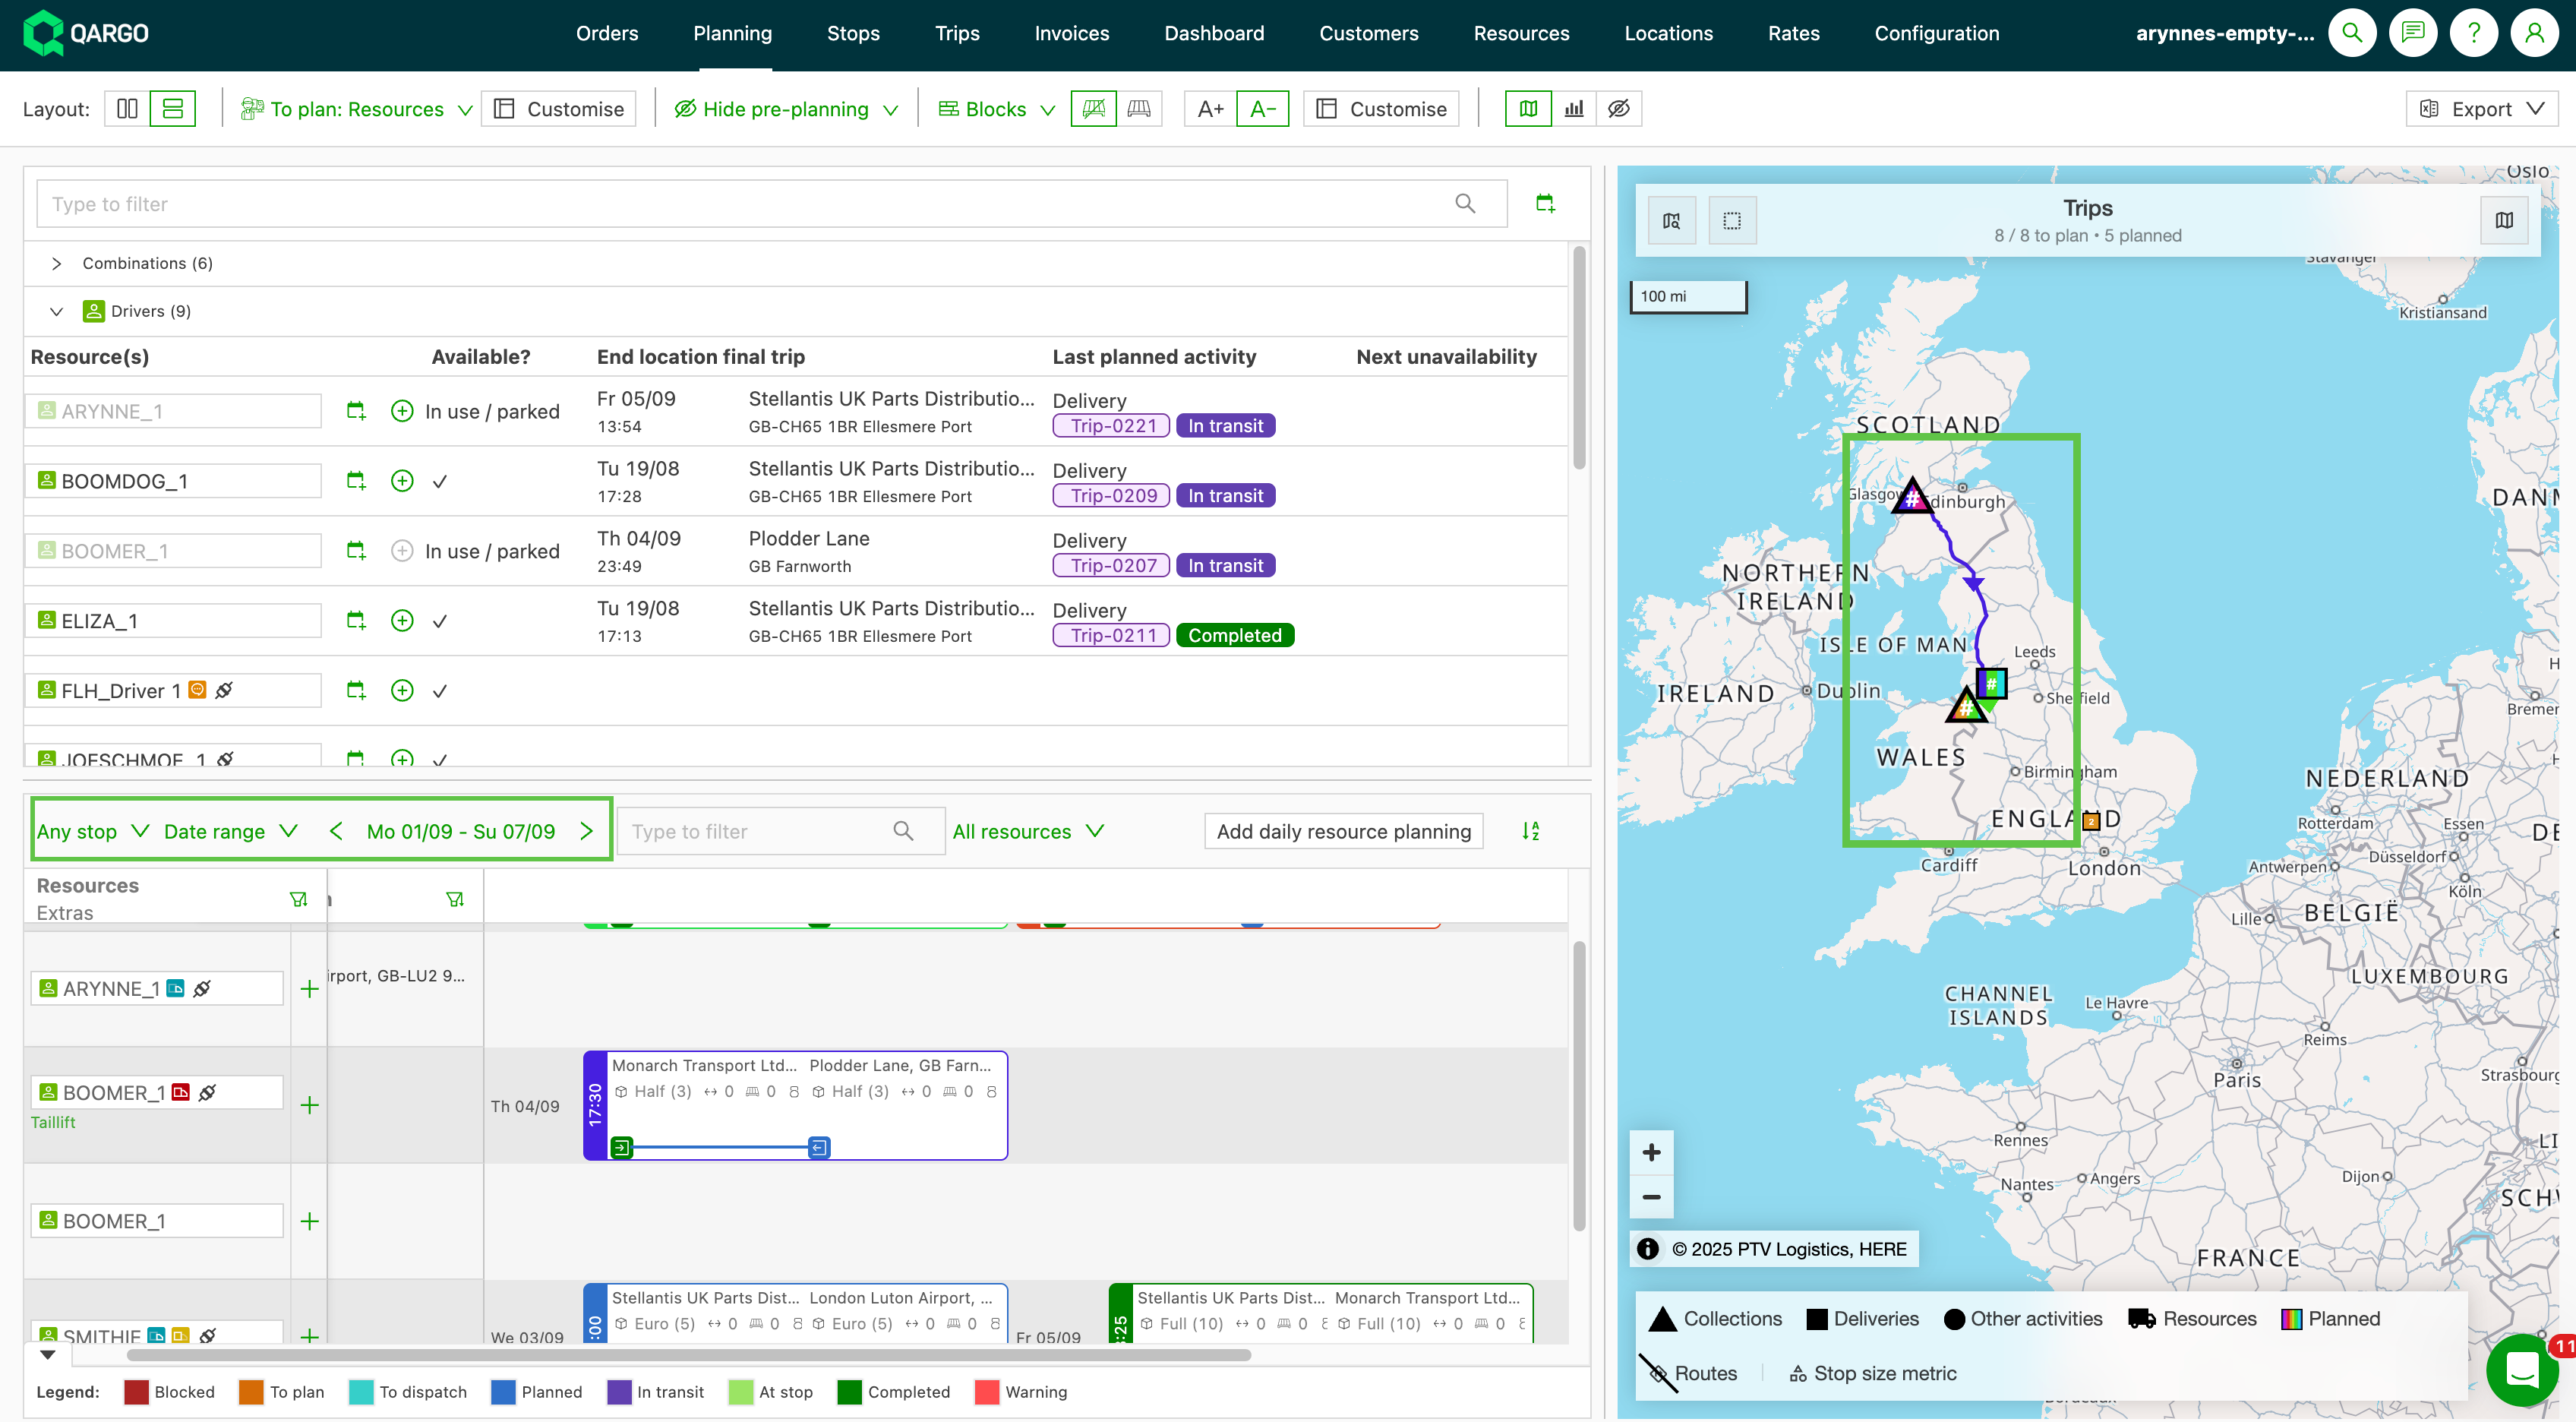
- Shows the data for the selected dates in the planning.
-
Map view has its own filter options.
-
Click the map icon to drag and highlight the area on the map to filter
- The header displays orders to plan and loads planned
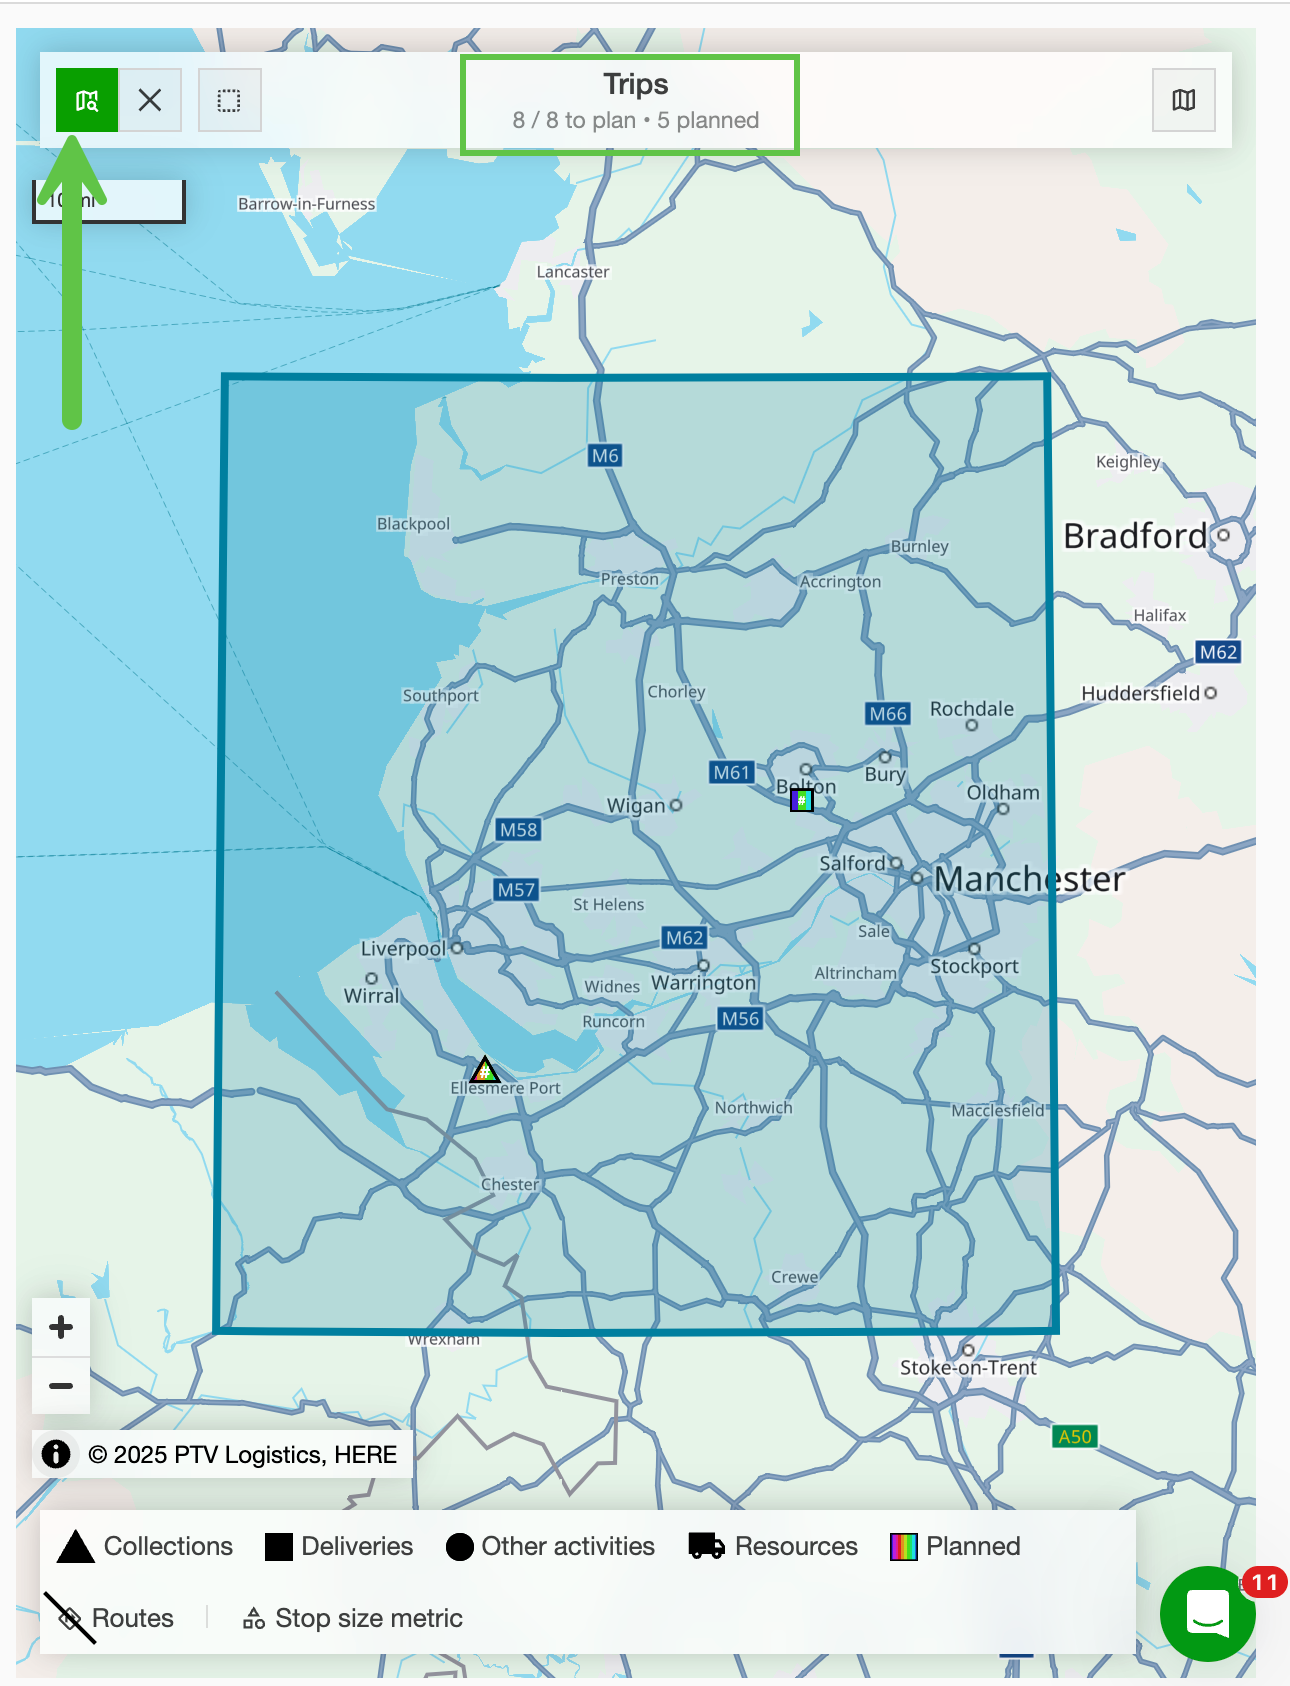
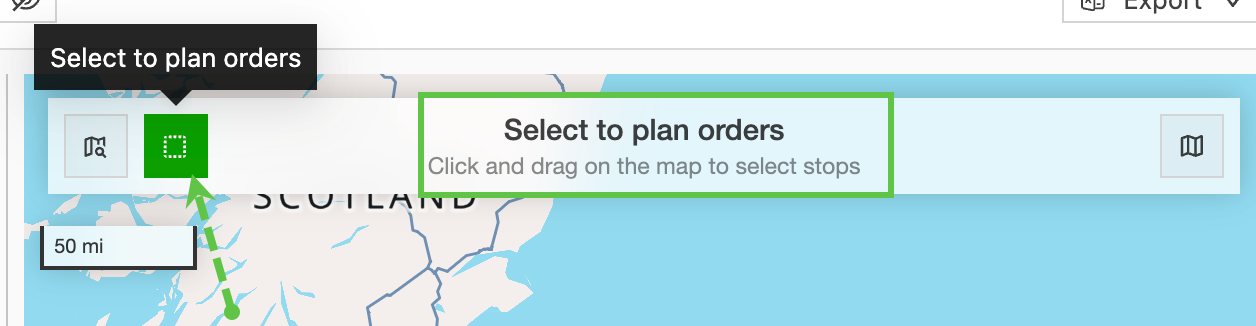
- Select or ‘draw’ the area on the map to plan orders
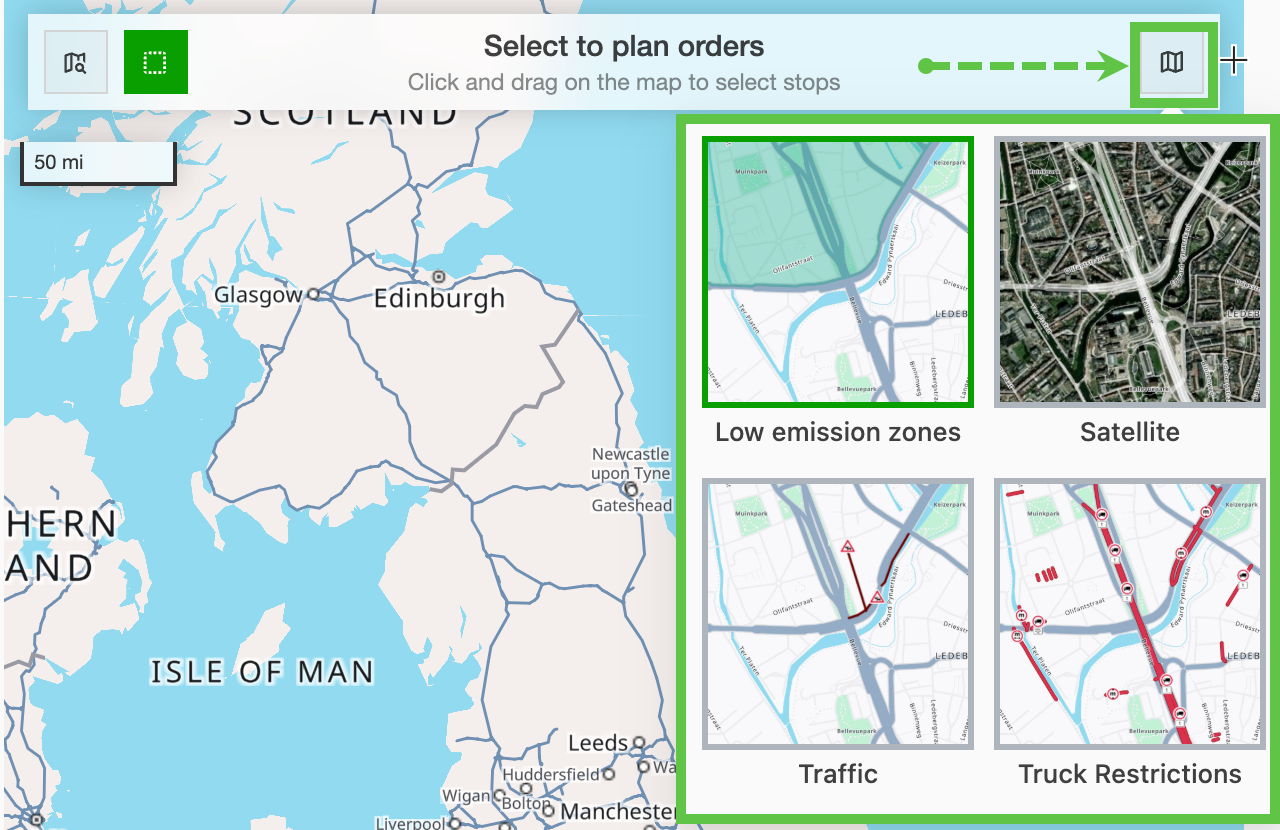
- Map overlays are available for routing through LEZs, checking truck restrictions, etc.
- Map visibility can be set on/off or replaced with order stats if preferred.
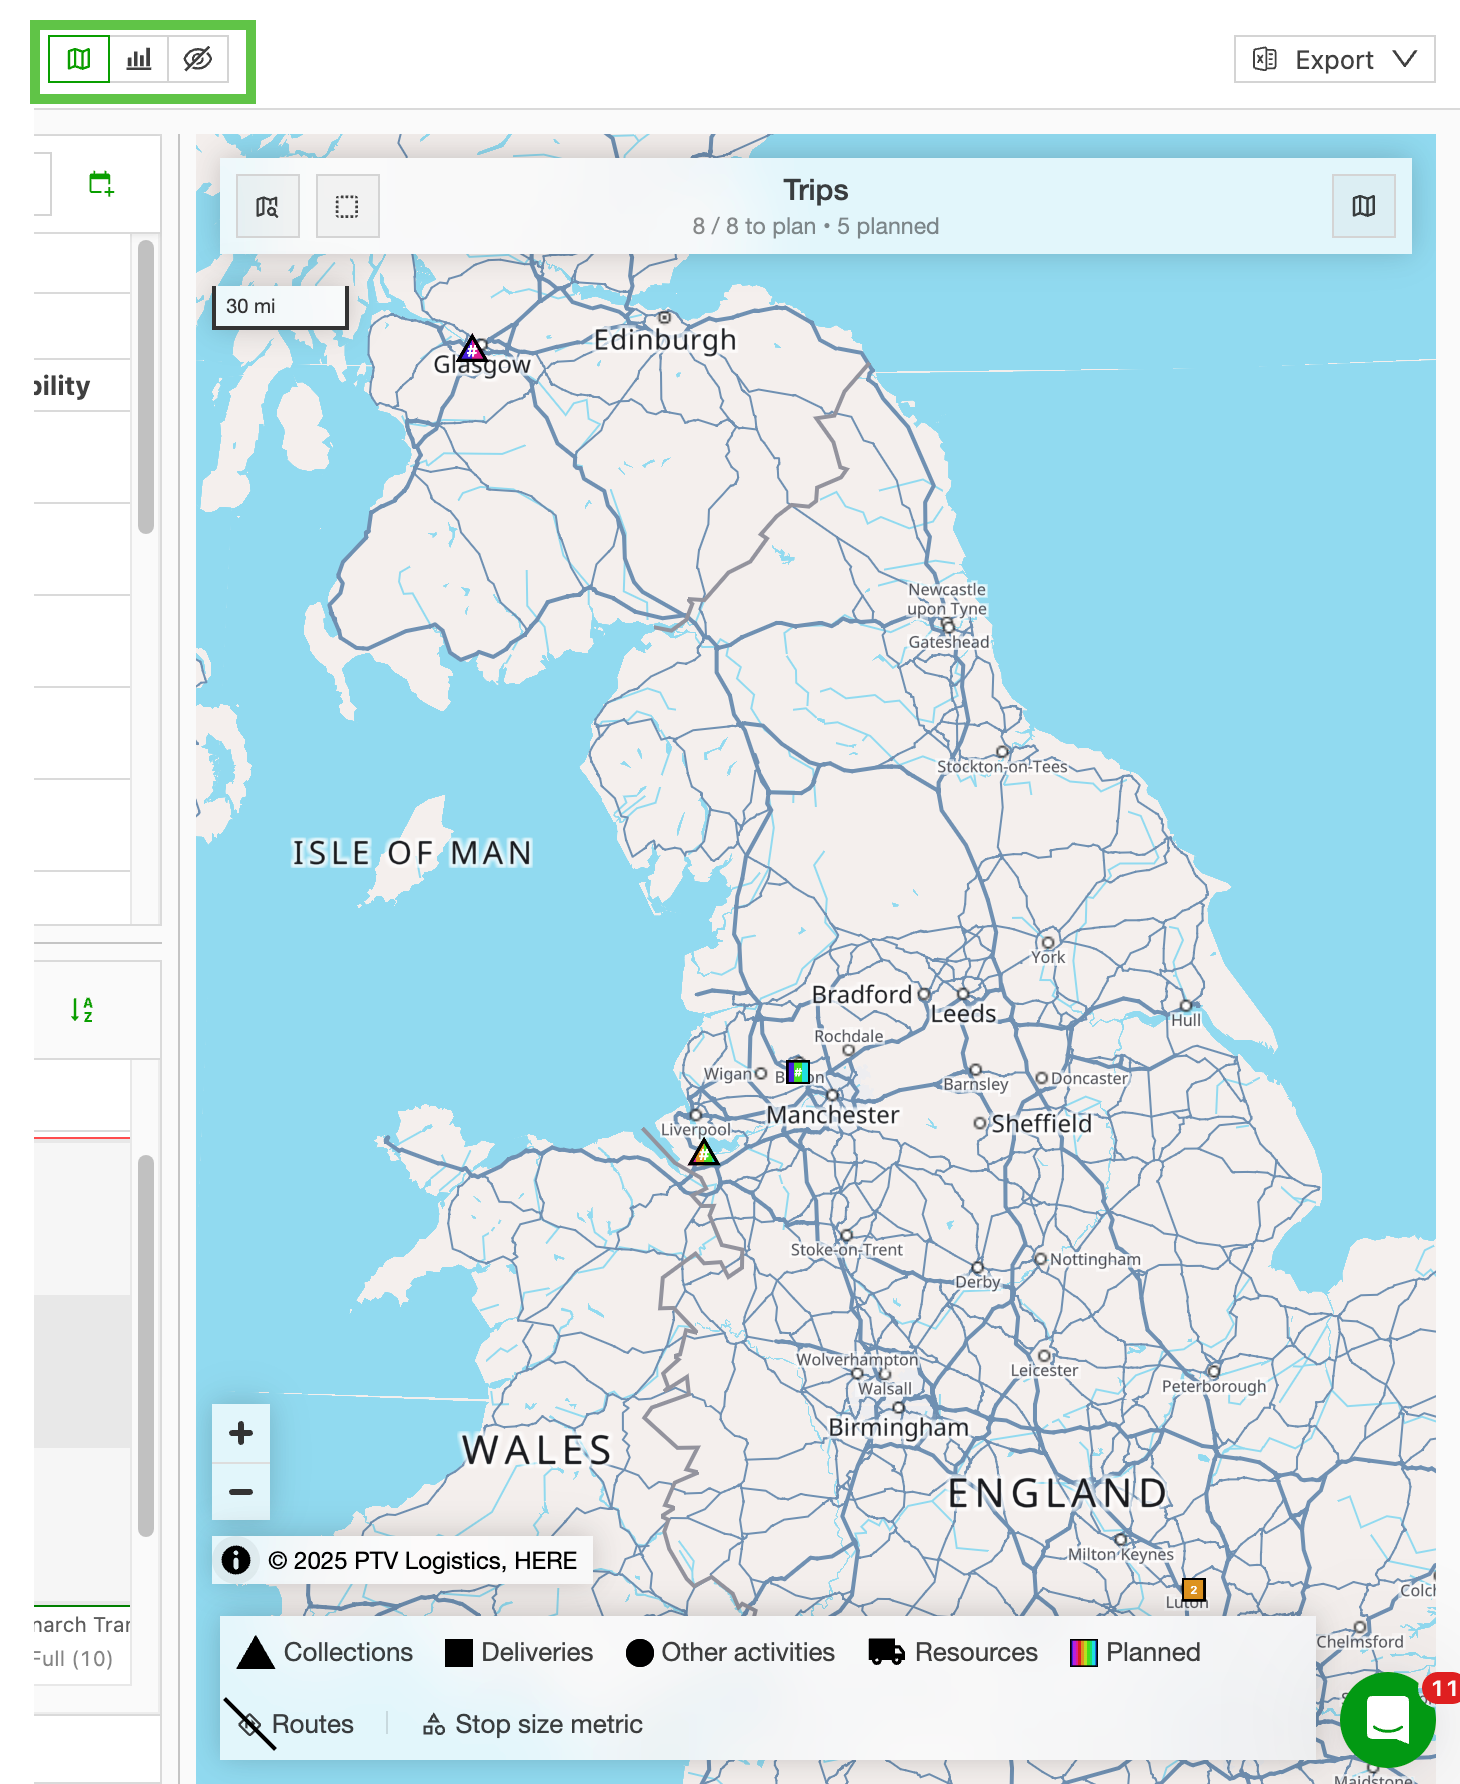
To learn more about map functions, see the articles below 👇
Planning – Map features and functions
Planning – Map visualizations