User roles: Permission and visibility
Assign roles in Qargo to control user access. New roles, default permissions, and MFA setup streamline secure user management.
Table of contents
Introduction
When new users are added in Qargo, they are assigned to a role. These roles determine which functionality the user can access and what is available for viewing only. In some cases, visibility of menu items or features is completely restricted based on these roles.
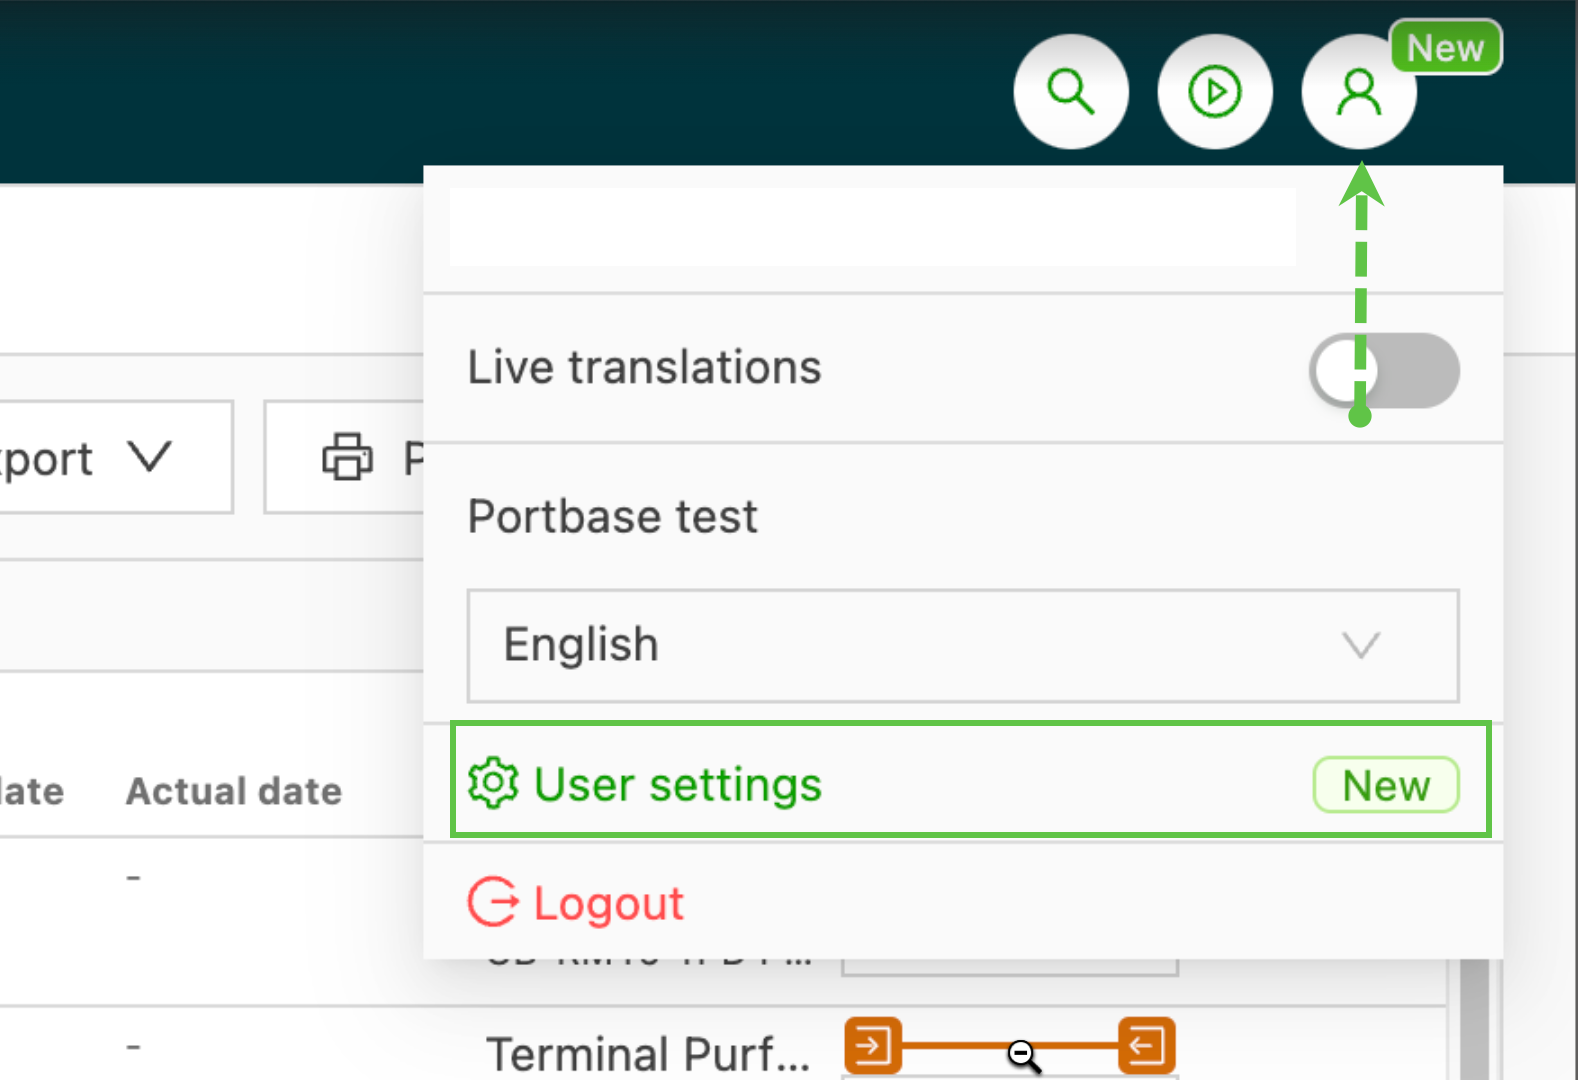
Each user role has core features and functions available by default. This gives the user a predetermined access level. For example, it restricts visibility of financial information for users who do not need to review or update this data. A user may need visibility of a tab or function that is not included in the default role. In that case, it may be possible to enable it in the user settings menu.
User roles and permissions This section discusses the extensive permissions of the Super admin role and restrictions such as the Integrations tab, which is limited to Qargo admins.
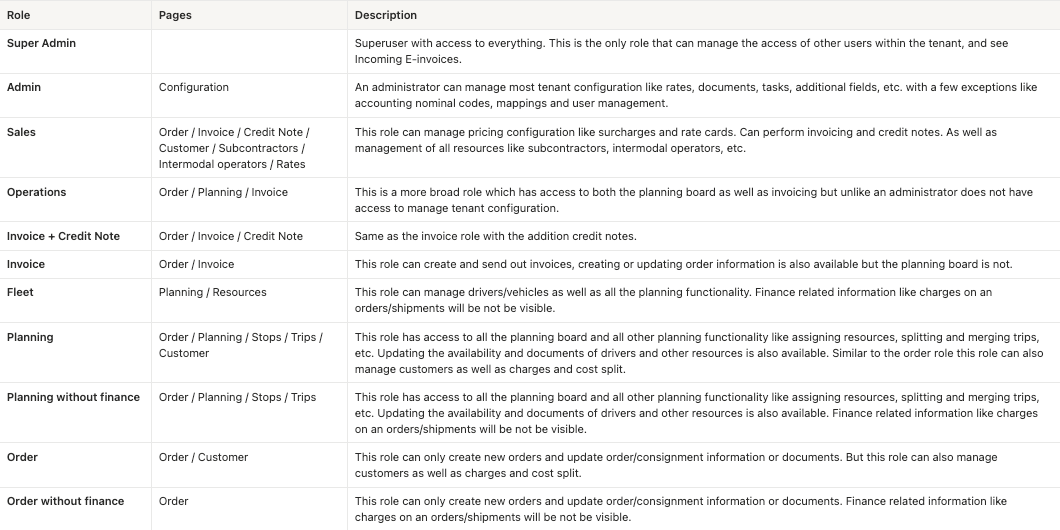
When a new user is added to the tenant, the standard user roles are: It is also possible to assign the Super admin role to a user by editing the user’s role in Organization settings under the Configuration section.
- Super admin
- Admin
- Sales
- Operations
- Invoice + credit memo
- Invoice only
- Fleet
- Planning
- Planning without finance
- Order
- Order without finance
- Warehouse operator
- Note: The Super admin role provides extensive permissions. However, it does not include access to the Integrations tab in the Configuration section. For security reasons, this tab is reserved for Qargo admins.
‘Add user’ includes roles with default permissions that can be assigned when the new user is added.
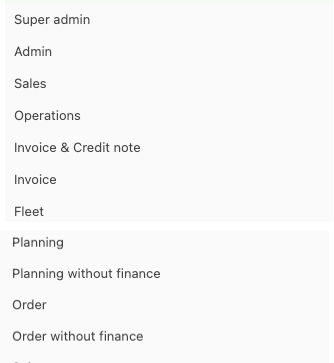
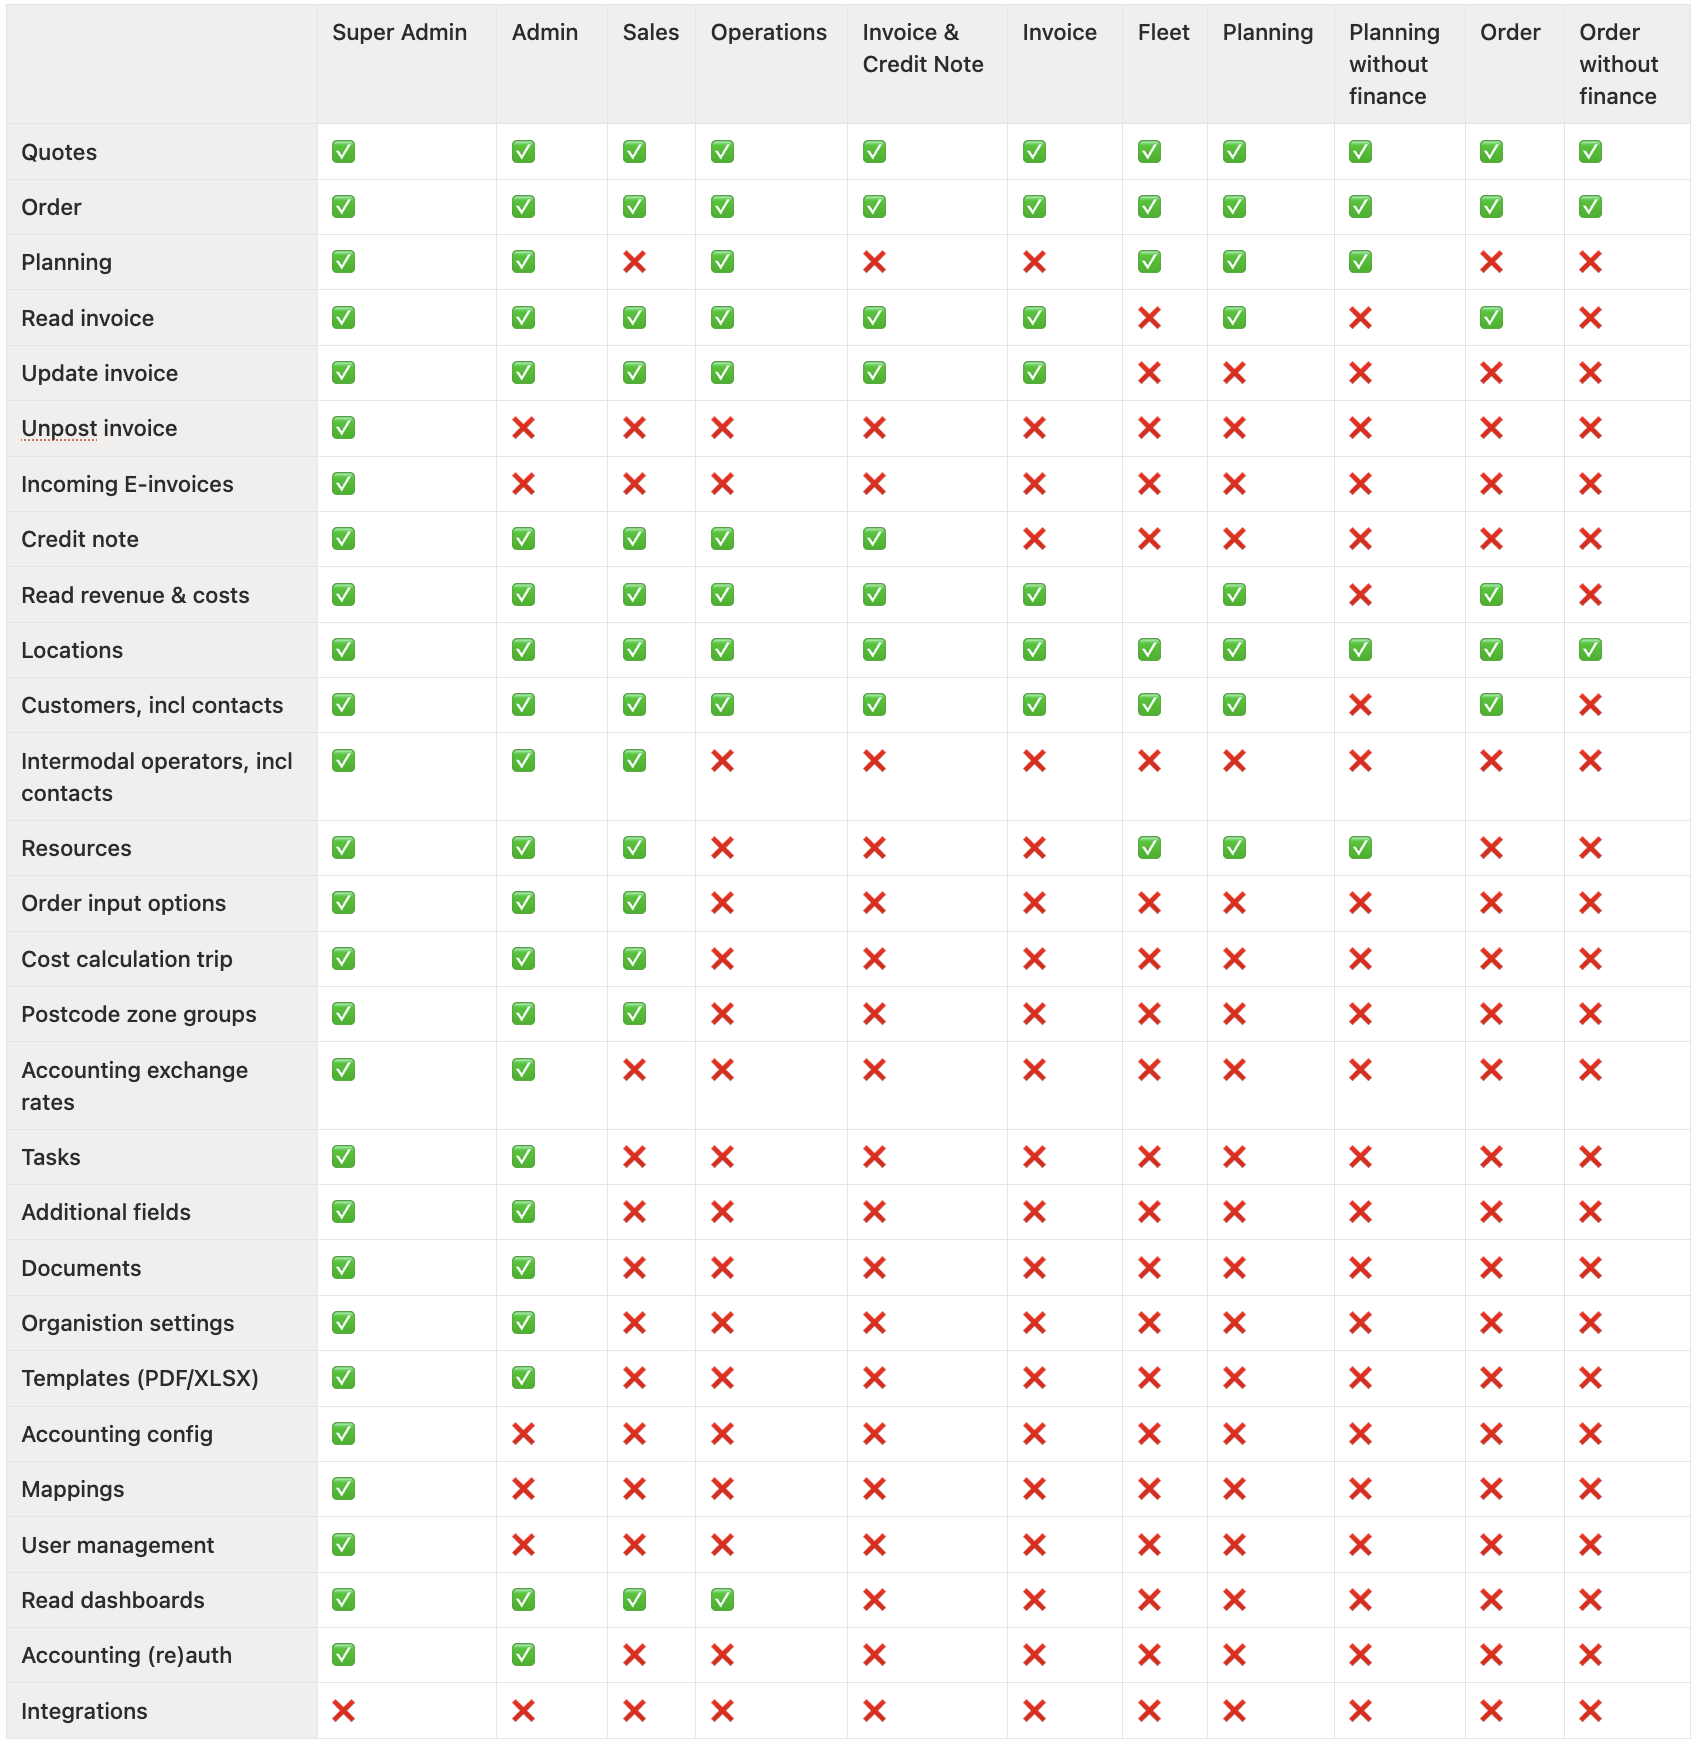
Standard user role permissions.
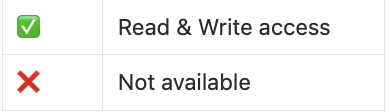
Legend:
Summary overview of roles and associated pages.
Permission to view
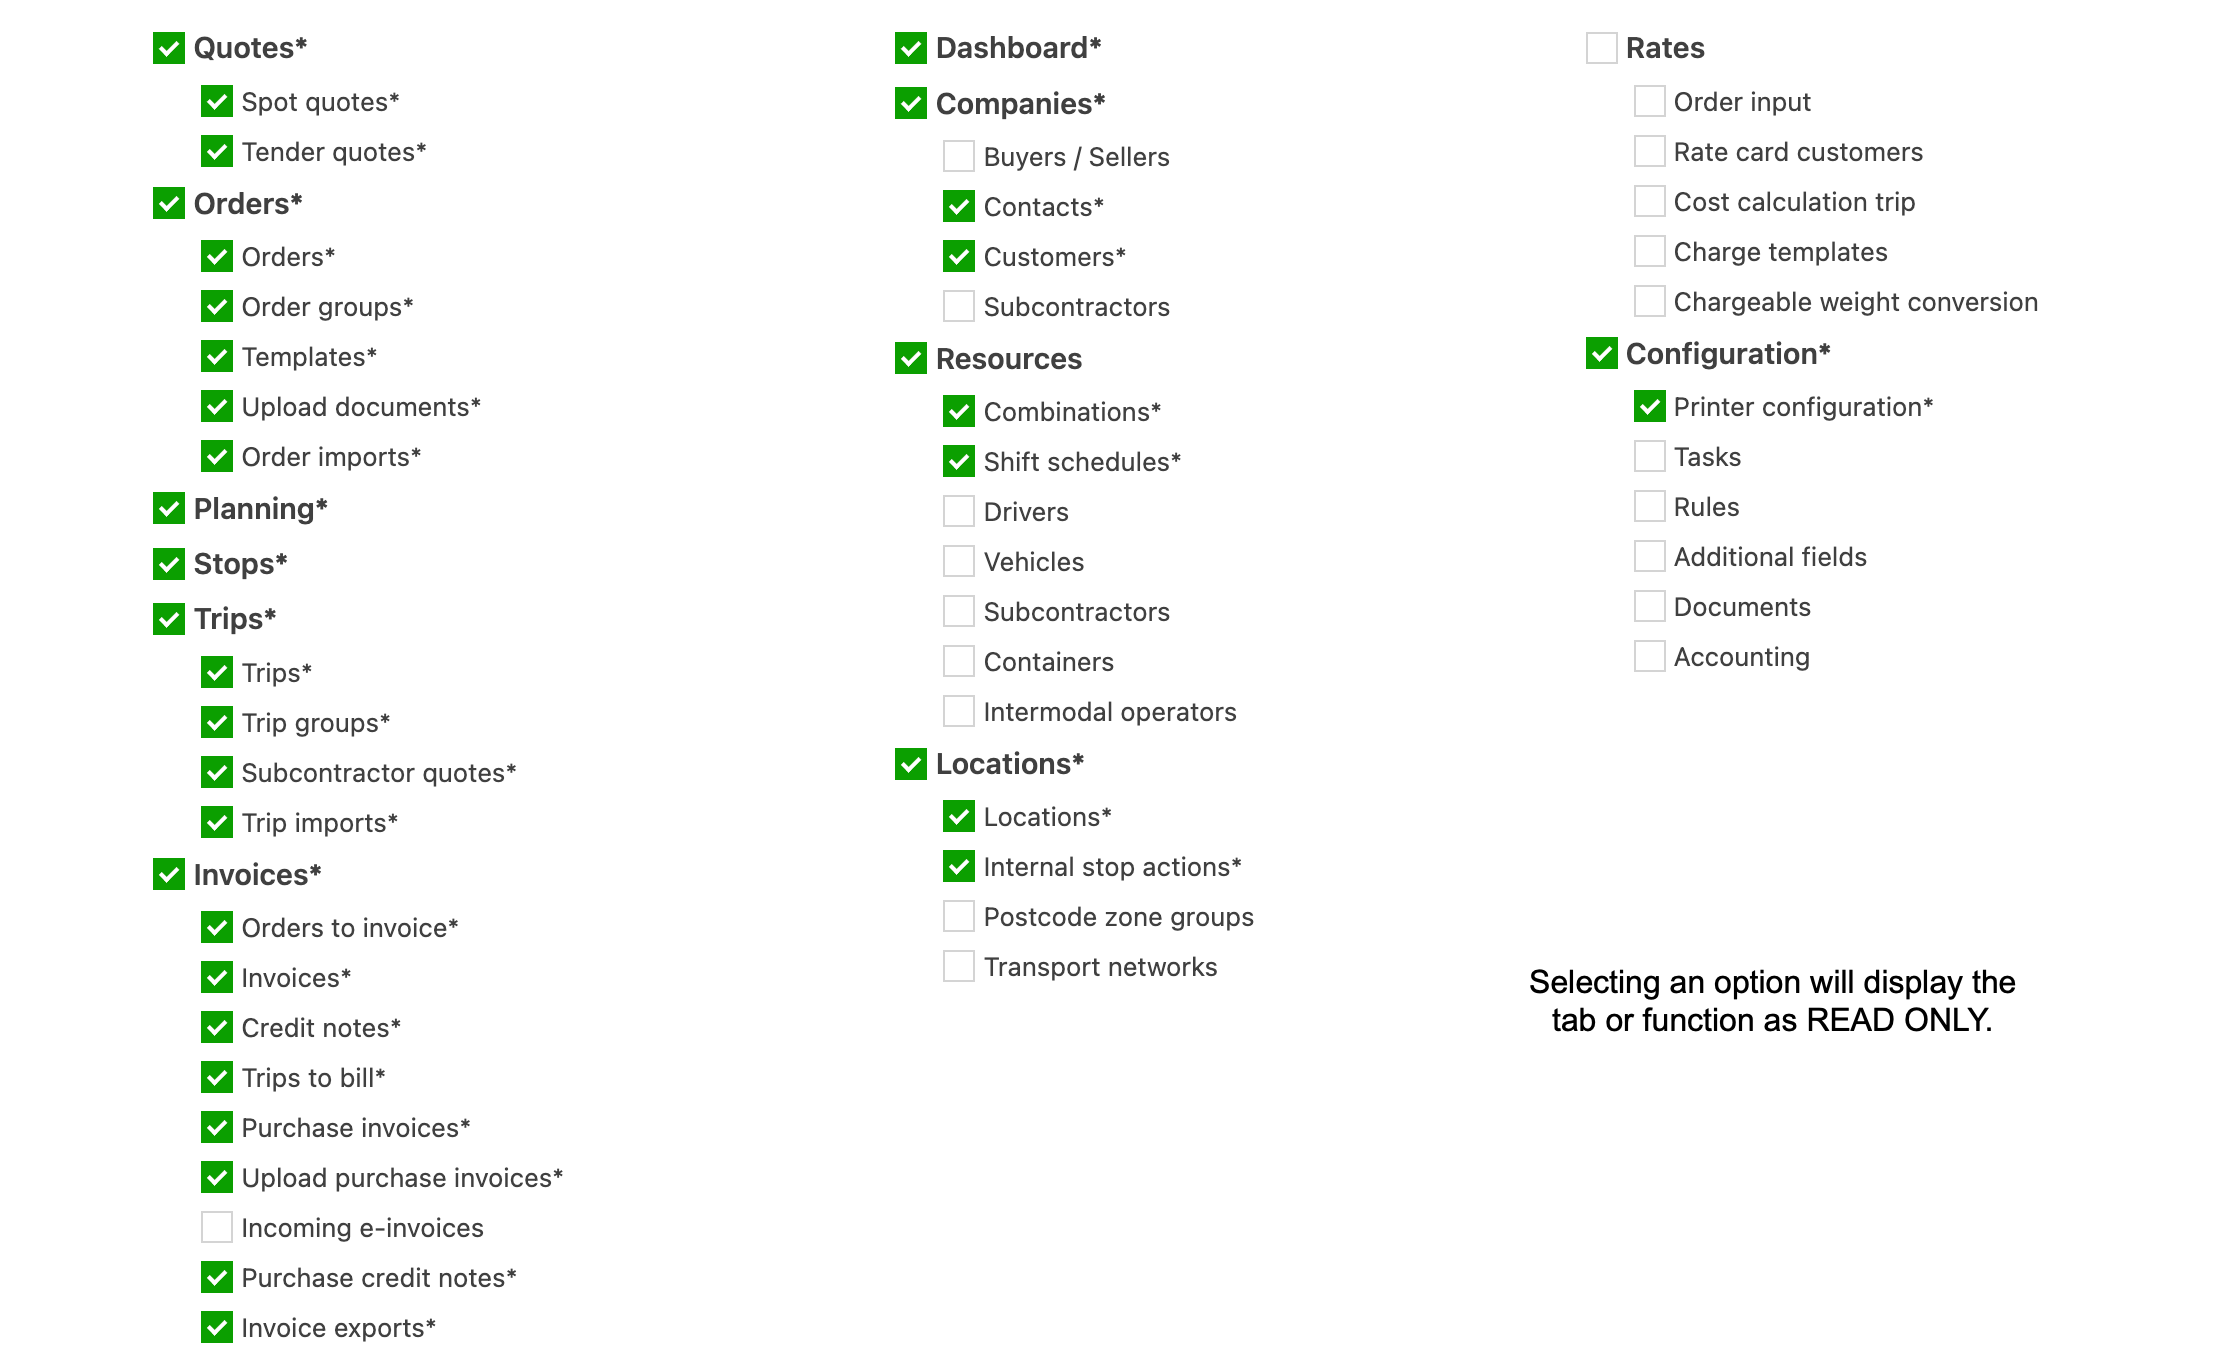
If a user needs visibility of data that is not displayed as part of the standard user role, it may be possible to provide access through the User setting permission. When the checkbox is selected, tabs and functions can be enabled as read-only.
This is a per-user setting. Each user configures their own view, and it has no effect on the accounts of other users with the same role. In addition, a Super admin cannot configure this setting. Only the user can.
Modifying user roles
If the existing role configuration does not meet user requirements, Super admin users can update the role permissions to allow or restrict functions.
Access the Roles menu
- Navigate to Configuration > Organization settings > Roles.
- Select the role to configure from the list.
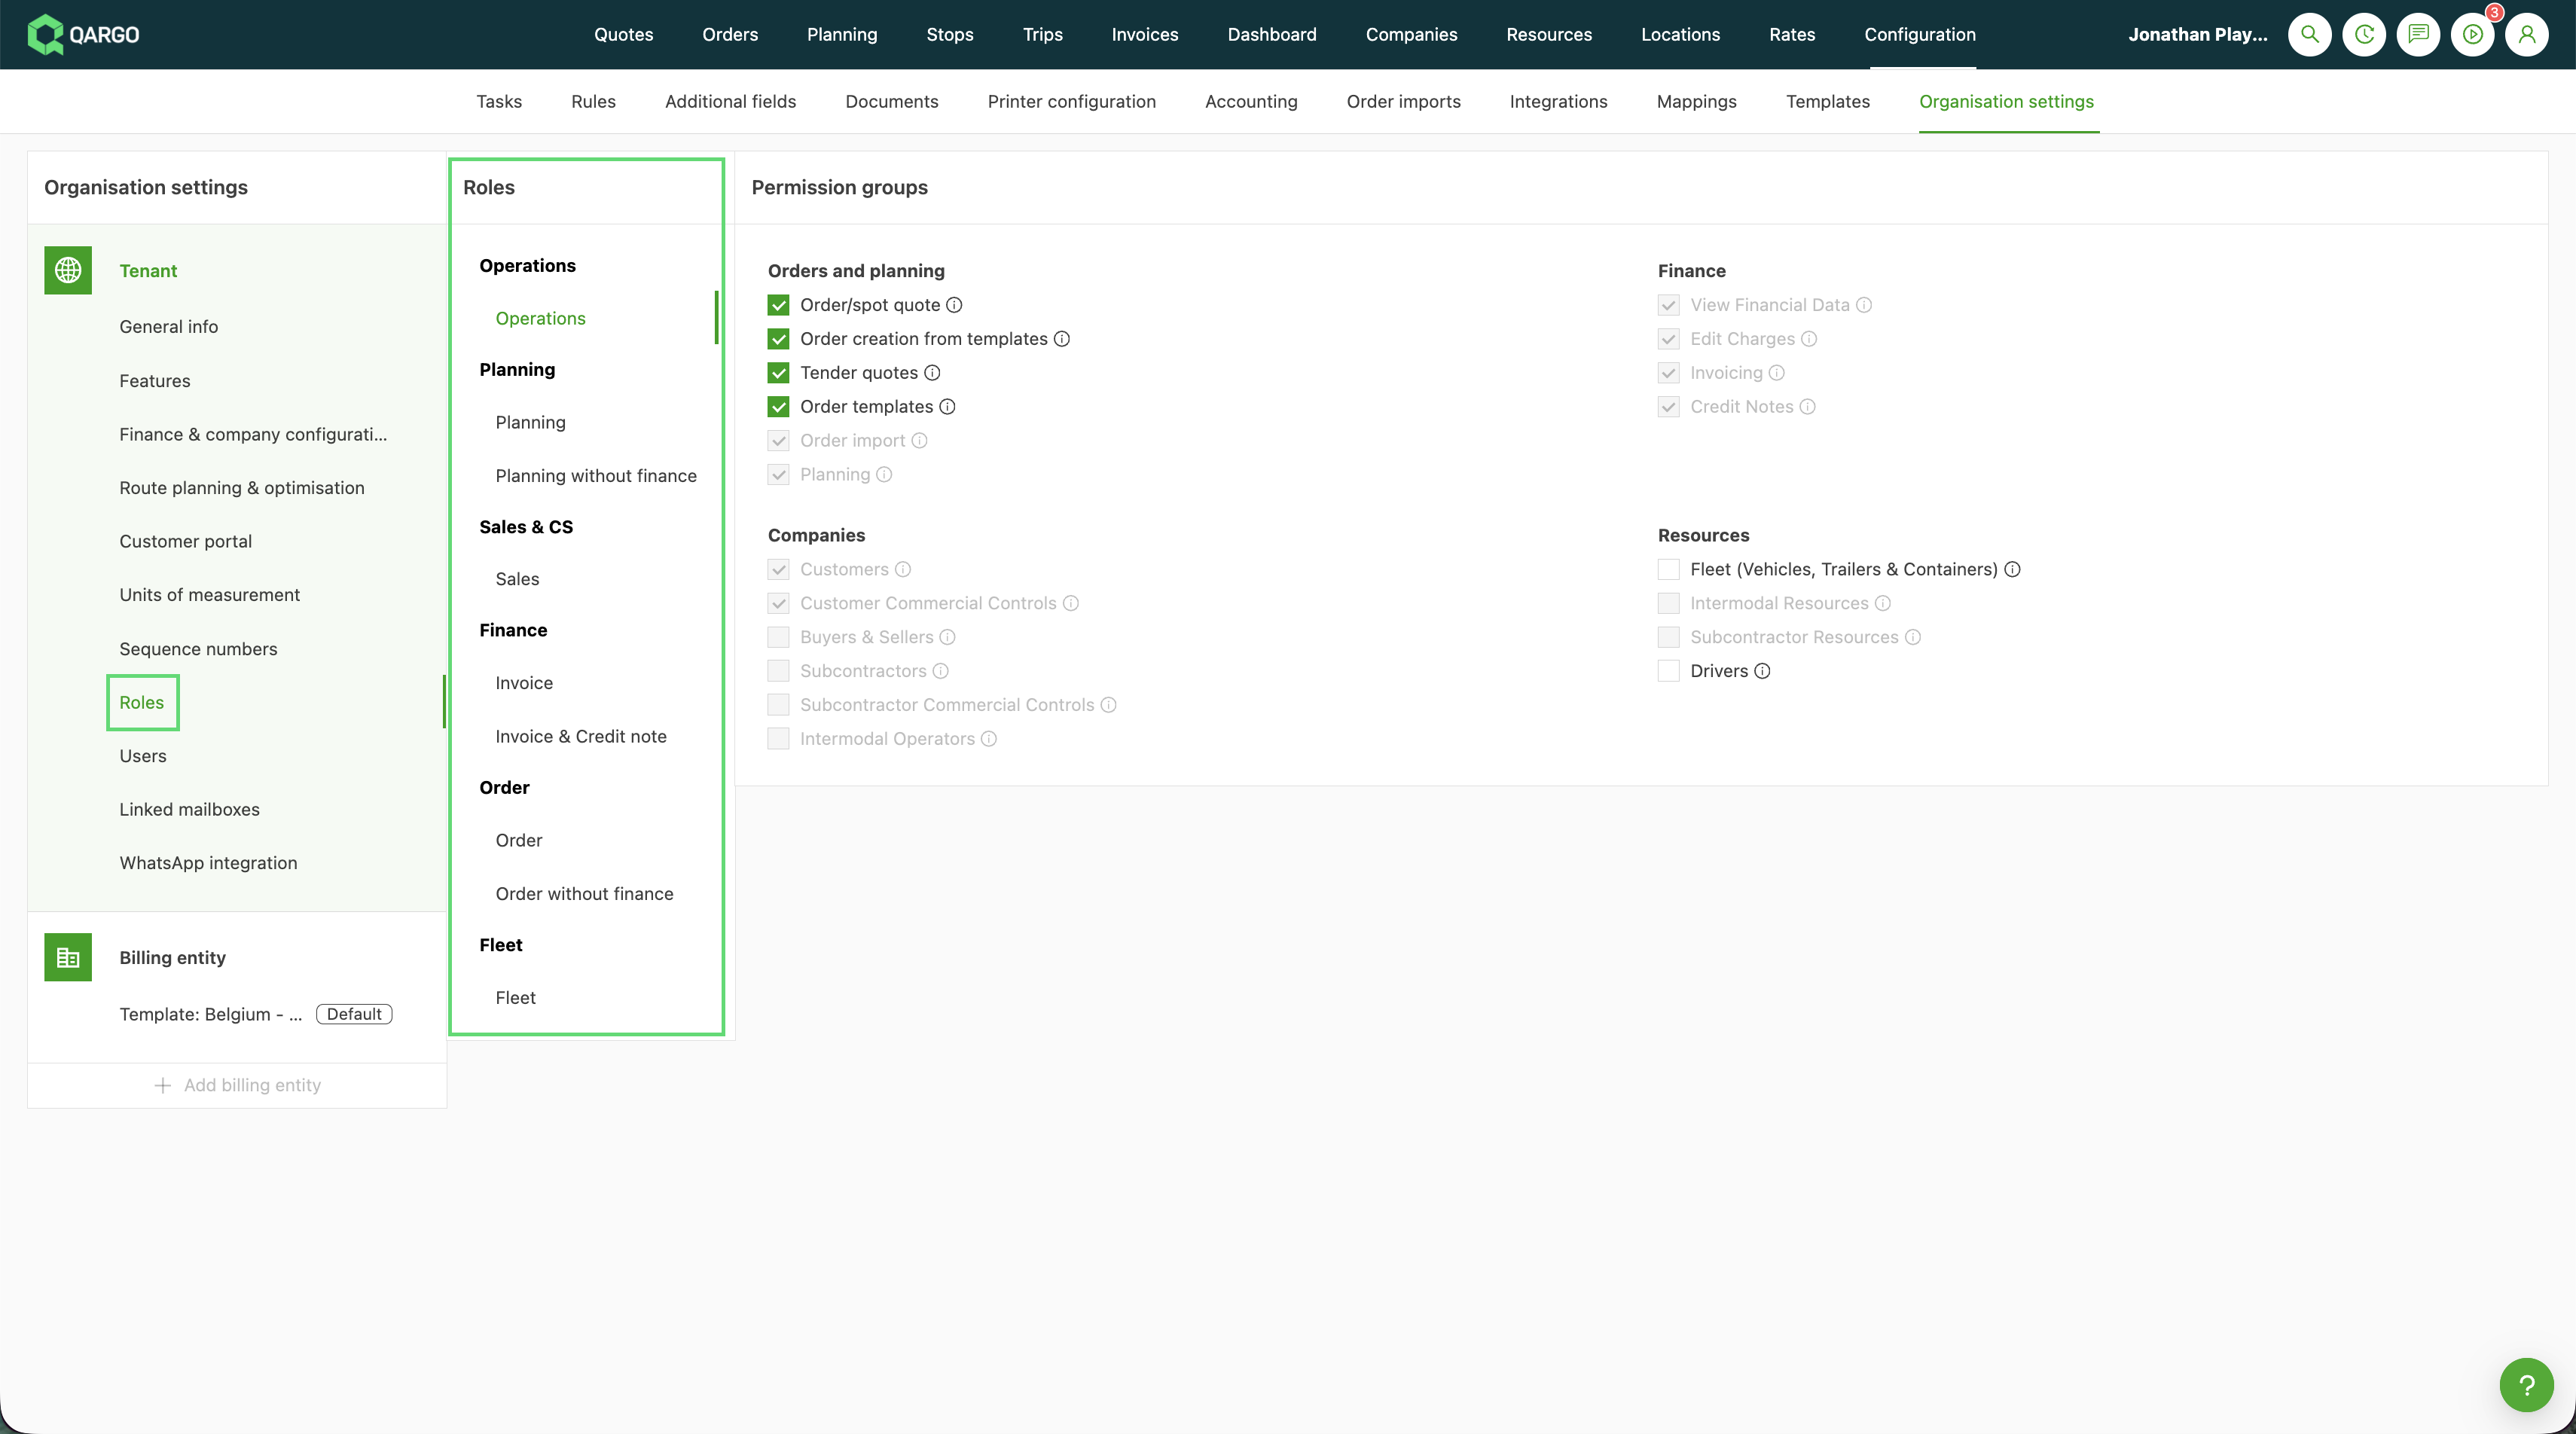
- Enable or disable each permission by selecting or clearing the relevant checkbox.
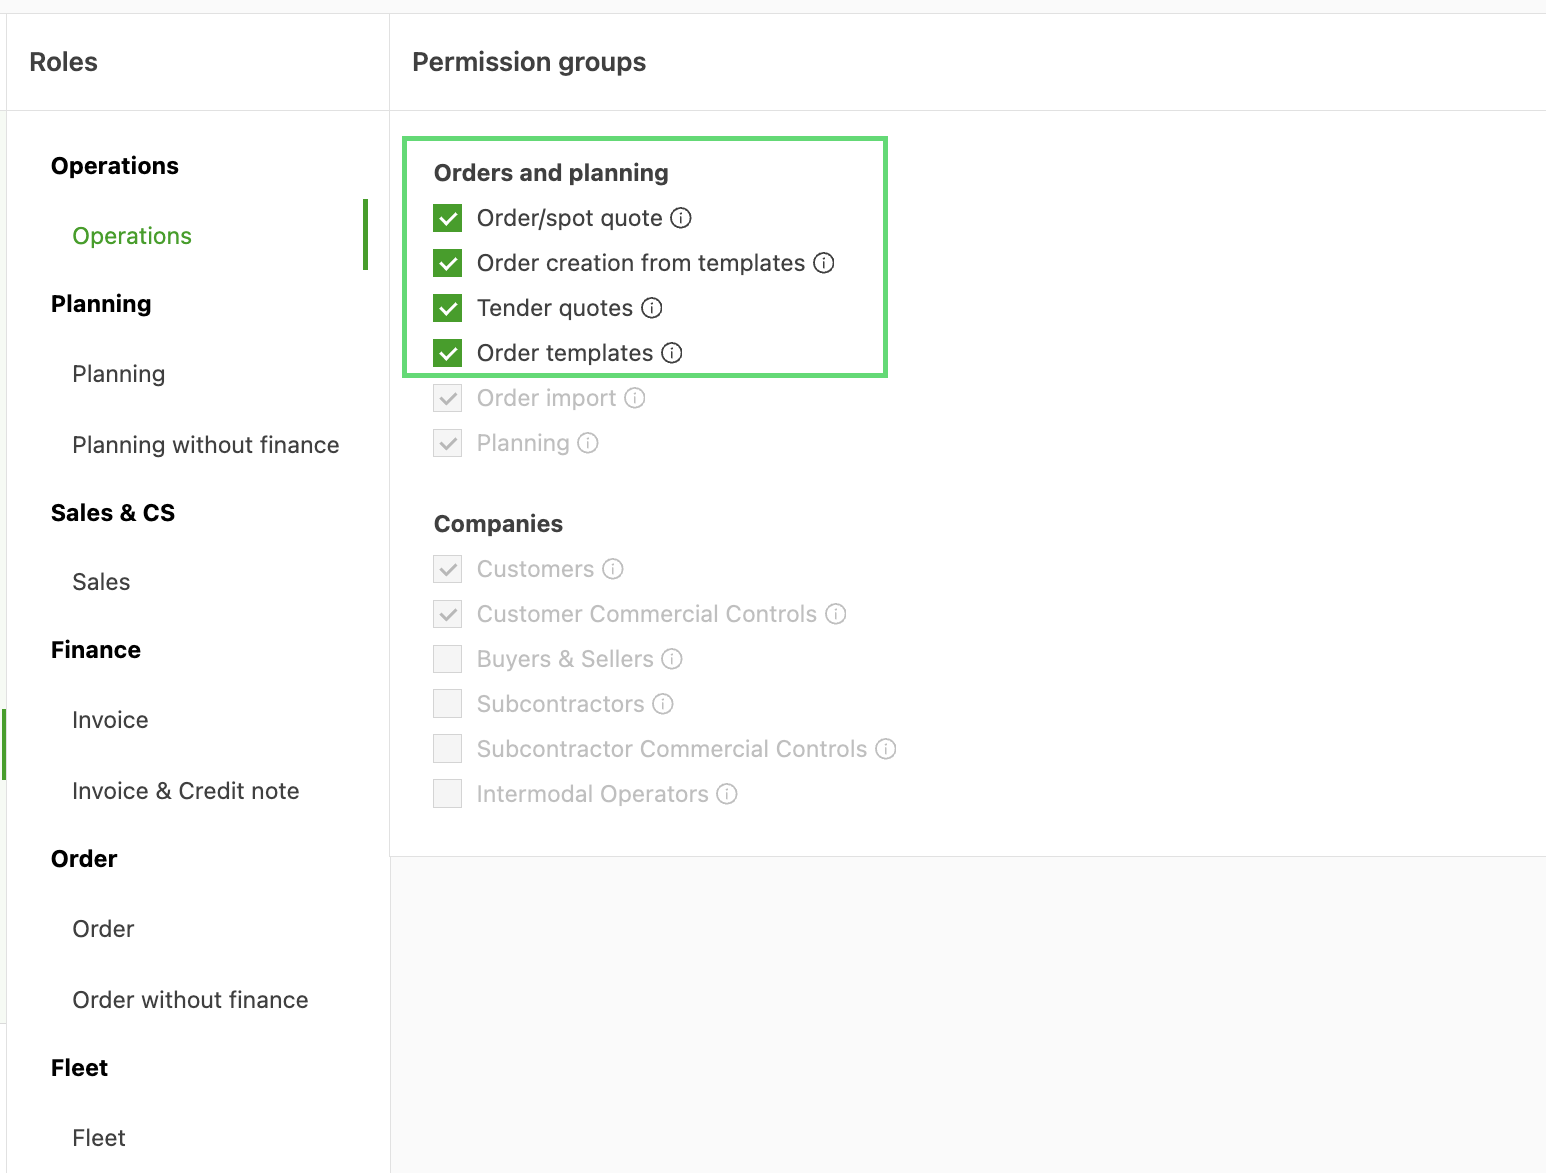
- Save the configuration. Changes take effect immediately for all users assigned to that role.
When a permission is disabled for a role:
- The corresponding Create button or menu entry is hidden for users with that role across the web app and customer portal.
- If a user navigates directly to a page they no longer have permission to edit, a read-only banner explains the restriction.
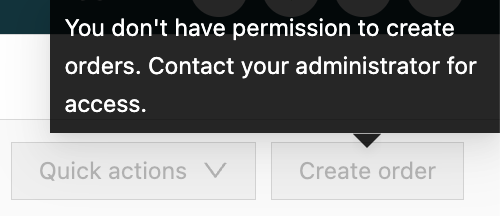
Learn how this works for order creation
Adding / creating new users.
- Only the Super admin role can create new users.
- Navigate to Configuration > Organization settings.
- In the Organization settings menu on the left, select ‘User’.
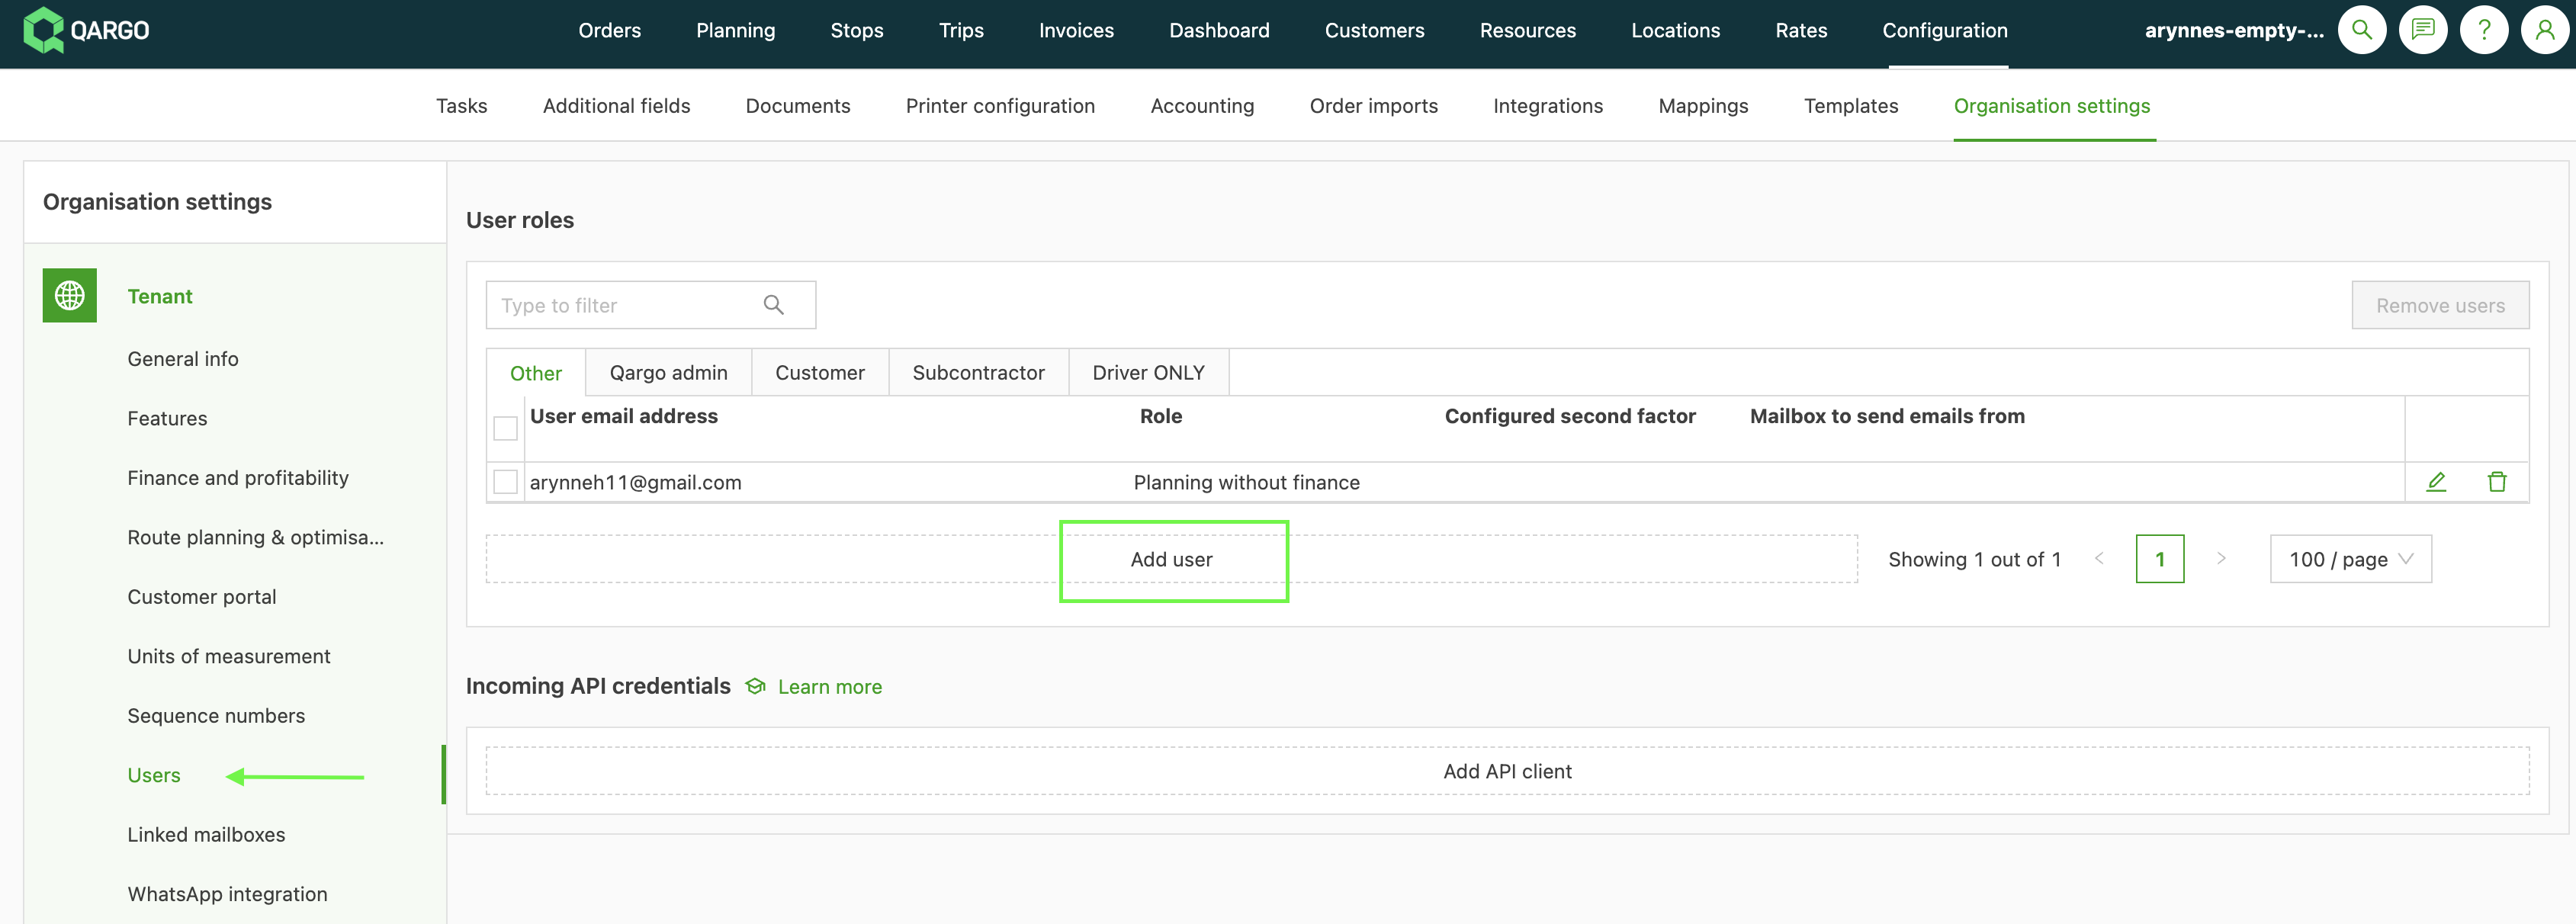
- Click ‘Add user’ and enter the user’s email address.
- Select the appropriate role from the drop-down menu.
- Enter a description for the user role, if appropriate.
- Click Save.
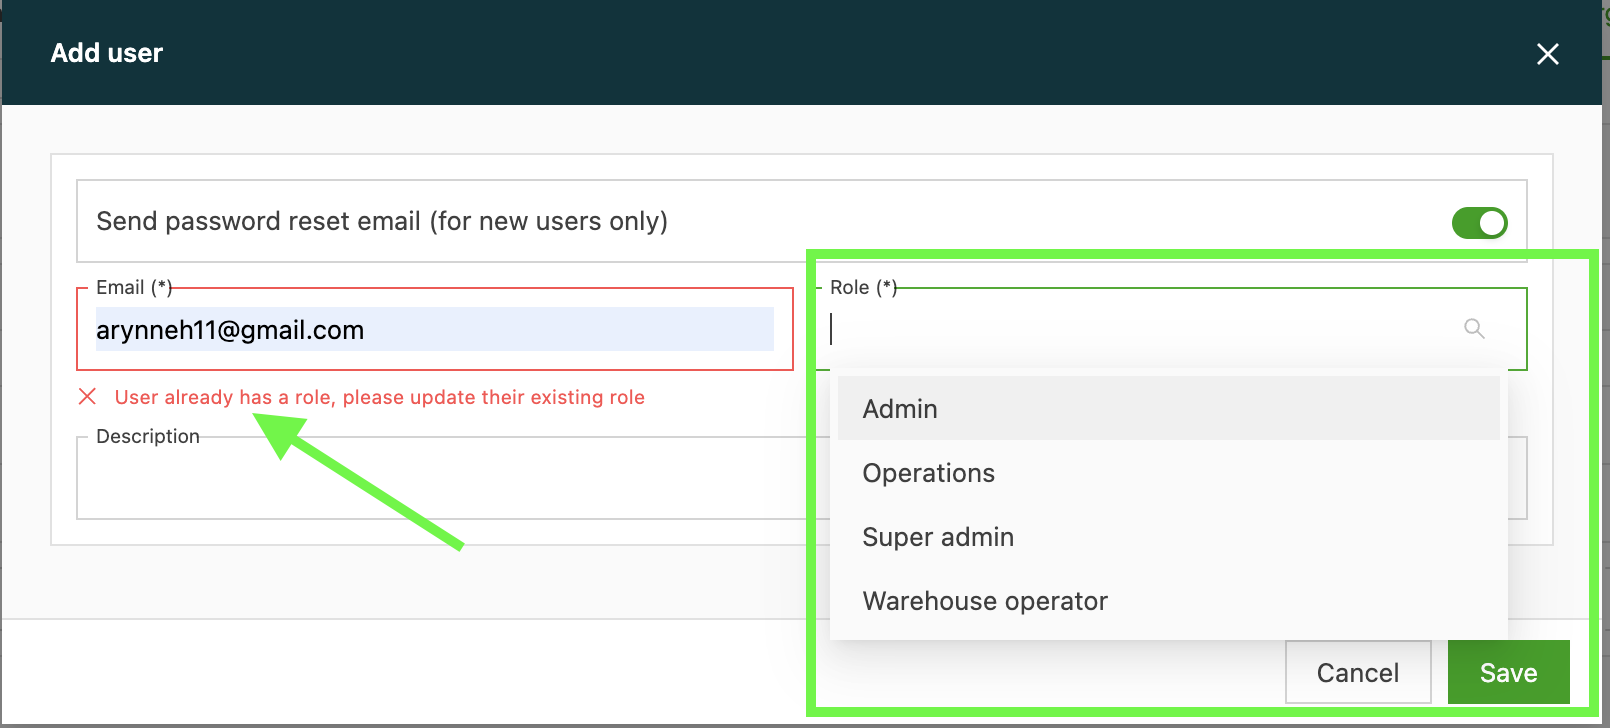
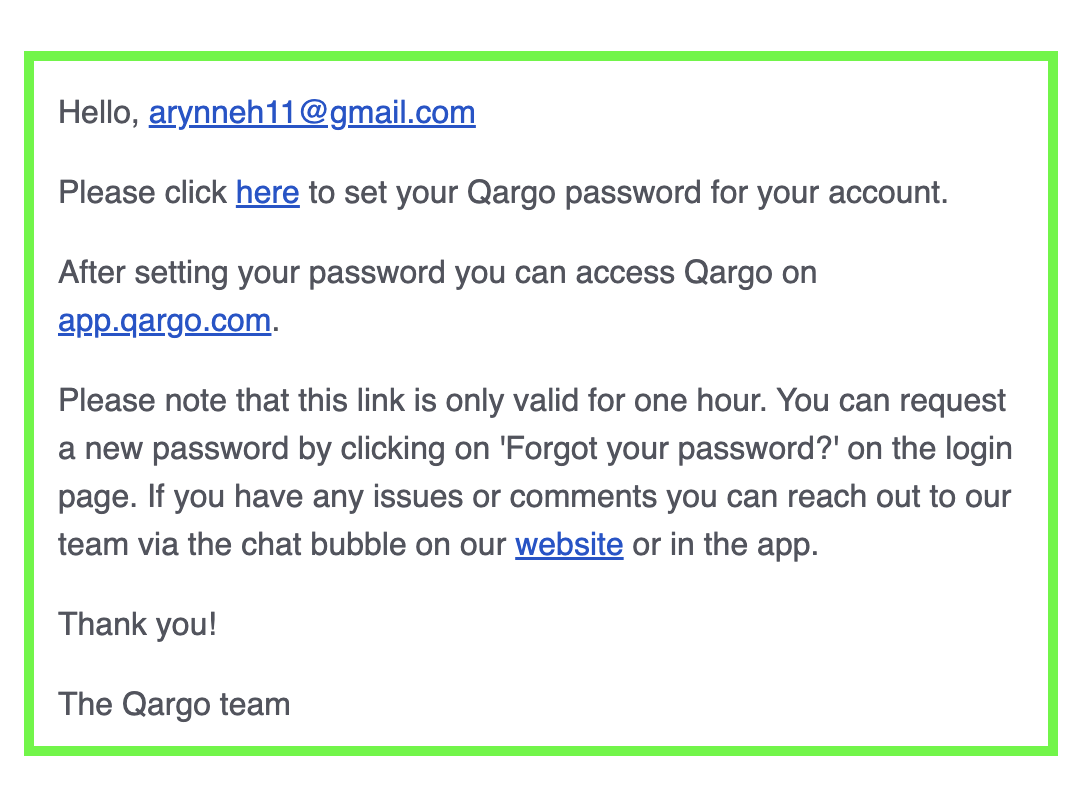
- Once the user has been added, the user receives an email with a link to set a password.
- When logging in, the user can either use the saved password or log in via a login link:
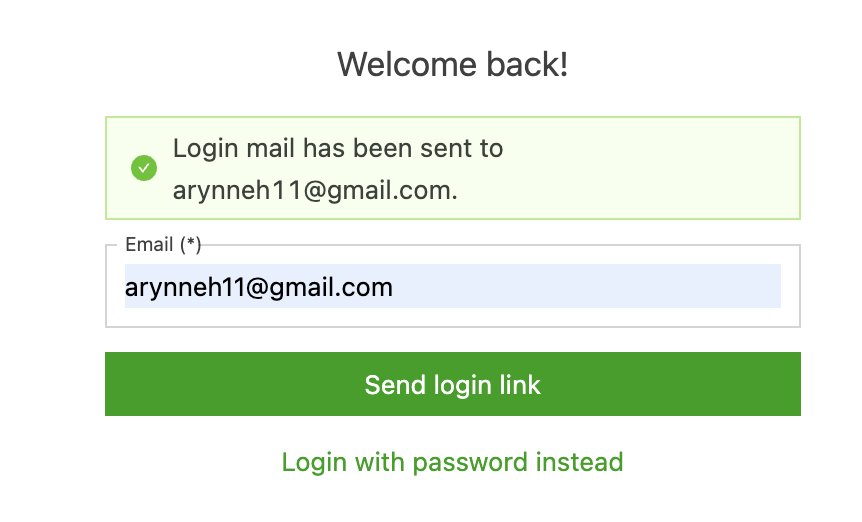
- When the link option is used, the user receives an email.
- Click the ‘Sign in to Qargo’ link.

Troubleshooting
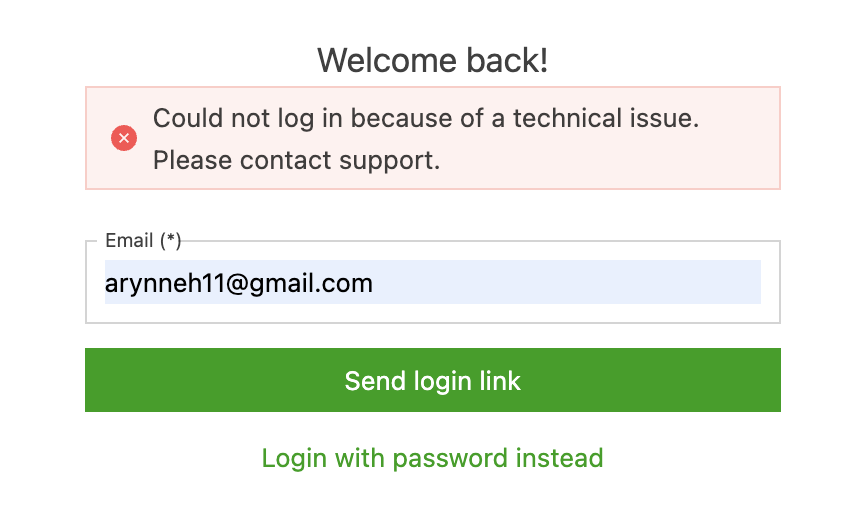
If an old emailed link is used, the user may receive this error. Verify that the user is using the most recent email link and try to log in again. If users encounter role-based access issues, they should first verify that their role includes the necessary permissions and contact a Super admin for assistance. Some sections, such as the Integrations tab, are restricted by design.
Multi-factor authentication (MFA)
If required, users can set up multi-factor authentication (MFA). This is optional, and users are currently not required to complete it.
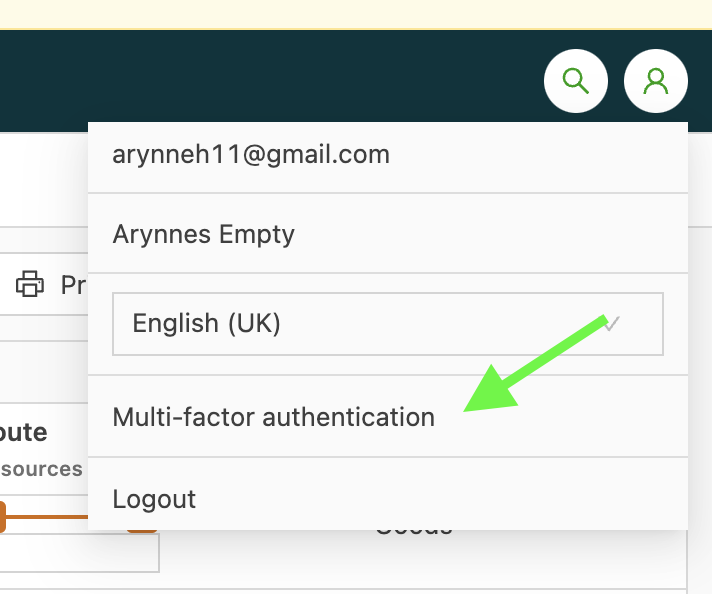
Click the arrow on the right to start the MFA setup process.
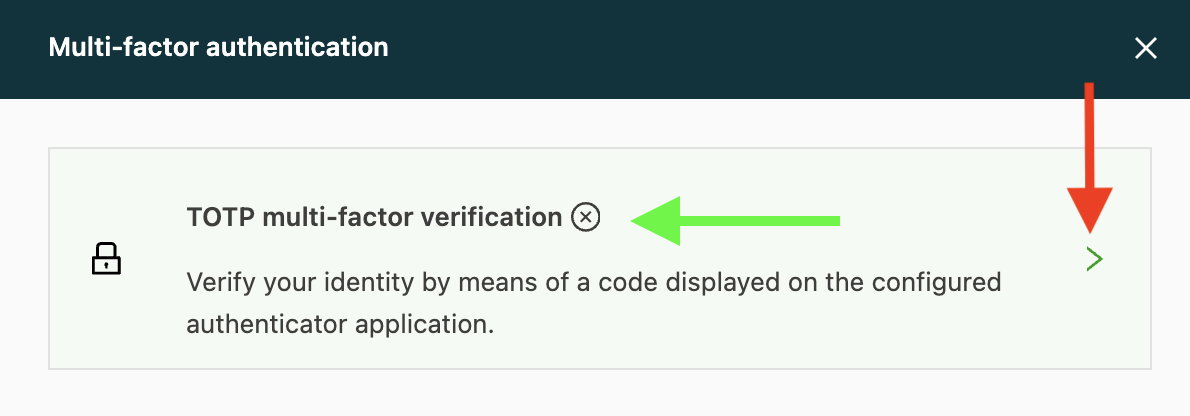
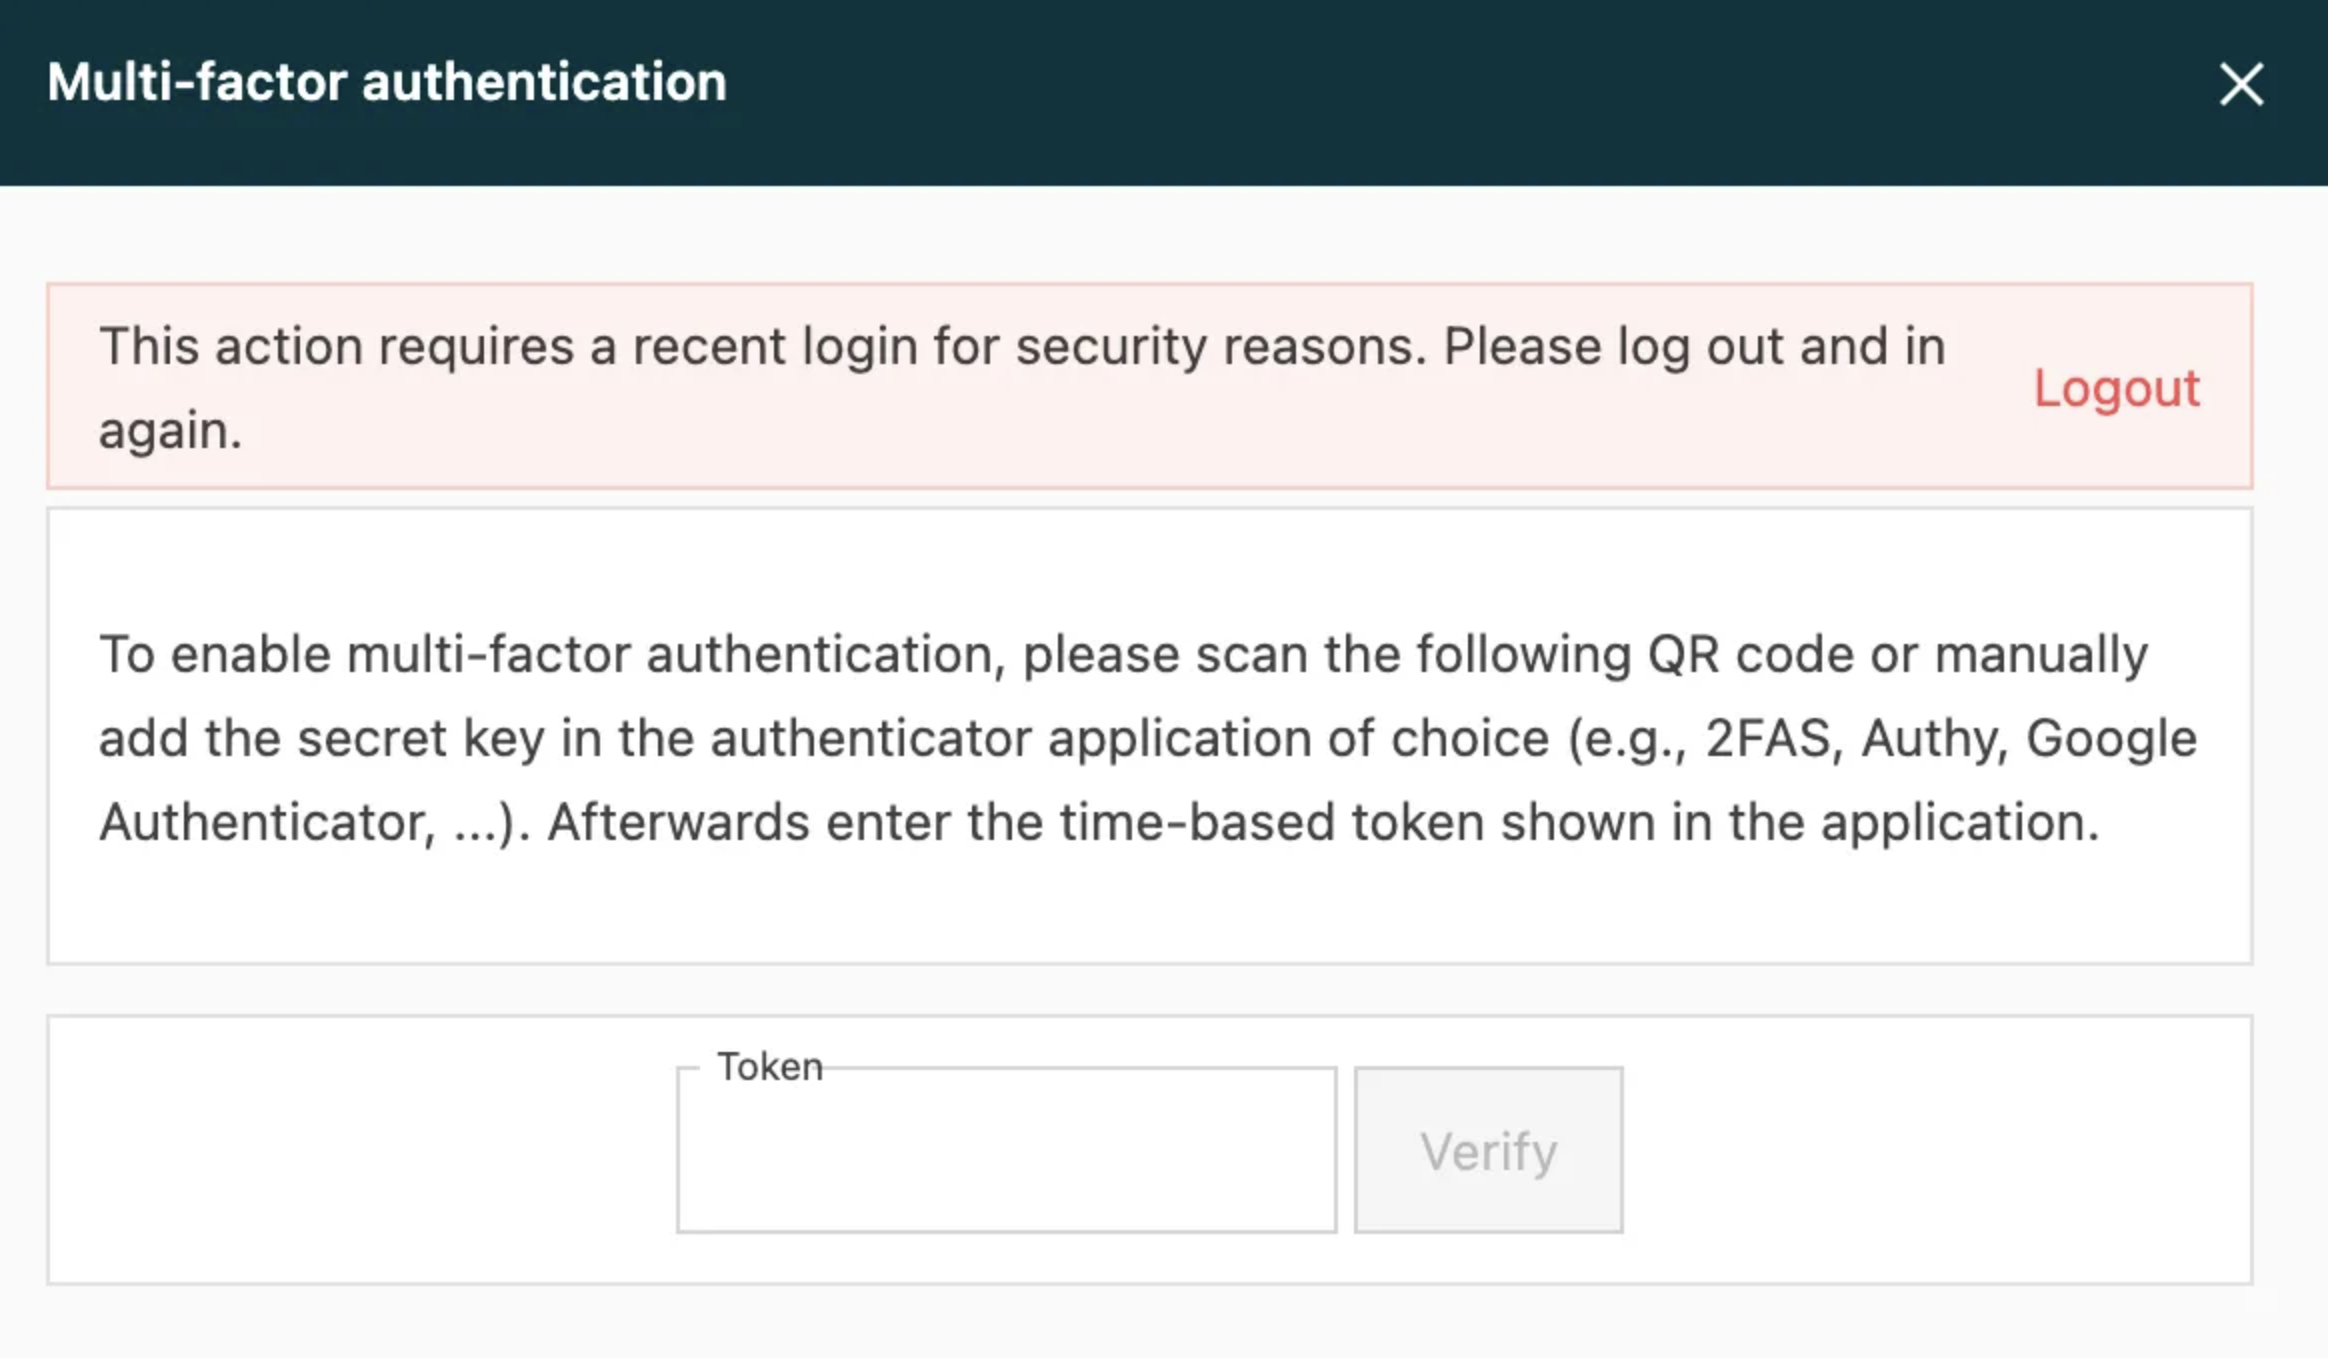
For security reasons, this process requires a recent login. The user may be prompted to log out and log back in to start the process. If the user has logged in recently, they are taken straight to the next step: scanning the QR code.
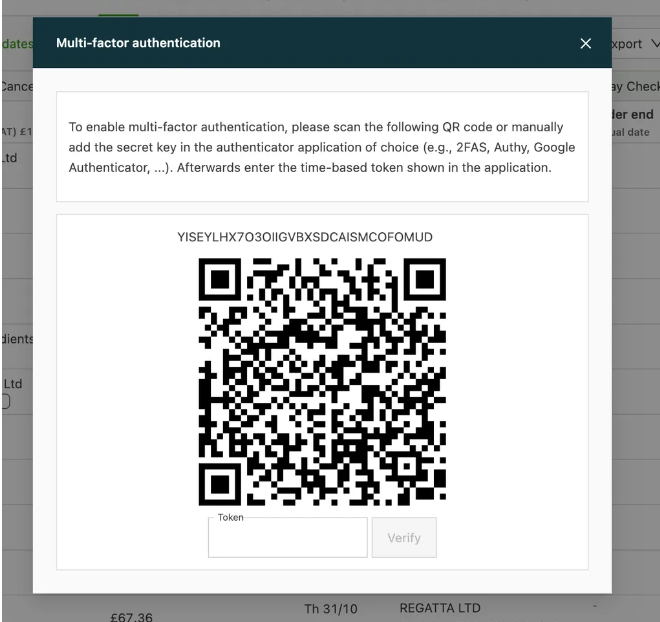
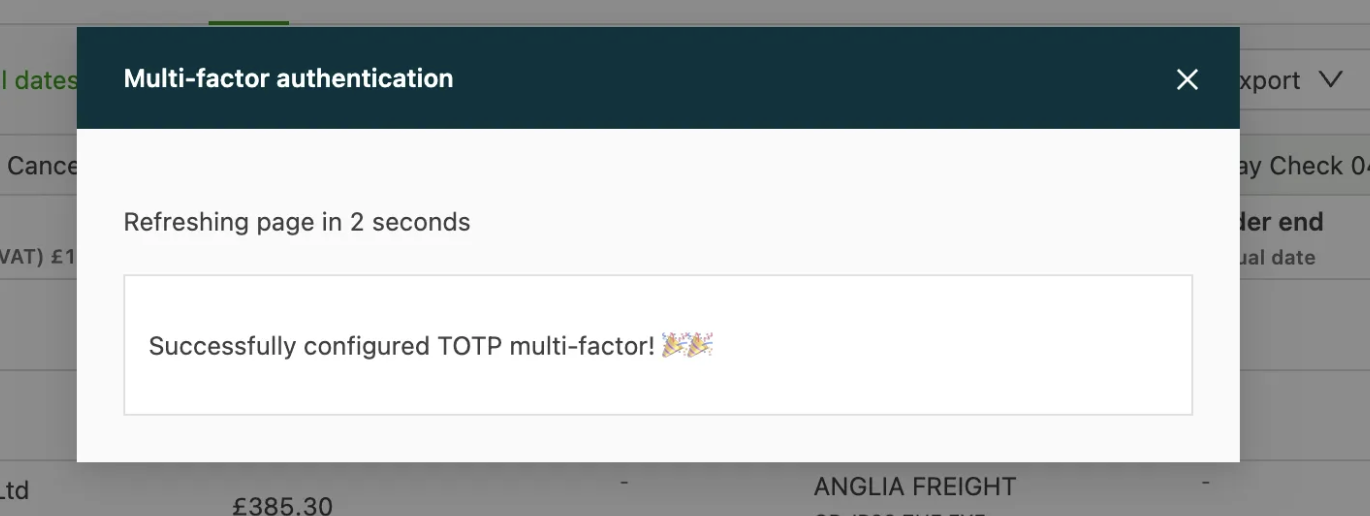
The user receives a notification once the setup has been completed successfully.