Mobile app guide (for drivers)
This article gives an overview of the Qargo mobile app and the workflow to follow when a load is dispatched. Intended for drivers.
Table of contents
Register or log in:
Open the app and enter the email address. An email with a login link is then sent. Click the link on the phone; it automatically redirects to the app and logs the driver in. This only needs to be done once, unless the driver manually logs out again.
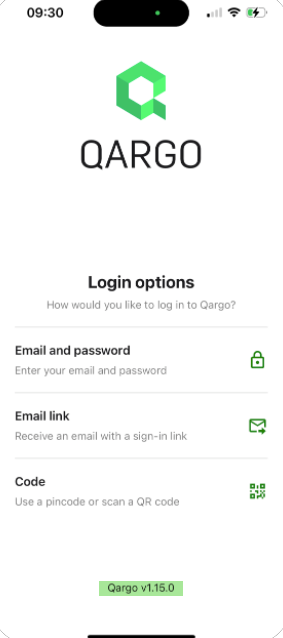
There are three (3) possible ways to log in:
- Email and password: use the email on the driver profile and a password. If the user/driver did not configure a password or forgot it, follow the reset password flow.
- Magic link: enter the email configured on the driver profile and a link is sent. The link must be opened on the device that will be used to log in to the app.
- Code: a one-time load code generated on dispatch. The driver can enter this code to have access for the duration of the load. Once the load is completed, the code is no longer active.
Reset password flow
Driver password reset
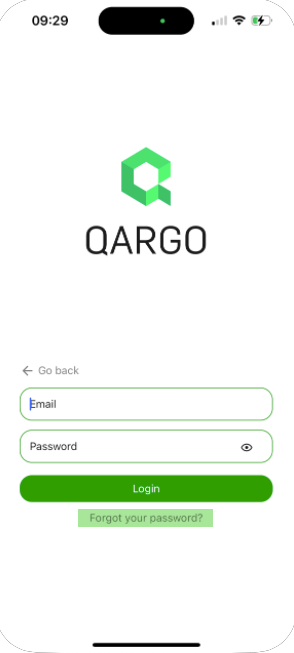
On the email and password login screen, tap the ‘Forgot your password?’ link.
- Clicking the link in the email prompts the user to reset their password.
- Enter the email address and a password reset email is sent.
If the password reset email does not arrive, drivers should:
- Check the email address: verify that the correct email address linked to the app account was entered.
- Spam/junk folder: look for the reset email in the spam or junk folder of the inbox.
Acknowledge load details
When a load is dispatched to the app, it appears in the stops list as New, with a red border. The driver must click ‘Mark as seen’ to acknowledge the load.
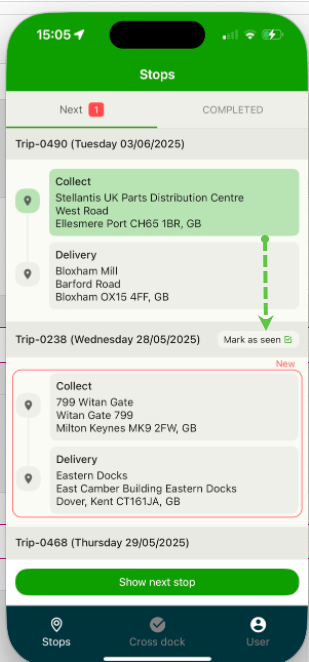
Each stop card shows the main stop activity label and the stop location group description.
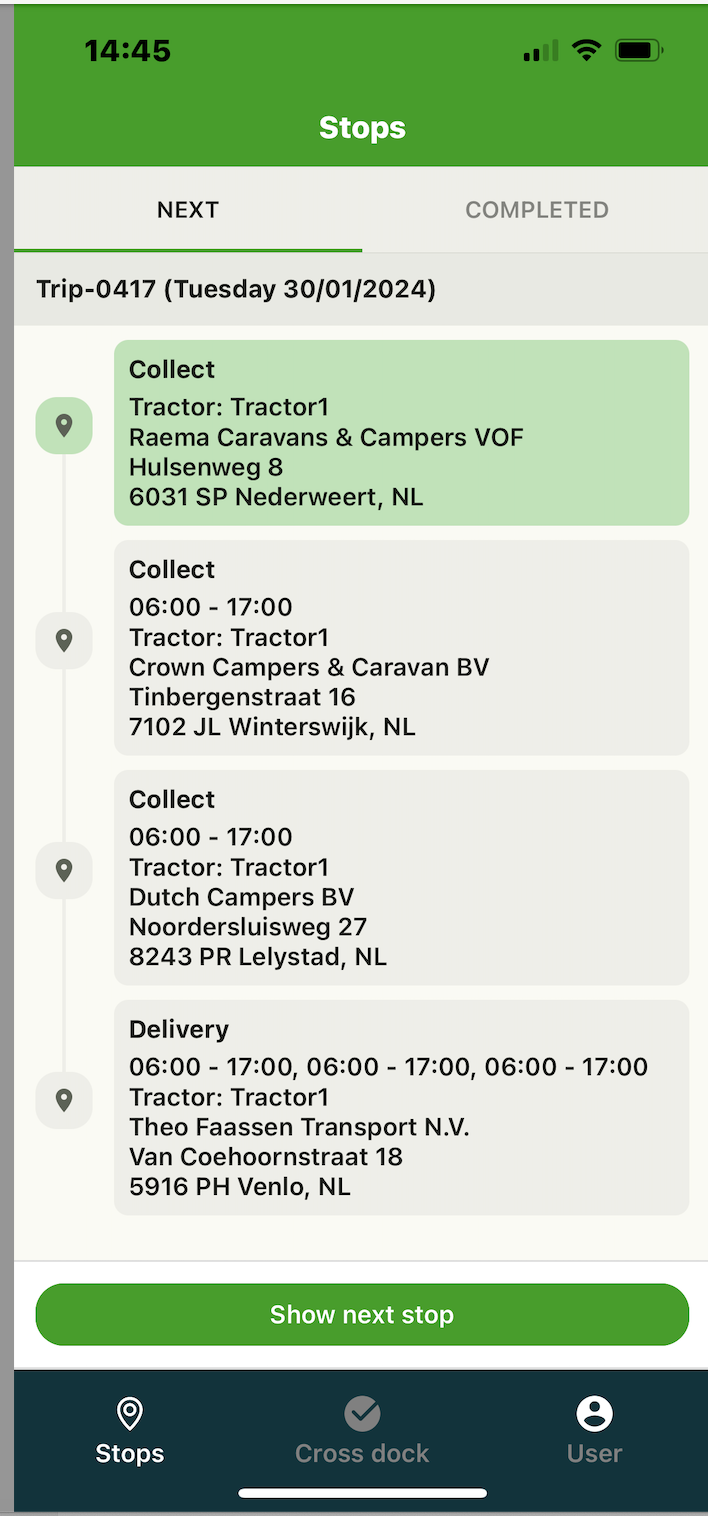
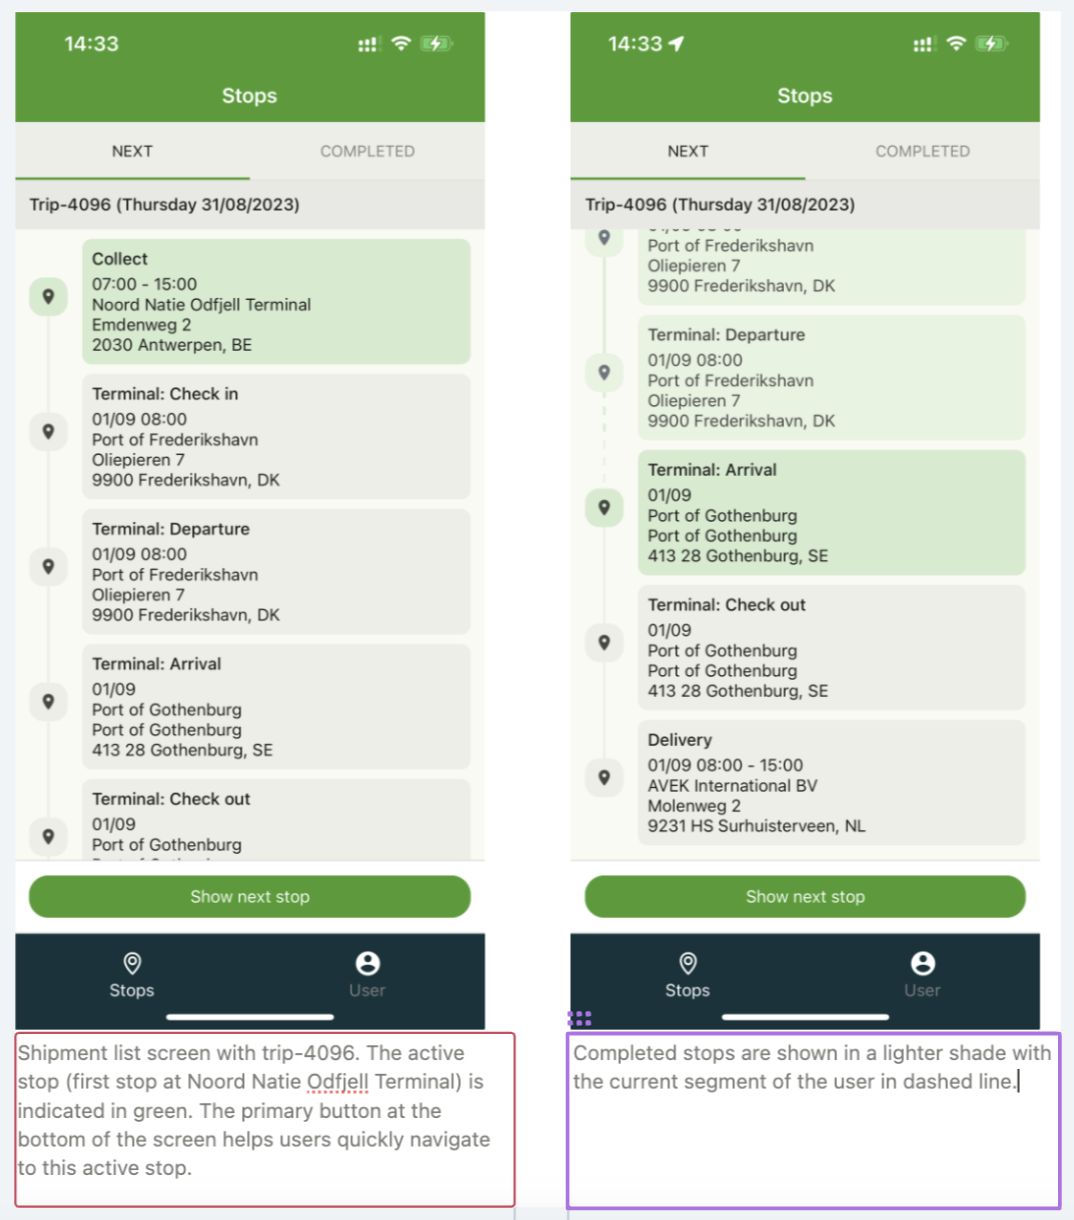
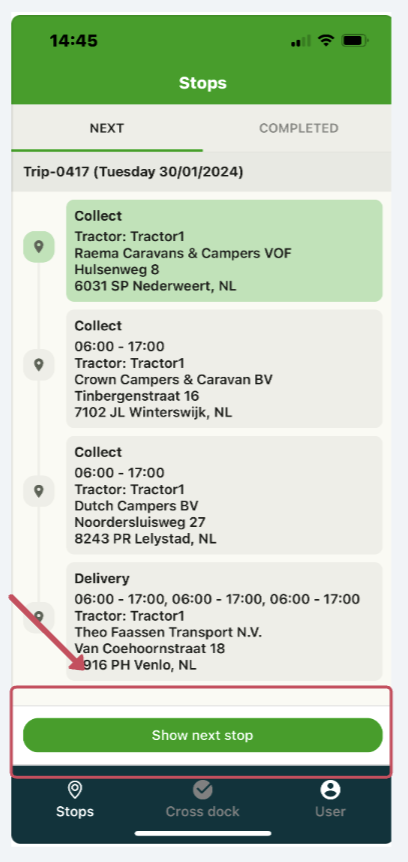
Click Show next stop, and at the start of the day, click Start driving:
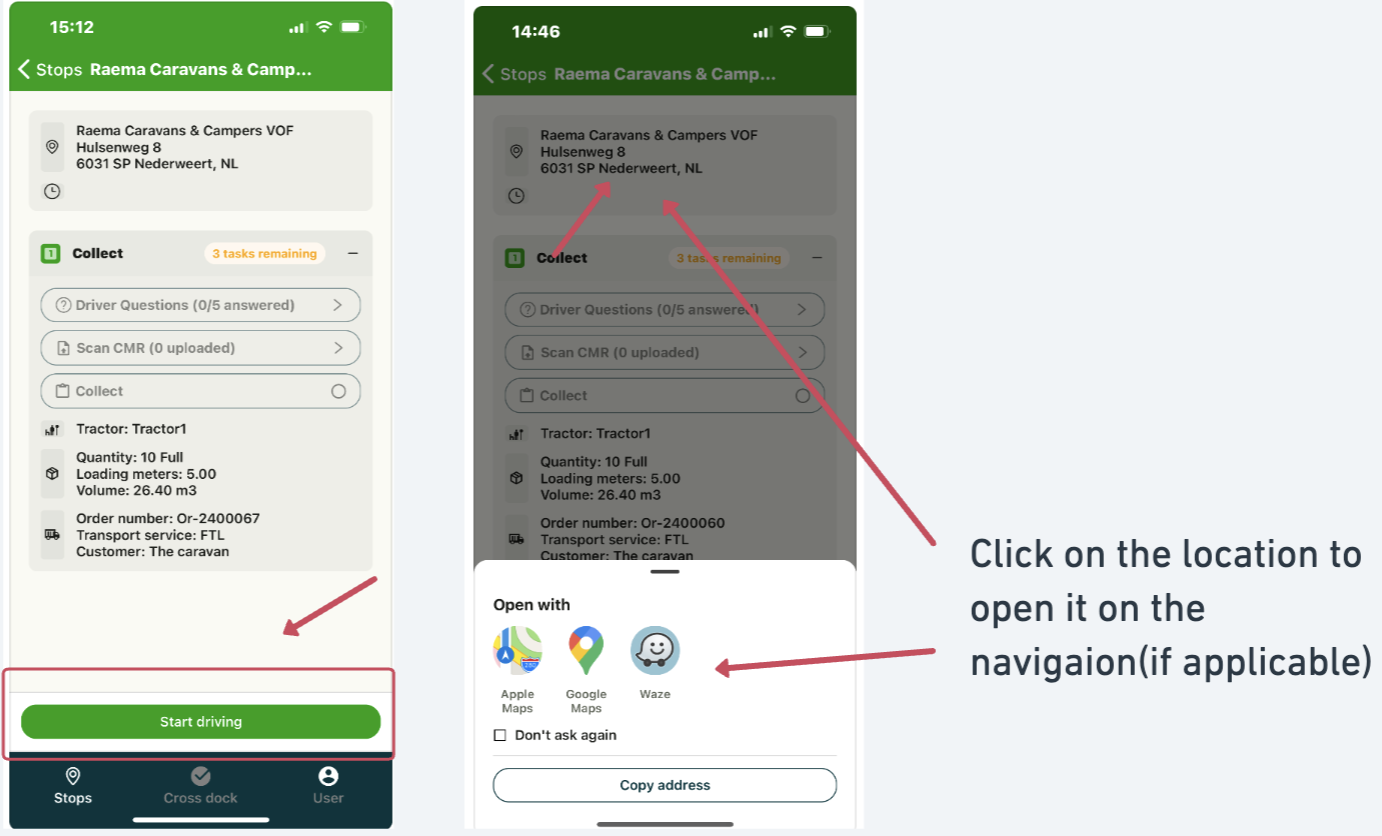
On arrival at the location, click Arrive and fill in the times:
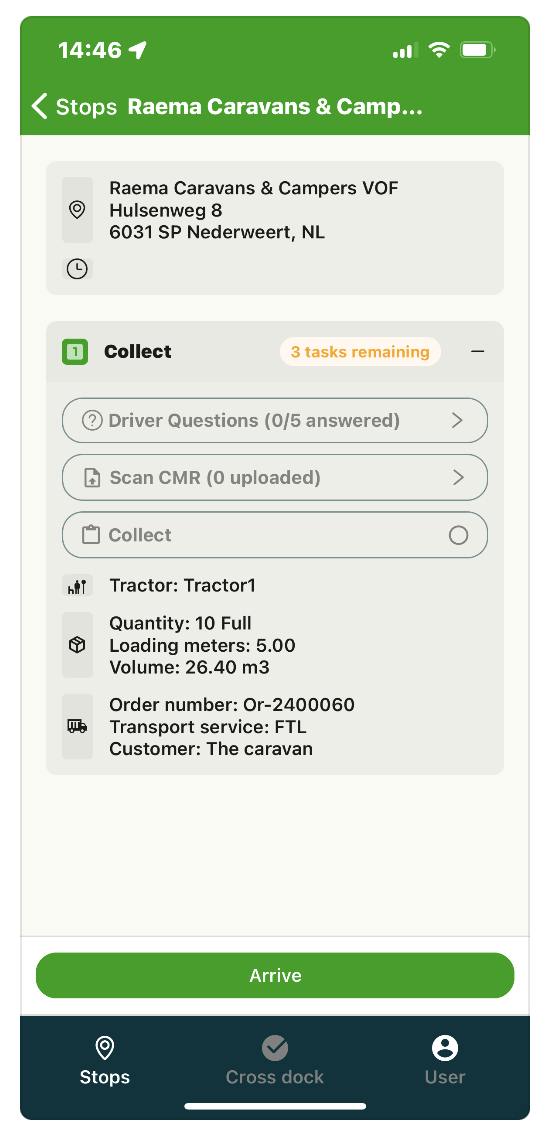
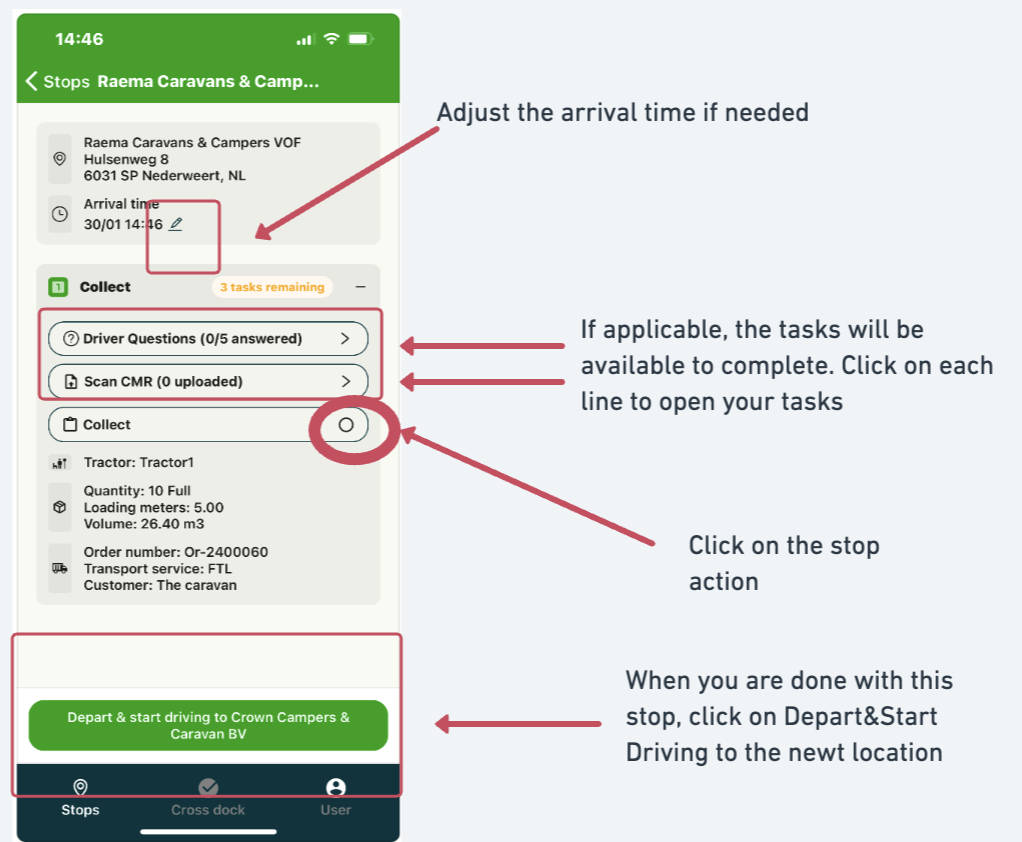
After arriving at the stop, the following page opens. Here the driver can edit the arrival times and complete the stop tasks.
- Adjust the arrival time if needed.
- If applicable, the tasks are available to complete. Click each line to open the tasks.
- Click the stop action.
- When the stop is finished, click Depart & start driving to go to the next location.
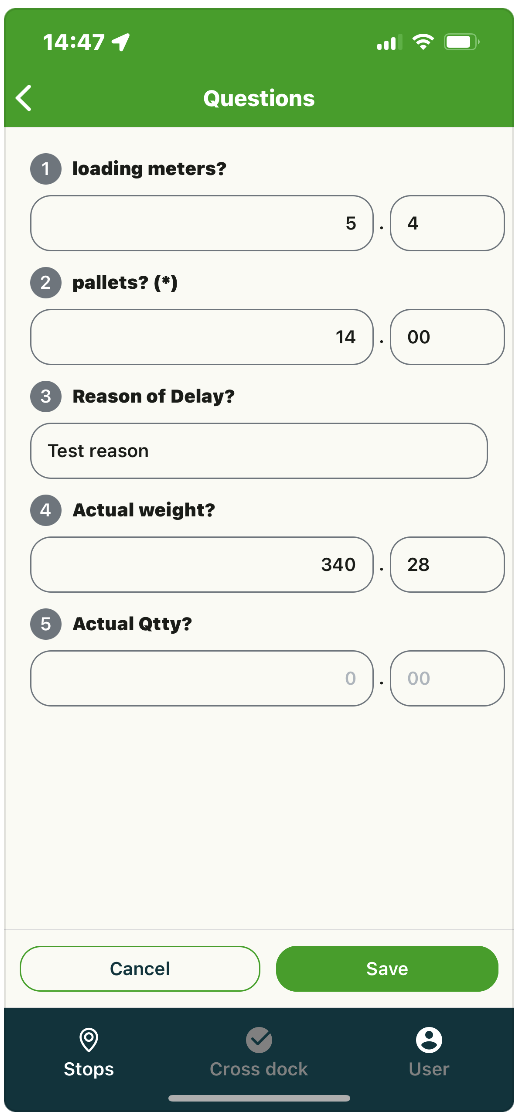
Tasks with question paths look like the example below. Fill in the relevant fields and click Save:
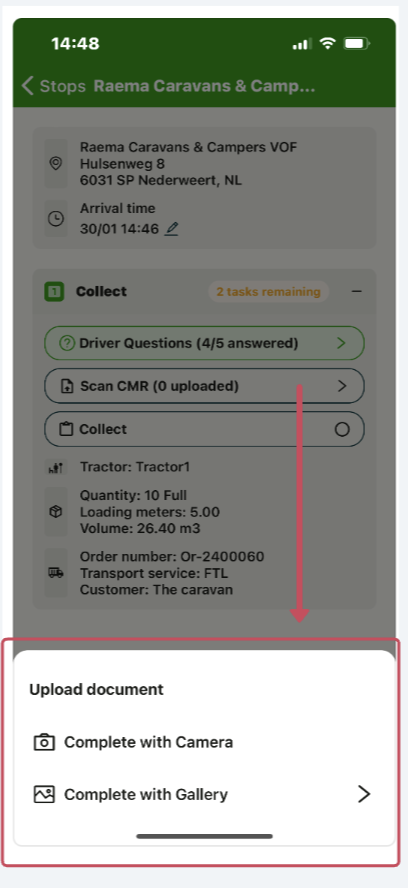
Tasks with document scanning look like the example below. Select one of the options below.
For a scanning task, hold the phone steady and wait for the document to be scanned in the green field.
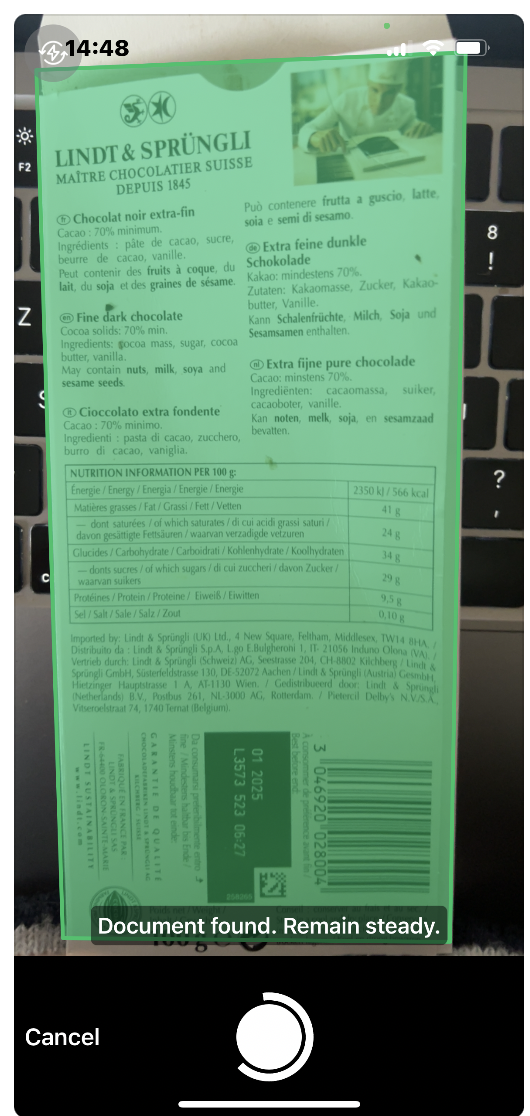
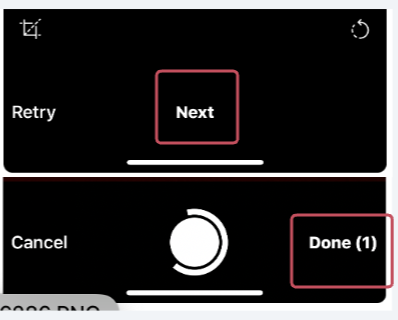
Click Next to continue and Done to finish scanning.
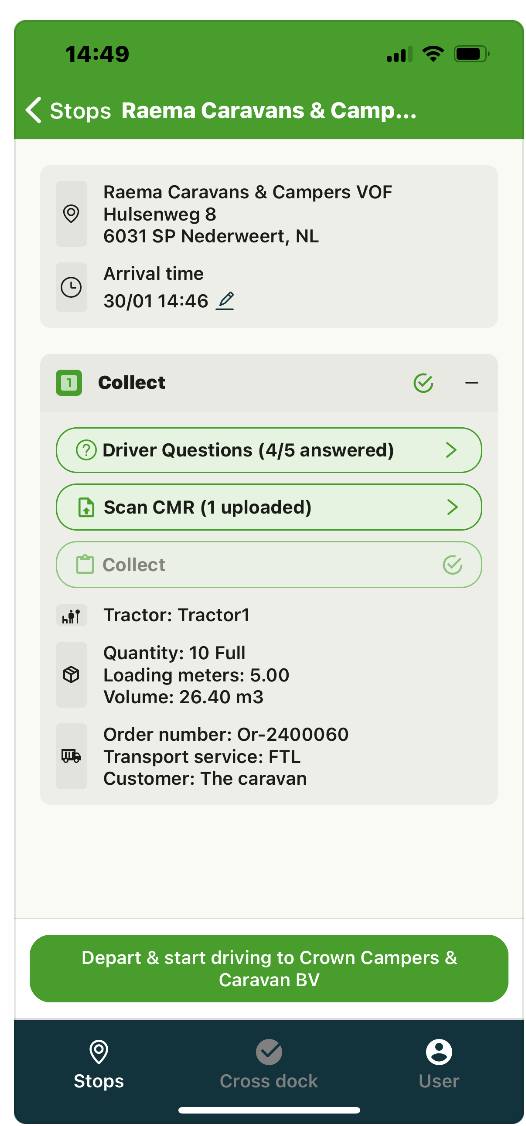
A green check mark icon means that all the necessary tasks for this stop are completed.
Driver scan: pickup/delivery
In some cases, the driver may need to scan pallets at the pickup and/or delivery locations. Drivers can scan multiple barcodes, which improves visibility of which pallets were picked up or delivered.
To enable this functionality:
-
Create a new task on loads to prompt the driver to scan codes.
Driver scan workflow:
- Once the barcode has been added in the mobile app and the user clicks Save, the barcode can no longer be edited or removed. Before clicking Save, it can still be edited or removed.
Click the Depart & start driving button to continue, and repeat the steps until the load is fully completed.
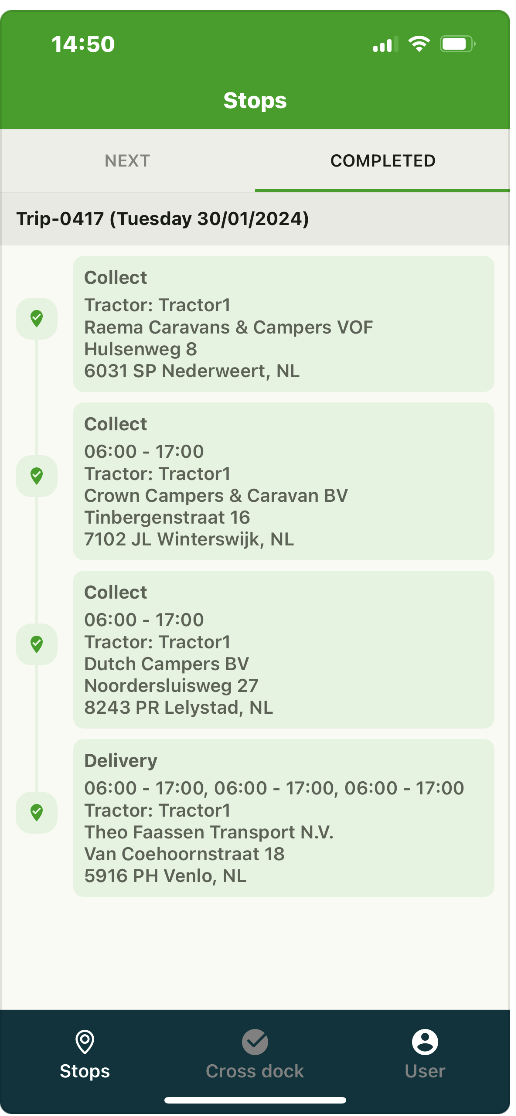
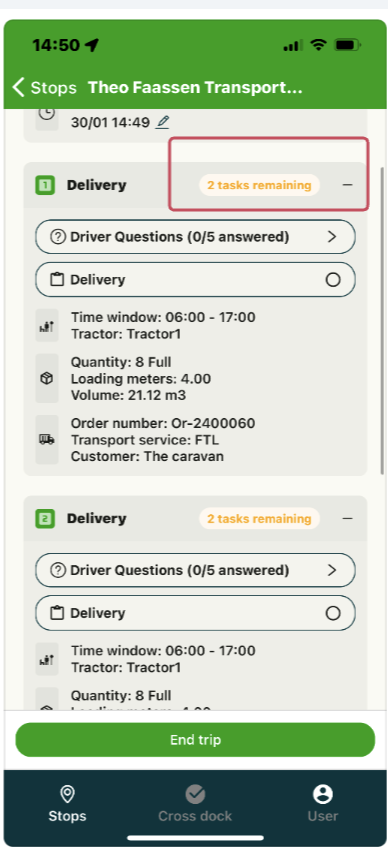
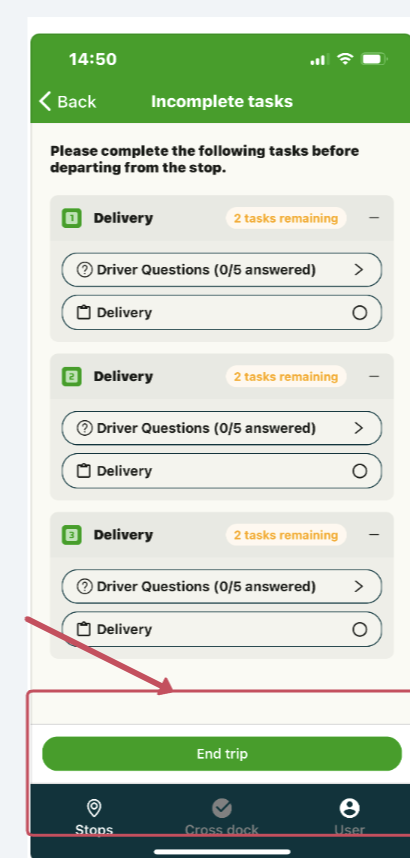
After the last stop is completed, an overview shows all completed stops and any remaining tasks.
If tasks remain, click each task line to complete them.
When all stop questions are uploaded or filled in, click End trip to finalize the load.
Finished loads are shown on the Completed tab for up to 1 week.